Well hello there, fellow plant lover! I’m so glad you’ve stumbled upon my little corner of the internet, where we dig deep into the joys of gardening. Today, we’re talking about a truly special bloom: Ornithogalum exscapum, also known affectionately as Dwarf Star-of-Bethlehem.
The Little Gem That Keeps on Giving
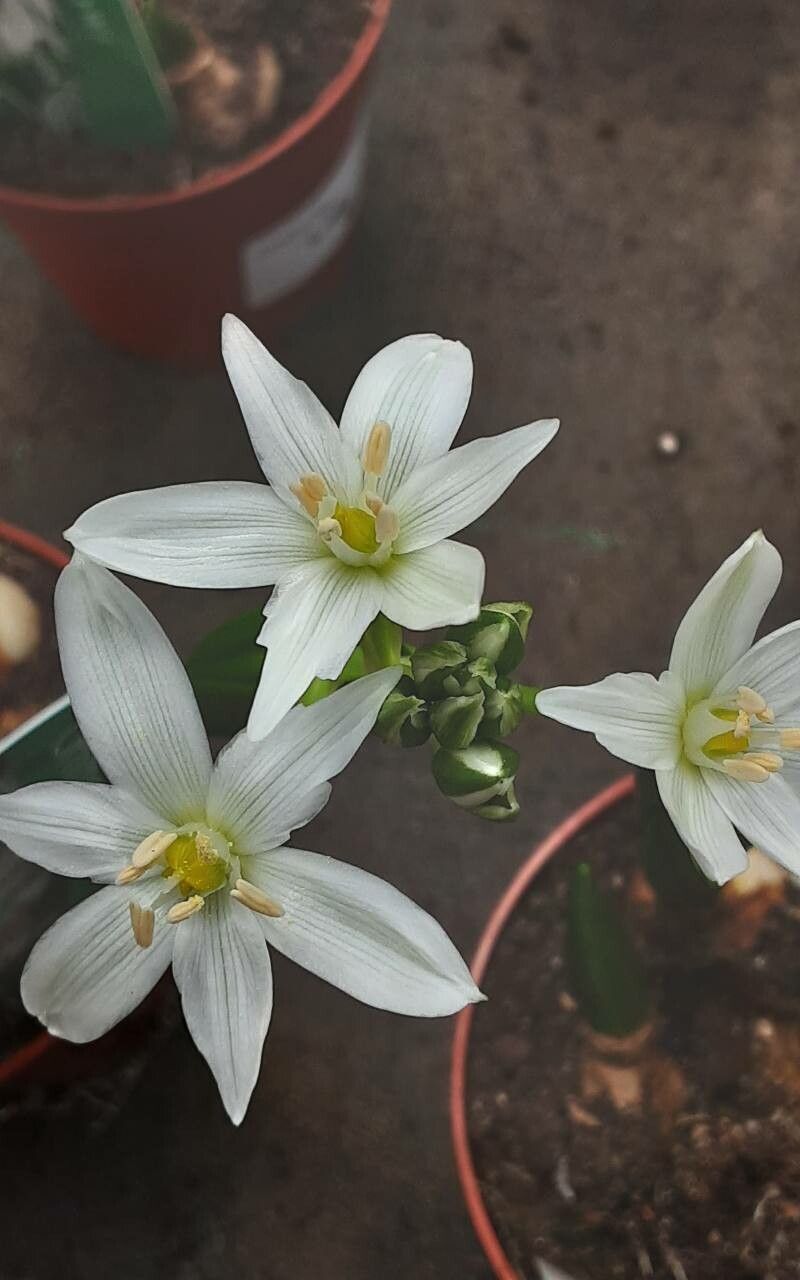
Isn’t Ornithogalum exscapum just enchanting? Those delicate, star-shaped white flowers appearing so close to the ground, like little fallen constellations. They have this understated elegance that just brightens my whole garden. And the best part? You can easily multiply this magic! Propagating Ornithogalum exscapum is a deeply rewarding experience. It’s not a difficult plant to propagate, which makes it a wonderful project for both seasoned gardeners and those just dipping their toes into the plant-propagation pond.
When to Get Your Hands Dirty
The absolute best time to propagate Ornithogalum exscapum is after it has finished flowering and the foliage begins to yellow and die back. This typically happens in late spring or early summer. The plant is entering its dormant phase, meaning its energy is stored underground in those precious bulbs, making them robust and ready for dividing. Trying to propagate when the plant is in active growth can stress it out and lead to lower success rates.
Your Propagation Toolkit
Don’t worry, you don’t need a fancy laboratory for this! Here’s what you’ll want to have on hand:
- A trowel or small spade
- A sharp, clean gardening knife or pruning shears
- Sterilized pots or seed trays
- A well-draining potting mix. A good blend is 50% compost and 50% coarse sand or perlite.
- Labels or markers to identify your new plants
- Watering can or spray bottle
The Art of Sharing “Little Stars”
For Ornithogalum exscapum, the primary and most successful propagation method is division. These beauties naturally form clusters of bulbs, and separating them is like giving each little bulb its own space to shine.
- Gently excavate: When the foliage is dying back, carefully dig around the base of the Ornithogalum plant with your trowel. You want to lift the entire clump, bulbs and all, out of the soil.
- Cleanse the bulbs: Gently brush away as much of the old soil as you can. You might even give them a gentle rinse with water if they’re really caked in mud.
- Examine and separate: Look at the bulb cluster. You’ll see the main bulb and smaller bulblets or offsets attached to its sides. Using your clean knife or pruning shears, carefully cut or twist apart the bulblets from the main bulb. Make sure each bulblet has a small piece of basal plate (the bottom where the roots grow) attached.
- Allow to callous: This is an important step! Let the separated bulblets sit in a dry, airy spot for a day or two. This allows any cut surfaces to dry and “callous over,” which helps prevent rot when they’re planted.
- Pot them up: Fill your pots or seed trays with your well-draining potting mix. Plant the bulblets about 2-3 inches deep, pointy end up (if you can discern it, otherwise, it will usually find its way). Space them a few inches apart.
- Water lightly: Give them a gentle watering, just enough to settle the soil.
My “Secret Sauce” for Stellar Blooms
Here are a few little tricks I’ve learned over the years that really help these little stars thrive:
- Don’t be too greedy: When dividing, resist the urge to yank off every single tiny bulblet. Focus on the ones that are a decent size and have a good basal plate. Bigger is generally better for a faster start.
- Give them a break: After planting your divisions, don’t fuss over them too much, especially in their first season. They’re establishing their roots. A little patience goes a long way. If you’re planting outdoors, a light mulch after planting can help retain moisture and suppress weeds.
Aftercare and When to Worry
Once your bulblets are potted, keep the soil lightly moist but not soggy. You don’t want them sitting in a waterlogged environment. Place them in a bright spot, but avoid direct, harsh sun for the first few weeks.
You’ll likely see new foliage emerge in the fall or next spring. Be patient! It can take a season or two for a newly divided bulblet to gather enough energy to produce a flower.
The most common sign of failure is rot. If you notice your bulblets turning mushy and dark, it’s usually a sign of too much moisture or insufficient drainage. If you catch it early, you might be able to save a portion by cutting away the rotten bits and re-potting in fresh, dry mix.
Happy Planting and Growing!
There you have it – a simple path to more of those lovely little stars in your garden. Propagating Ornithogalum exscapum is a delightful way to share its beauty and expand your own floral tapestry. Remember to be patient, enjoy the process, and delight in watching your new plants grow and bloom. Happy gardening!
Resource:
https://identify.plantnet.org/k-world-flora/species/Ornithogalum%20exscapum%20Ten./data