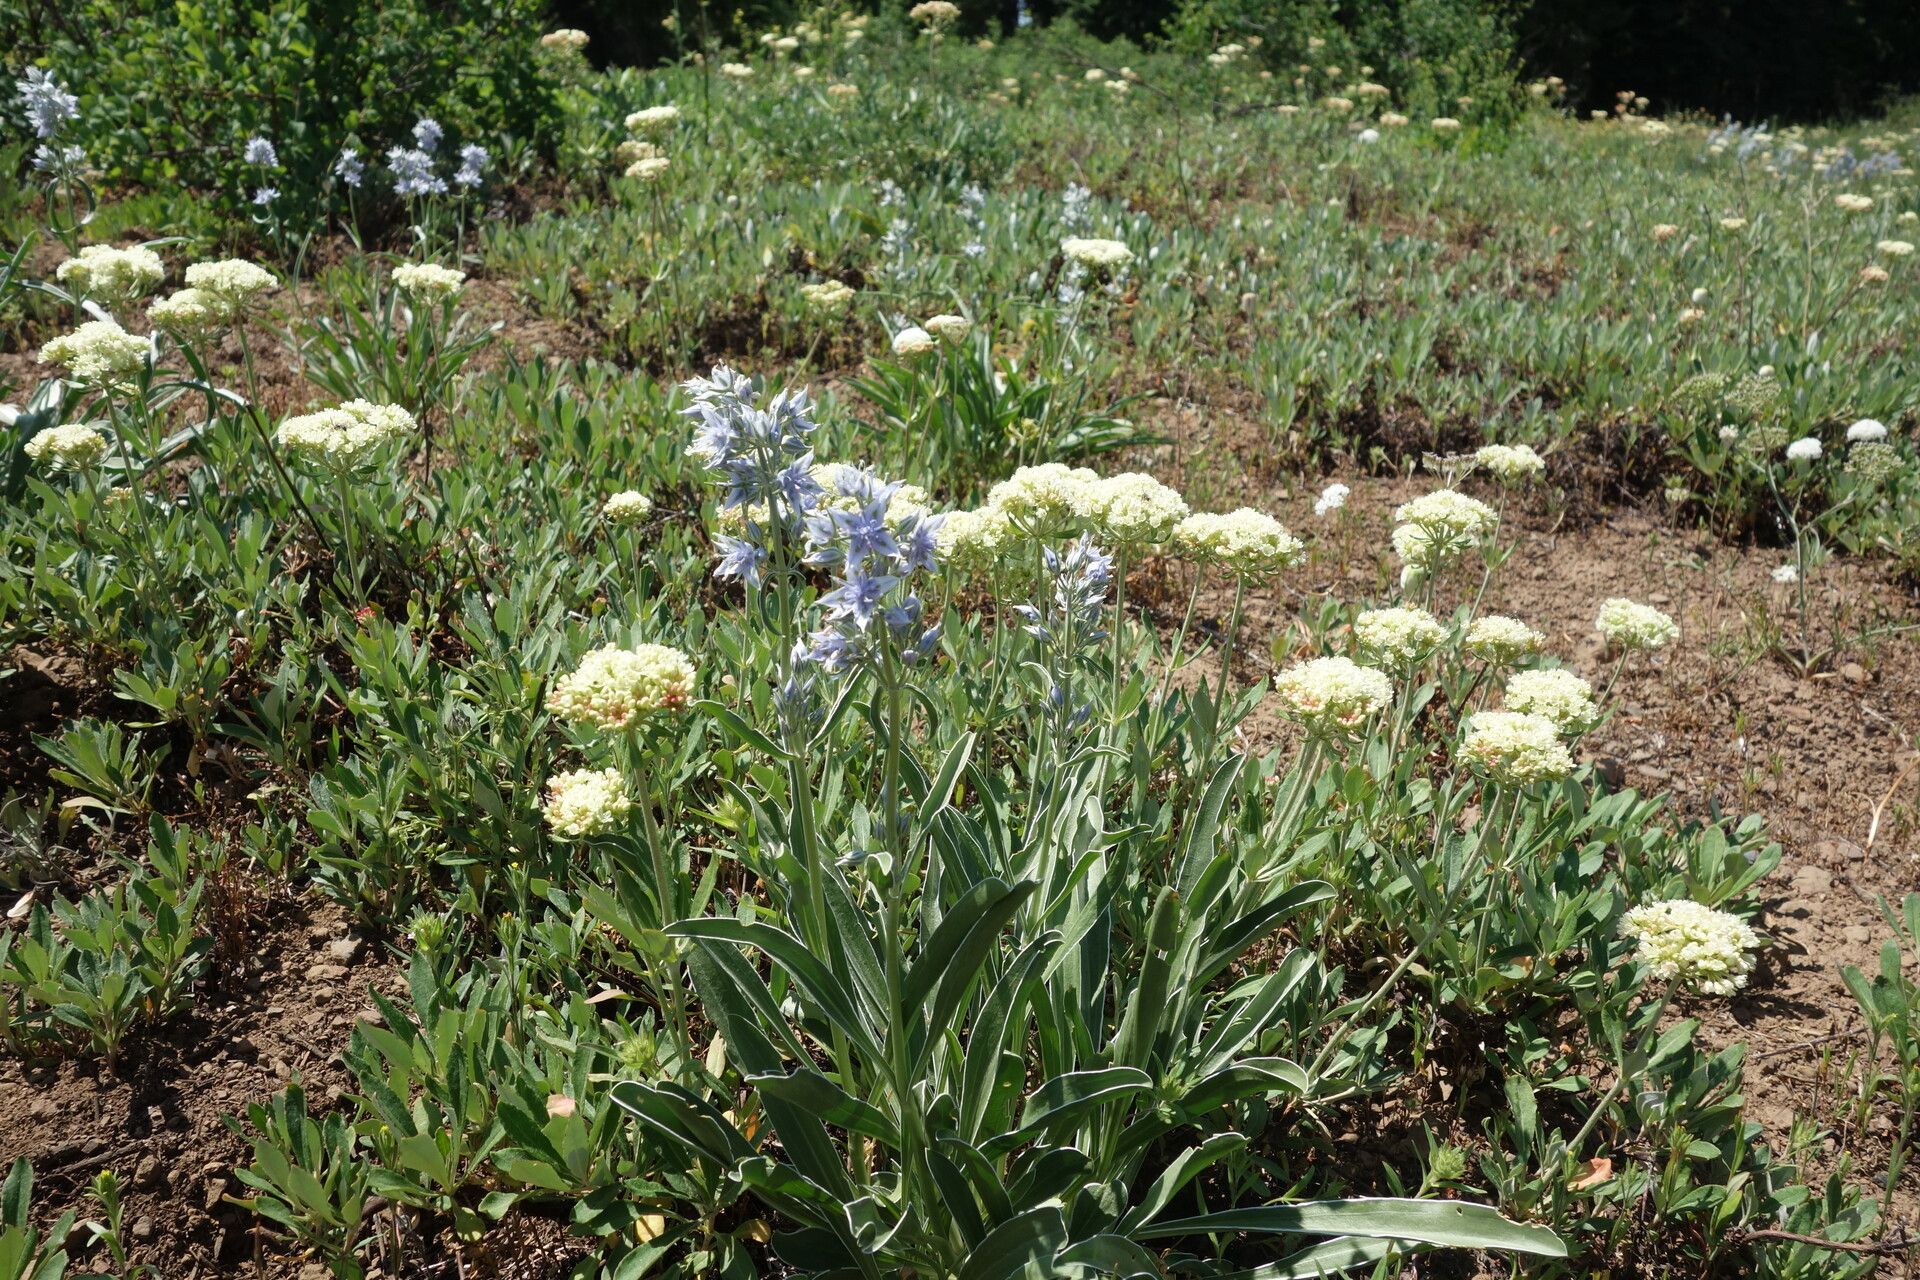
Oh, hello there! Come on in, pull up a chair. I’ve got a fresh pot of coffee brewing, and I’m so excited to chat with you about a plant that’s really stolen a piece of my gardening heart: Frasera albicaulis. You know the one – those beautiful, delicate white blooms that look like they’ve been kissed by moonlight, often clustered on elegant spires. They bring such a gentle, ethereal feel to the garden, don’t they?
Propagating Frasera albicaulis can feel like a little bit of magic. It’s incredibly rewarding to take a tiny piece of a plant you love and coax it into a whole new life. Now, I won’t lie, for absolute beginners, it might present a slight learning curve. But with a little patience and this guide, I promise you, you’ll be well on your way. It’s a project that’s absolutely worth the effort!
The Best Time to Start
For Frasera albicaulis, timing is everything. The prime time to get busy with propagation is generally in late spring or early summer. This is when the plant is actively growing and has plenty of energy to put into developing roots. Look for new, healthy growth that’s not too woody. You’ll want to avoid trying this when the plant is stressed by extreme heat or during its dormancy period.
Supplies You’ll Need
Gathering your supplies ahead of time makes the whole process much smoother. Here’s what I usually have on hand:
- Sharp pruning shears or a clean, sharp knife: Essential for making neat cuts.
- Rooting hormone (optional but recommended): A powdered or liquid rooting hormone can give your cuttings a real boost.
- A well-draining potting mix: I like a blend of equal parts perlite, coco coir, and a good quality potting soil. For Frasera, you want to make sure it drains really well.
- Small pots or seed trays: Clean containers are a must to prevent disease.
- A spray bottle: For misting the cuttings and keeping them hydrated.
- Plastic bags or a propagator lid: To create a humid environment for your cuttings.
- Labels and a marker: So you don’t forget what you’ve planted where!
Propagation Methods
While Frasera albicaulis can be grown from seed, I find that propagating from stem cuttings is often more reliable and yields faster results for beginners.
Stem Cuttings:
- Take the Cutting: In late spring or early summer, select a healthy stem from your mature plant. Using your sharp pruning shears or knife, make a clean cut just below a leaf node (where a leaf attaches to the stem). You’re aiming for cuttings that are about 4-6 inches long.
- Prepare the Cutting: Gently remove the lower leaves from the cutting, leaving just a few at the top. This prevents them from rotting when buried in the soil. If the leaves are very large, you can even cut them in half to reduce water loss.
- Apply Rooting Hormone (Optional): Dip the cut end of the stem into rooting hormone, tapping off any excess. This isn’t strictly necessary, but it can significantly improve your success rate.
- Plant the Cutting: Fill your small pots with your well-draining potting mix. Make a small hole in the center of the soil with your finger or a pencil. Carefully insert the cut end of the stem into the hole, ensuring the leaf nodes are below the soil surface. Firm the soil gently around the cutting.
- Provide Humidity: Water the soil lightly so it’s moist but not waterlogged. Then, place the pot inside a clear plastic bag or cover it with a propagator lid. This creates a mini greenhouse effect, keeping the humidity high, which is crucial for cuttings to root. Make sure the leaves don’t touch the sides of the bag where condensation can cause rot.
- Find a Bright Spot: Place the pot in a location that receives bright, indirect light. Avoid direct sunlight, as this can scorch the delicate cuttings.
The “Secret Sauce” (Pro Tips)
Here are a few little tricks I’ve learned over the years that can really make a difference:
- Bottom Heat is Your Friend: If you have a heat mat designed for seedlings, placing your pots on it can really speed up root formation. The gentle warmth encourages those roots to get going.
- Don’t Over-Water! This is probably the biggest killer of cuttings. The soil should always be moist, but never soggy. If you can press the soil and water squeezes out, it’s too wet. Good drainage is paramount here.
- Pollination Matters for Seed: While we’re focusing on cuttings, it’s worth mentioning that if you’re hoping to collect seeds, ensuring good pollination is key. Sometimes, a gentle hand pollinating with a small brush can help guarantee a good seed set for future propagation from seed.
Aftercare & Troubleshooting
Once your cuttings have started to root – you’ll know this when you see new growth appearing or feel a gentle tug when you try to pull the cutting out – it’s time to adjust their care.
- Acclimatize: Gradually remove the plastic bag or lid over a week or so to help the new plant adjust to normal humidity.
- Watering: Continue to water when the top inch of soil feels dry. You can start feeding with a diluted liquid fertilizer once you see consistent new growth.
- Repotting: When the roots have filled the pot, you can repot your new Frasera albicaulis into a slightly larger container or its permanent garden spot.
Troubleshooting: What to watch out for? The most common problem is rot. If your cuttings turn black and mushy, it’s usually a sign of too much moisture and poor air circulation. If a cutting simply fails to root after a good few weeks, don’t despair! Sometimes a stem just doesn’t take. It’s a natural part of the process.
A Encouraging Closing
See? Not so daunting, is it? Propagation is a journey, and each cutting is a little experiment in patience and observation. Don’t be discouraged if your first attempt isn’t perfect. The joy comes from the learning, the anticipation, and eventually, the triumph of seeing a new life emerge. So, grab your tools, pour another cup of coffee, and get your hands dirty. Happy propagating!
Resource:
https://identify.plantnet.org/k-world-flora/species/Frasera%20albicaulis%20Griseb./data