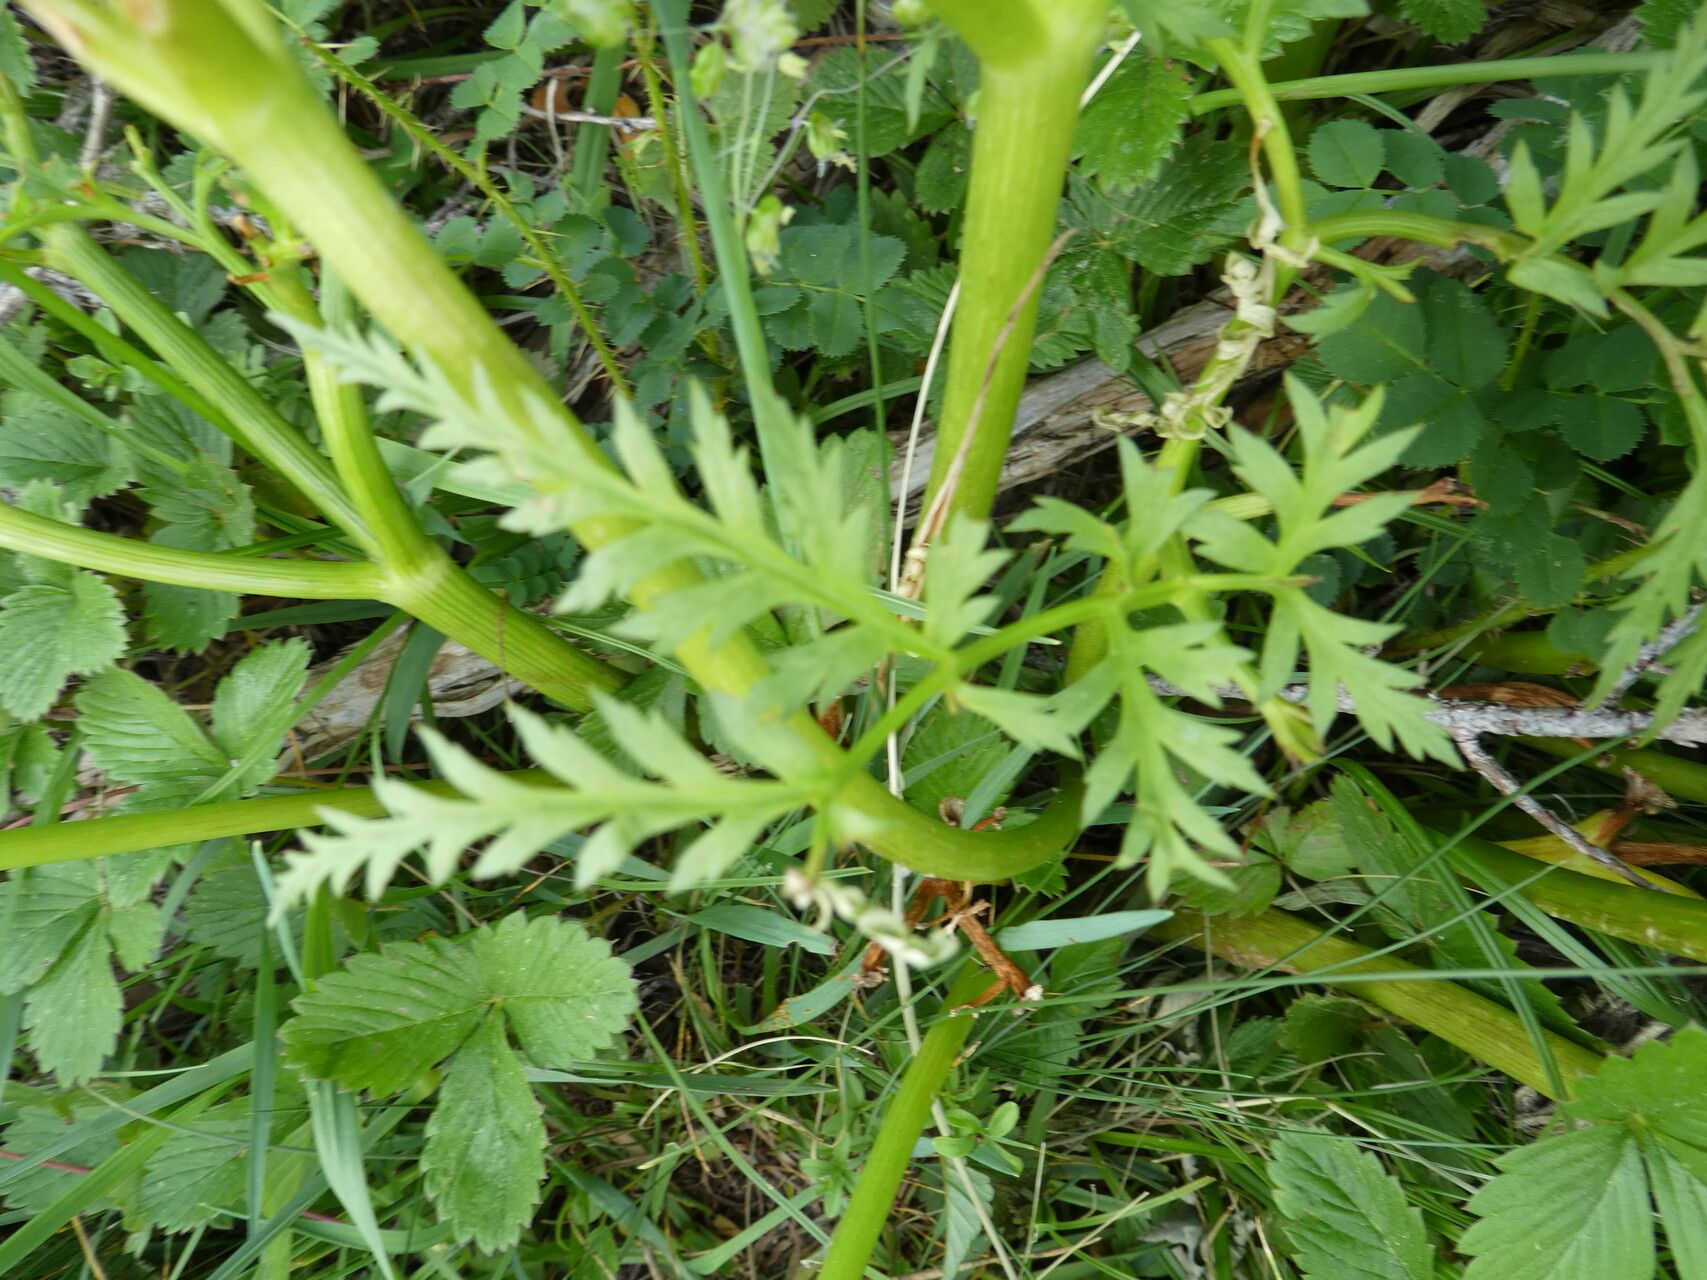
Oh, hello there! Grab a mug, won’t you? It’s wonderful to chat with you about Seseli peucedanoides. This lovely plant, with its delicate, lacy foliage and clusters of tiny white flowers, always brings a touch of airy elegance to my garden. It reminds me of those sweet Queen Anne’s Lace cousins you see blooming so happily in meadows. Propagating your own plants? It’s incredibly rewarding. You get to watch a whole new life start from just a small piece of your existing garden friend.
Now, is Seseli peucedanoides a beginner plant to propagate? Honestly, I’d say it’s moderately easy. It’s not as foolproof as, say, a pothos, but with a little attention and the right approach, most gardeners will have success. You’ve got this!
The Best Time to Start
For the most success with Seseli peucedanoides, I find the late spring to early summer is your sweet spot. Aim for when the plant is actively growing, but before it gets too hot and stressed. You want to take cuttings or divide while it has good energy reserves. Avoid propagating during the extreme heat of mid-summer or when the plant is dormant in winter. Spring growth is usually vigorous and ready to root.
Supplies You’ll Need
- Sharp pruning shears or a clean, sharp knife: Essential for making clean cuts to prevent damage and disease.
- Well-draining potting mix: I usually mix my own for cuttings, using about two parts peat moss or coco coir to one part perlite or coarse sand. For divisions, a good quality potting soil is fine.
- Small pots or seed trays: Clean ones are key! Yogurt cups with drainage holes poked in the bottom work in a pinch.
- Rooting hormone (optional but recommended): A powder is usually easiest to use. It really gives those new roots a helpful nudge.
- Watering can or spray bottle: For gentle watering.
- Labels and a marker: Trust me, you’ll thank yourself later for labeling your pots!
- Clear plastic bag or propagation dome (for stem cuttings): To create a humid environment.
Propagation Methods
Let’s get our hands dirty! Seseli peucedanoides can be propagated quite successfully through division and stem cuttings.
1. Division: This is my go-to method for Seseli peucedanoides because it’s often the easiest and gives you a mature plant faster.
- Digging Up Your Plant: When you’re ready to divide (remember, late spring/early summer!), gently dig up the entire Seseli plant. Try to disturb the roots as little as possible.
- Separating the Roots: Once it’s out, you’ll see it has a cluster of crowns. You can gently tease the root ball apart with your fingers to separate it into smaller clumps. If the roots are really tangled, you can use a clean trowel or even a sharp knife to cut through them, making sure each new division has some healthy roots and at least one or two growing points (the little leafy bits at the top).
- Replanting: Immediately replant your divisions into new spots in the garden or into pots filled with that lovely well-draining soil. Water them gently but thoroughly.
2. Stem Cuttings: This is a bit more involved but fantastic if you want to multiply your plants significantly.
- Taking the Cuttings: Look for healthy, non-flowering shoots that are about 4-6 inches long. Using your clean shears, make a clean cut just below a leaf node (where a leaf attaches to the stem). Remove the lower leaves from the cutting, leaving just a few at the top.
- Rooting Hormone Dip: If you’re using rooting hormone, dip the cut end of the stem into the powder, tapping off any excess.
- Planting the Cuttings: Fill your small pots with your well-draining potting mix. Make a hole with a pencil or your finger, and gently insert the cutting, firming the soil around it.
- Creating Humidity: Water the soil lightly. Then, cover the pot with a clear plastic bag, sealing it at the base, or place it inside a propagation dome. This creates a mini-greenhouse effect, keeping the humidity high, which is crucial for cuttings to root.
- Location: Place the pots in a warm spot with bright, indirect light. Avoid direct sun, which can scorch the tender cuttings.
The “Secret Sauce” (Pro Tips)
Here are a few little tricks I’ve learned over the years that make a real difference:
- Bottom Heat is Your Friend: For stem cuttings, especially if your house is a bit on the cool side, placing the pots on a gentle seedling heat mat can significantly speed up root development. It encourages those roots to form from the warmth radiating up through the soil.
- Don’t Disturb the Newbies Too Soon: When you’re trying to root cuttings, resist the urge to tug on them to see if they have roots. Wait until you see new leafy growth appearing, which is a good sign they’re establishing themselves. You can also gently try to lift a cutting; if it resists, it has some roots. For divisions, give them a few weeks to settle in before you worry too much.
- Air Them Out: If you’re using the plastic bag method for cuttings, open the bag for a few minutes each day to allow for air circulation. This helps prevent fungal diseases like damping-off.
Aftercare & Troubleshooting
Once your Seseli divisions or cuttings show signs of new growth and have developed a good root system (you can check by gently tugging or looking for roots at the drainage holes), it’s time for a little extra care.
- Gradual Acclimation: If your cuttings were covered, gradually remove the plastic bag over a few days to help them adjust to normal humidity levels.
- Watering: Water them regularly, keeping the soil consistently moist but not waterlogged. Overwatering is a common culprit for failure, leading to root rot.
- Light: Continue to provide bright, indirect light. Once they are more established, you can slowly introduce them to more direct sun, but watch for signs of scorching.
Troubleshooting: The biggest issue you might face is rot. This usually happens with overwatering or poor drainage. If you see stems turning mushy and brown at the soil line, or if the whole cutting wilts and turns black, it’s likely rot. Unfortunately, there’s usually no coming back from that. The best approach is prevention: use well-draining soil, a clean pot, and don’t overwater. If you’re dividing, ensure the separated pieces have enough healthy root tissue.
A Encouraging Closing
There you have it! Propagating Seseli peucedanoides is a wonderfully satisfying journey. Be patient with your new plant babies; they take their time to establish themselves. Watch them closely, offer them good care, and soon you’ll have a whole new patch of these charming beauties to enjoy. Happy gardening, my friend!
Resource: