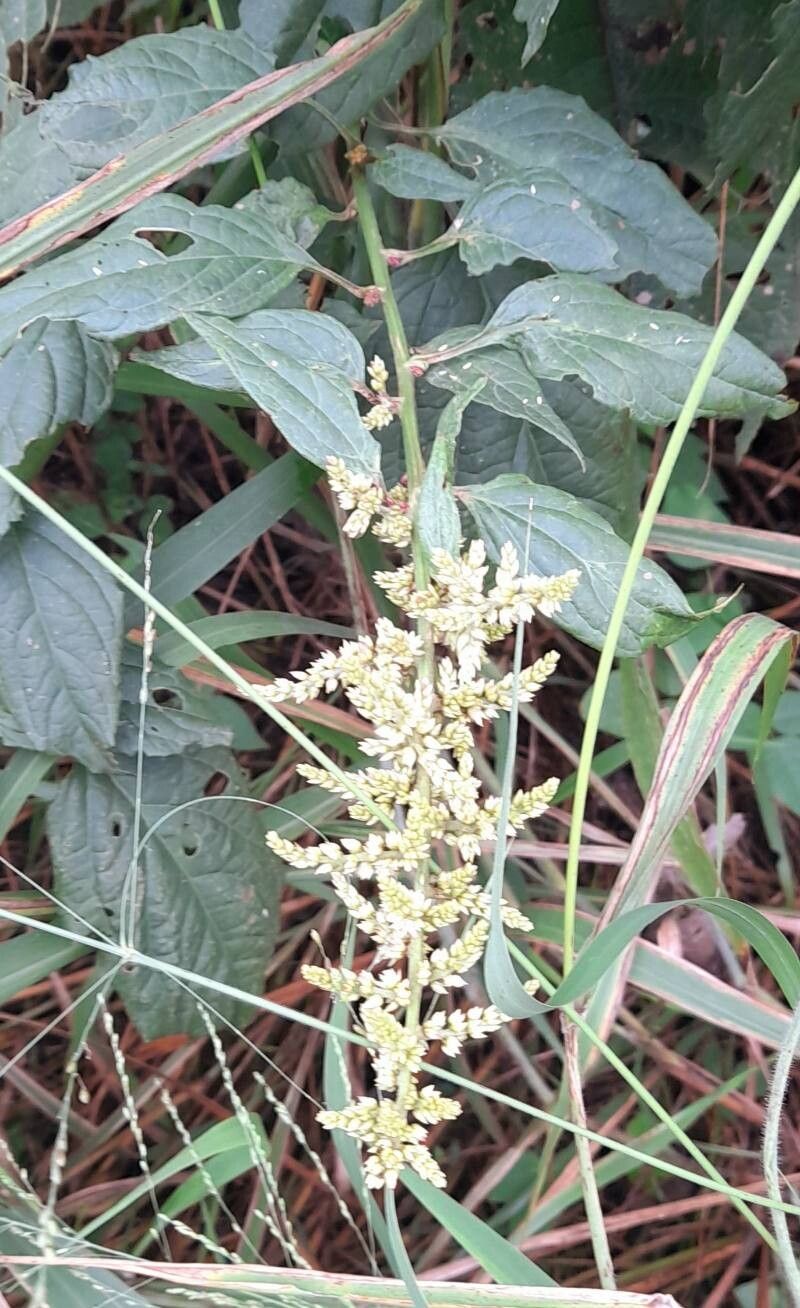
Oh, hello there! Pull up a chair, grab a cuppa. Today, we’re going to chat about a truly delightful plant: Chamissoa altissima. If you’re looking for a gorgeous, lush foliage plant that can really make a statement in your garden or home, this is one to consider. Its large, velvety leaves are just stunning, aren’t they? And the best part? It’s wonderfully rewarding to propagate. For those of you just dipping your toes into the world of gardening, I’d say Chamissoa altissima is a pretty forgiving plant to start with, especially with these methods. You’ll be amazed at how easily you can create new life from a single parent plant.
When to Get Your Hands Dirty
The absolute sweet spot for propagating Chamissoa altissima is when the plant is in its active growth phase. For most of us, this means late spring through summer. The days are longer, the temperatures are warmer, and the plant has the energy to put into developing new roots. You’ll know it’s ready when you see lots of fresh, vibrant new growth emerging. Trying to propagate when the plant is dormant or stressed is just setting yourself up for disappointment.
What You’ll Need from Your Gardening Arsenal
Don’t worry, you don’t need anything too fancy! Here’s a quick rundown of what will help you succeed:
- Clean, sharp pruning shears or a knife: For making nice, clean cuts. No jagged edges, please!
- A good potting mix: I like a well-draining mix, often a blend of good quality potting soil with perlite or coarse sand. You could also use a specialized seedling or cutting mix.
- Small pots or trays: Clean ones are key! Yogurt cups with drainage holes work in a pinch.
- Rooting hormone (optional, but recommended): This liquid or powder stuff can really give your cuttings a boost in producing roots.
- Plastic bags or a propagator: To maintain humidity around your cuttings.
- Watering can with a fine rose: For gentle watering.
- A spray bottle: For misting.
- Small labels and a marker: To keep track of what you’ve planted.
My Favorite Ways to Clone ‘Em
Chamissoa altissima is a breeze to propagate from stem cuttings. This is by far my most successful method.
- The Cut: With your clean shears, select a healthy stem that has at least two to three sets of leaves. Make a clean cut just below a leaf node (that little bump where a leaf attaches to the stem). This is where the magic happens – roots love to emerge from these nodes. You want cuttings that are about 4-6 inches long.
- Prep the Cutting: Gently remove the lower leaves from your cutting, leaving just the top one or two sets. This prevents them from rotting in the soil.
- Dip and Plant: If you’re using rooting hormone, dip the cut end of your stem into it, tapping off any excess. Then, gently insert the cut end into your prepared potting mix. Ensure the leaf node is buried.
- Give it a Drink: Water the soil thoroughly but gently. You want it to be moist, not waterlogged.
- Create a Greenhouse: Cover your pot or tray with a clear plastic bag or place it inside a propagator. This creates a humid microclimate that your cuttings desperately need to prevent drying out. Make sure the leaves aren’t touching the plastic if possible, or poke a few holes in the bag for ventilation. Place your cuttings in a bright location out of direct sunlight.
The “Secret Sauce” – My Insider Tips
Here are a few little tricks I’ve picked up over the years that really make a difference:
- Think About the “Heel”: Sometimes, when taking a cutting, you can include a small sliver of the older stem (the “heel”) with your new cutting. This can sometimes help the cutting establish faster. Just make sure the cut is clean.
- Bottom Heat is Wonderful: If you have the setup, placing your propagation tray on a heat mat can significantly speed up the rooting process. It mimics the warmth of summer soil and encourages root development.
- Don’t Over-Water: This is probably the biggest killer of cuttings. It’s better to err on the side of slightly too dry than too wet. Soggy soil leads to rot, and that’s a sad end for a hopeful new plant.
Life After Roots and What to Watch For
Patience is your best friend here! It can take anywhere from 2 to 6 weeks to see roots forming. You can gently tug on a cutting (carefully, so you don’t disturb it!) – if there’s resistance, you’ve got roots!
Once you see a good amount of root growth, you can remove the plastic bag gradually over a few days to acclimate your new plant to normal humidity. Continue to water it when the top inch of soil feels dry. These little guys are still delicate, so treat them with care.
The most common issue you’ll encounter is rot. If your cutting turns mushy, black, or just wilts and refuses to perk up, it’s likely rotted. This is usually due to overwatering or insufficient air circulation. If you see it on one cutting, remove it immediately to prevent it from spreading.
Keep Growing!
Propagating plants is such a fulfilling part of gardening. It’s a chance to learn, to experiment, and to share the green beauty you love with others. So, give it a try with your Chamissoa altissima. Don’t be discouraged if your first attempt isn’t perfect – every gardener has had their share of casualties. Just keep at it, enjoy the process, and soon you’ll have a whole collection of these magnificent plants! Happy propagating!
Resource:
https://identify.plantnet.org/k-world-flora/species/Chamissoa%20altissima%20(Jacq.)%20Kunth/data