Oh, hello there, fellow garden enthusiast! Come on in, pull up a chair. It’s so lovely to chat about plants with you. Today, we’re diving into the wonderful world of propagating Sphaeralcea lindheimeri, or as many of us affectionately call it, Texas Globe Mallow.
The Sweet Appeal of Sphaeralcea Lindheimeri
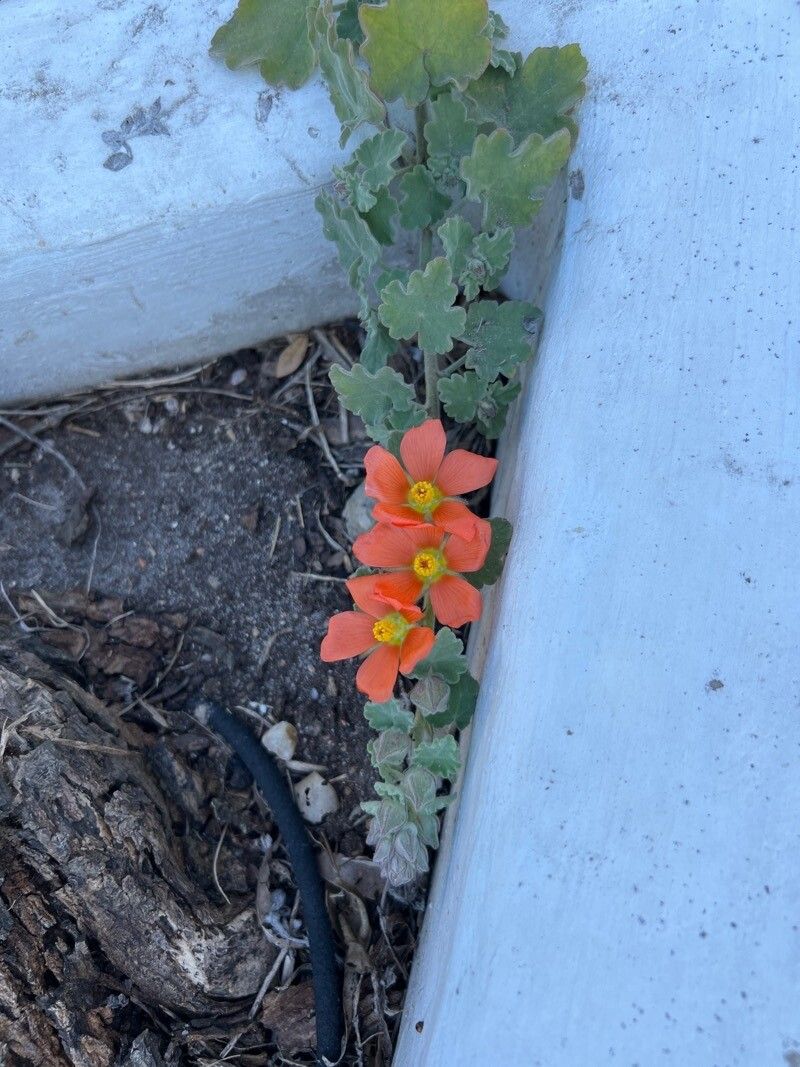
If you’re drawn to plants that offer a generous show of vibrant, cup-shaped blooms for a long season, you’re going to adore Globe Mallow. The flowers, often in shades of apricot, coral, or a lovely salmon pink, are simply delightful against its silvery-green foliage. They attract all sorts of beneficial pollinators too, which is a big bonus in my book.
And the best part? Propagating them is a fantastic way to expand your collection without spending a fortune. It’s also incredibly rewarding to nurture a tiny cutting into a thriving plant, knowing you had a hand in every step. Is it beginner-friendly? I’d say it falls into the “moderately easy” category. With a little care and attention, even those new to propagating can have great success.
When is the Sweet Spot for Starting?
For Sphaeralcea lindheimeri, the late spring or early summer is your golden window. This is when the plant is actively growing, and the stems are pliable and full of vigor. You’re looking for new, non-woody growth. Think of it as the plant’s youthful energy – it’s more ready and willing to put down roots then. Avoid trying to take cuttings from old, woody stems; they’re much less likely to take.
Gathering Your Gardening Toolkit
Before we get our hands dirty, let’s make sure you have everything ready. This will make the whole process smoother and more enjoyable.
- Sharp Pruning Shears or a Craft Knife: Cleanliness is key here!
- Rooting Hormone (Optional but Recommended): A dip in this can give your cuttings a significant boost.
- Propagating Medium: A well-draining mix is crucial. I like a blend of equal parts perlite and peat moss or coco coir. Some people also use a standard potting mix amended with extra perlite.
- Small Pots or Flats: Tiny pots, cell trays, or even recycled yogurt cups with drainage holes will work.
- Plastic Bags or a Clear Lid: To create a humid environment for your cuttings. A clear plastic bag works wonderfully.
- Watering Can with a Fine Rose or a Spray Bottle: For gentle watering.
- Labels: For obvious reasons! You’ll want to know what you planted.
Let’s Get Propagating: Stem Cuttings
This is my go-to method for Sphaeralcea, and it’s usually the most successful.
- Select Your Stems: Find those vibrant, non-woody stems, preferably about 4-6 inches long. They should have at least a couple of sets of leaves.
- Make the Cut: Using your clean pruning shears or craft knife, make a clean cut just below a leaf node. A leaf node is where a leaf emerges from the stem. This is where a lot of the magic happens when it comes to rooting.
- Prepare the Cuttings: Gently remove the lower leaves from the stem, leaving just the top two sets. This prevents them from rotting when buried. If the remaining leaves are very large, you can even cut them in half to reduce water loss.
- Dip in Rooting Hormone (If Using): Moisten the cut end of the stem slightly, then dip it into the rooting hormone powder. Tap off any excess.
- Plant Your Cuttings: Fill your chosen pots with your propagating medium. Make a small hole in the center with your finger or a pencil. Gently insert the cut end of the Sphaeralcea cutting into the hole, making sure the nodes with removed leaves are below the soil surface. Firm the medium gently around the stem.
- Water Gently: Water the potting mix thoroughly but gently. You don’t want to dislodge your precious cuttings.
- Create Humidity: Now, the crucial step for encouraging root formation. Cover each pot loosely with a plastic bag, or place the pots in a tray and cover the whole thing with a clear plastic lid. This creates a humid microclimate. Make sure the leaves do not touch the inside of the bag where condensation will form – this can lead to rot. You might need to prop up the bag a bit.
My “Secret Sauce” for Sphaeralcea Success
After years of playing with plants, I’ve picked up a few tricks that seem to make all the difference, especially with Sphaeralcea.
- Bottom Heat is Your Friend: If you can, place your pots on a gentle heat mat. This little bit of warmth from below encourages root development like nothing else. It mimics the conditions of being buried in warm soil. Just a gentle warmth, not hot!
- Don’t Overwater, But Keep Them Moist: This is a fine balance. The propagating medium should feel consistently moist, but never soggy. Overwatering is the quickest way to invite rot. I like to check the moisture level by gently touching the soil. If it feels dry on the surface, it’s time for a light watering.
- Good Airflow is Still Important: Even though we want humidity, completely sealing them off isn’t ideal. Periodically open the plastic bags or lids for a few minutes each day. This allows for some fresh air exchange, which helps prevent fungal diseases.
Aftercare and What to Watch For
Be patient! It can take anywhere from three to six weeks for your Sphaeralcea cuttings to show signs of rooting. You’ll know they’re ready to leave their cozy, humid nursery when you see new leaf growth and they feel firm when lightly tugged (though I usually wait for visible growth before tugging!).
Once roots have formed, you can gradually acclimate them to more normal conditions. This means slowly removing the plastic bag or lid over a week or so. Water them as you would a young plant – keeping the soil moist but not waterlogged.
Now, what if things don’t go as planned? The most common issue is rot. If you see your cuttings turning mushy and black, or developing fuzzy mold, that’s a sign of too much moisture and not enough air. Unfortunately, there’s usually no coming back from rot, so it’s best to discard the affected cutting and learn from it. Make sure your soil drains well and that you’re not drowning them!
Embrace the Green Journey
Propagating plants is a wonderful way to connect with nature and to watch life unfold. Don’t be discouraged if not every cutting takes. Each attempt is a learning experience, and the successes are all the sweeter for it. Enjoy the process, be patient with your little cuttings, and soon you’ll have a beautiful Sphaeralcea garden blooming just for you! Happy gardening!
Resource:
https://identify.plantnet.org/k-world-flora/species/Sphaeralcea%20lindheimeri%20A.Gray/data