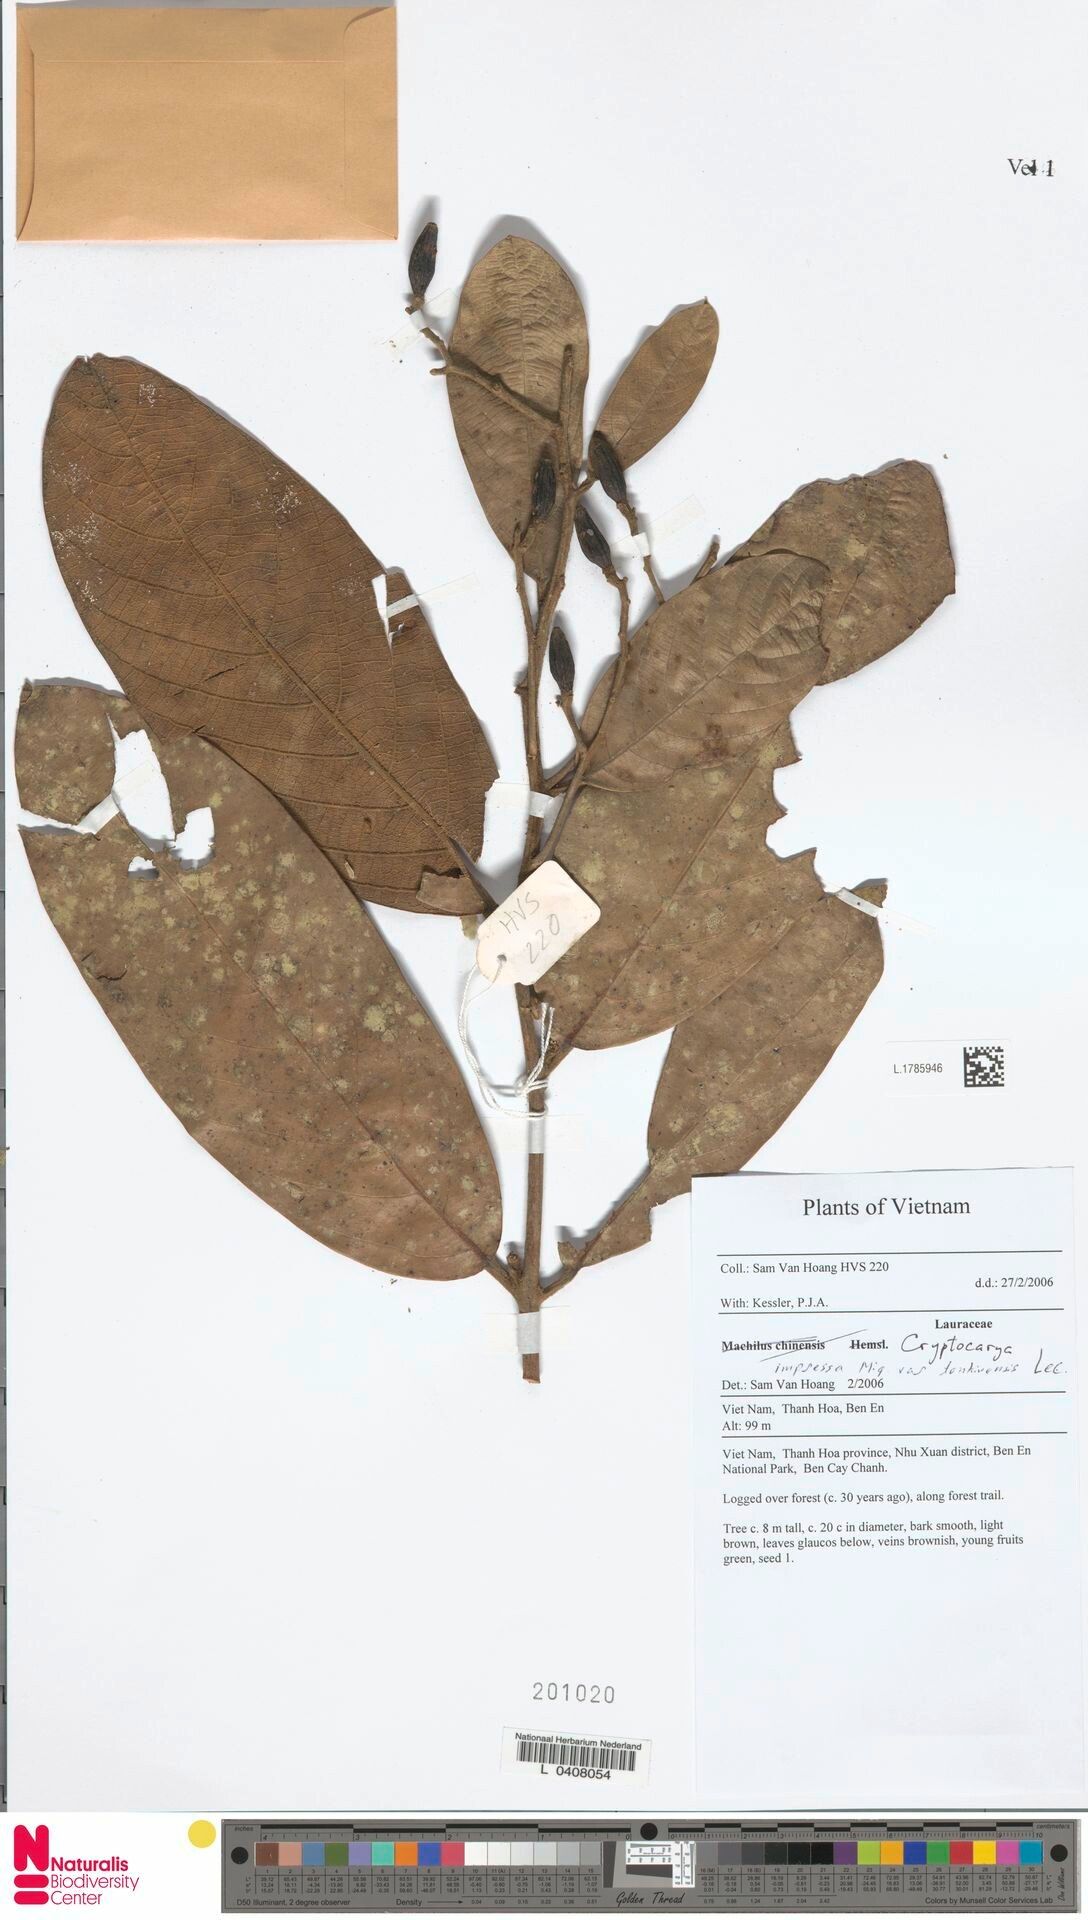
Oh, hello there! It’s so lovely to have you join me. Today, we’re going to dive into the beautiful world of Cryptocarya impressa, often called the “native laurel” or sometimes even the “native bay.” It’s a real gem in many gardens, with its glossy, deep green leaves and elegant, tree-like habit. Seeing one of these mature is a sight to behold, and the reward of growing your own from a tiny cutting or seed? Utterly magical!
Now, about propagating Cryptocarya impressa – is it a walk in the park for a complete beginner? Honestly, it leans a little more towards needing some patience and a touch of finesse. It’s not the easiest plant to get going, but with a bit of careful attention, you can absolutely succeed. It’s a wonderful project for those of you who’ve had a little gardening experience and are ready to take on a slightly more advanced challenge.
The Best Time to Start
For Cryptocarya impressa, the sweet spot for propagation is definitely during its active growing season. Think late spring and early summer. This is when the plant is putting on new growth, and those new stems have the best energy reserves to push out roots. Starting too late in the season might mean your cuttings don’t establish well before cooler weather sets in.
Supplies You’ll Need
Here’s what I always have on hand when I’m ready to propagate:
- Sharp pruning shears or a clean razor blade: For making clean cuts. It’s amazing how much difference a sharp tool makes!
- Rooting hormone: This isn’t strictly essential for every plant, but for something like Cryptocarya impressa, it gives your cuttings a real boost. I prefer a powder form.
- Well-draining potting mix: A 50/50 blend of perlite and peat moss is excellent. Or, you can get a good quality seed starting mix. Avoid heavy garden soil.
- Small pots or trays: Make sure they have drainage holes.
- A plastic bag or dome: To create a humid environment for your cuttings.
- Optional: Heat mat: This can significantly speed up rooting, especially in cooler conditions.
Propagation Methods
While you can sometimes find seeds for Cryptocarya impressa, propagating from stem cuttings is generally more reliable and quicker for getting a plant that’s true to type. Divisions are rarely practical for this plant as it’s a tree and doesn’t typically form clumps that are easy to split.
Stem Cuttings
- Select your material: Look for healthy, semi-hardwood stems. These are stems that are new growth but have started to firm up a bit. They’ll be green but not floppy. You want cuttings that are about 4-6 inches long.
- Make the cut: Using your sharp pruners or razor, make a clean cut just below a leaf node. This is where roots are most likely to form. Remove any flowers or flower buds from the cutting – we want all that energy going into root development!
- Prepare the cutting: Strip off the lower leaves, leaving just a few at the top. This prevents them from rotting in the soil.
- Apply rooting hormone: Dip the cut end of the stem into the rooting hormone, tapping off any excess.
- Plant the cutting: Make a small hole in your prepared potting mix using a pencil or your finger. Gently insert the cutting into the hole, ensuring the hormone-coated end is in contact with the soil. Firm the soil gently around the base to support the cutting.
- Mist and cover: Water the soil lightly and then cover the pot or tray with a plastic bag or propagation dome to maintain high humidity. Make sure the leaves don’t touch the sides of the bag if possible.
The “Secret Sauce” (Pro Tips)
Here are a few things I’ve learned over the years with trickier cuttings:
- Bottom heat is your best friend: If you have a heat mat, place your pots on it. This gentle warmth encourages root formation from below, giving your cuttings a serious competitive edge. It makes a noticeable difference, especially for plants that like it a bit warmer.
- Don’t overwater, but don’t let it dry out: This is a delicate balance. You want the soil to be consistently moist, but never soggy. Soggy soil is the quickest way to rot your cuttings before they even have a chance to form roots.
- “Wiggle test” with caution: After a few weeks, you might be tempted to give your cuttings a gentle tug. If you feel slight resistance, that’s a good sign of root development. However, be very gentle, as too much jostling can break nascent roots. I usually wait until I see a bit of new leaf growth before I’m confident.
Aftercare & Troubleshooting
Once you see new growth on your cuttings – a happy sign! – it’s time to start acclimatizing them. Gradually increase ventilation by opening up the plastic bag or dome a little each day over a week or so.
Keep the soil consistently moist as the roots develop. You can also start feeding with a weakly diluted liquid fertilizer once you see robust new growth.
What if things go wrong? The most common issue is rot. If your cuttings start to blacken and look mushy, it’s usually too much moisture and not enough air circulation. Unfortunately, once rot sets in, it’s hard to save them. Another sign of failure is if the cutting looks completely wilted and dry, which means it simply didn’t take, or the humidity wasn’t high enough. Don’t get disheartened if a few don’t make it – it’s all part of the learning curve!
A Encouraging Closing
So there you have it! Propagating Cryptocarya impressa is definitely a project that rewards patience and a watchful eye. Don’t be discouraged if your first attempts aren’t perfect; every gardener has experienced the occasional casualty. Just keep experimenting, keep learning, and most importantly, enjoy the process of bringing new life into your garden. Happy propagating!
Resource:
https://identify.plantnet.org/k-world-flora/species/Cryptocarya%20impressa%20Miq./data