Growing More of That Lovely Mugwort Magic: Your Guide to Propagating Artemisia gorgonum
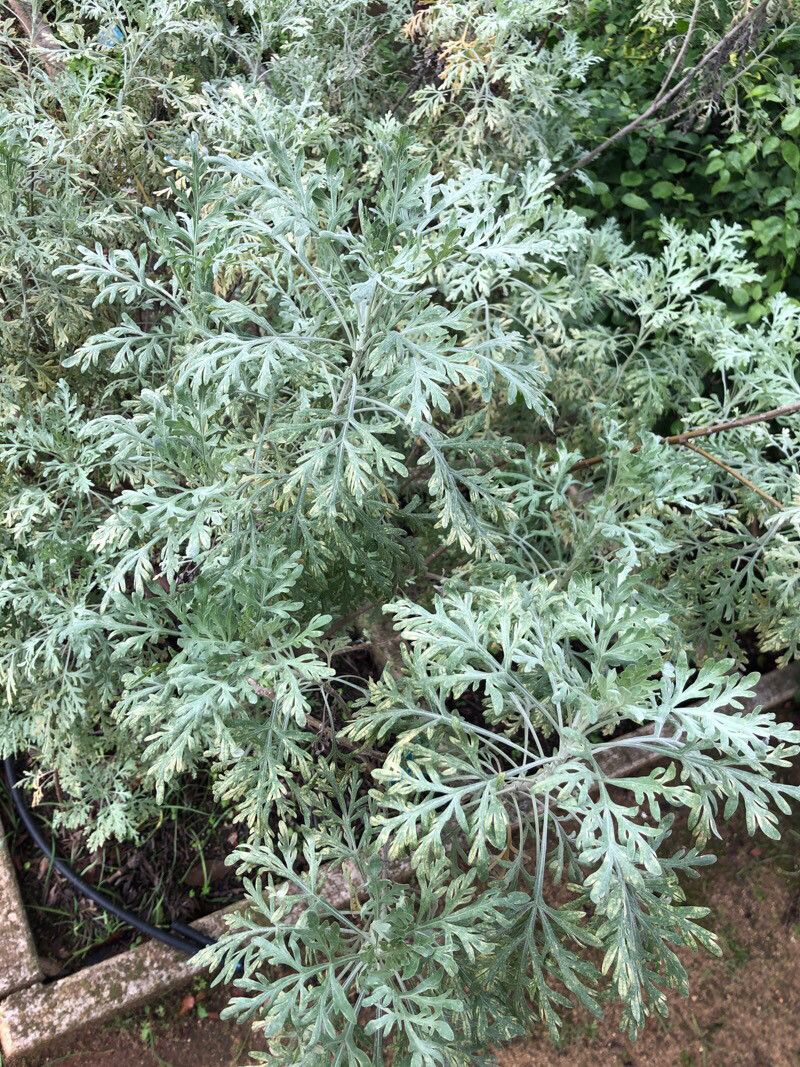
Oh, Artemisia gorgonum! Isn’t she just a delight? I’ve always been drawn to its finely cut, silvery foliage. It adds such a graceful, almost ethereal touch to the garden, and it smells wonderfully aromatic when you brush past it. If you, like me, find yourself captivated by this particular mugwort, you’re probably wondering how to get more of it. And guess what? Propagating Artemisia gorgonum is a very rewarding endeavor, a way to share its beauty or simply expand your own collection without buying new plants. For those just starting out in the world of propagation, it’s a pretty forgiving plant, which is always a good sign!
When to Get Your Hands Dirty
The sweet spot for nabbing cuttings from your Artemisia gorgonum is generally in the late spring or early summer. This is when the plant is actively growing and has plenty of healthy, semi-hardened stems to offer. You want stems that are firm but not yet woody. Trying to propagate too early, when everything is still very soft and new, can sometimes lead to disappointment. Wait until there’s a bit of substance to those stems.
Your Propagation Toolkit
Here’s what I usually have on hand when I’m ready to get a fresh batch of Artemisia gorgonum going:
- Sharp Pruning Shears or a Knife: Clean cuts are essential for healthy roots to form.
- Rooting Hormone (Optional but Recommended): This isn’t strictly necessary for Artemisia as it’s a good rooter, but it can certainly give your cuttings a helpful boost. Look for a powder or gel.
- Well-Draining Potting Mix: A mix of equal parts perlite and peat moss, or a good quality potting soil with added perlite, works wonders. You want something that won’t hold onto too much moisture.
- Small Pots or Seed Trays: Clean containers with drainage holes are a must.
- Clear Plastic Bags or Domes: These create a mini greenhouse effect to keep humidity high around your cuttings.
- Watering Can or Spray Bottle: For gentle watering.
Getting Started: My Go-To Propagation Methods
I find that stem cuttings are my most reliable method for Artemisia gorgonum. It’s straightforward and gives great results.
- Take Your Cuttings: Select healthy stems from your mature plant. Aim for pieces that are about 4-6 inches long. Using your clean shears, make a cut just below a leaf node (where a leaf attaches to the stem). This is where rooting hormones are typically produced.
- Prepare the Cuttings: Gently remove the leaves from the bottom half of each cutting. You only want to leave a few sets of leaves at the top. If the remaining leaves are very large, you can even cut them in half to reduce water loss.
- Apply Rooting Hormone (If Using): Dip the cut end of each stem into your rooting hormone, tapping off any excess.
- Plant Your Cuttings: Fill your pots or trays with your prepared potting mix. Make a small hole with a pencil or your finger and insert the cuttings, ensuring the lower leaf nodes are buried in the soil. Gently firm the soil around them.
- Water Gently: Water the soil thoroughly but avoid waterlogging. You want it moist, not soggy.
- Create the Humidity Dome: Cover the pots with a clear plastic bag or place them under a clear dome. This traps moisture and keeps the cuttings from drying out. You can prop the bag up with a skewer or two so it doesn’t touch the foliage.
- Find a Happy Spot: Place the pots in a bright location, but avoid direct, harsh sunlight. A windowsill that gets bright, indirect light is perfect.
Another way, if you’re feeling adventurous and really want to see those roots form, is water propagation.
- Select and Prepare Cuttings: Follow steps 1 and 2 from the stem cutting method above.
- Place in Water: Fill a clean jar or glass with room-temperature water. Place the prepared cuttings into the water, ensuring that no leaves are submerged. If leaves are touching the water, they will likely rot.
- Change the Water Regularly: Over the next few weeks, plan to change the water every 2-3 days. This keeps it fresh and prevents bacteria from building up.
- Watch for Roots: You should start to see tiny white roots emerging from the leaf nodes within a couple of weeks. Once they are about an inch long, you can pot them up into your well-draining soil mix.
My “Secret Sauce” for Success
Over the years, I’ve learned a few things that really seem to tip the scales in favor of happy roots.
- Don’t Forget Bottom Heat: If you have a small heating mat designed for seedlings, placing your pots on it can make a world of difference. Bottom heat encourages root development much faster than ambient room temperature, especially in cooler environments.
- The ‘Check’ Factor: When you think your cuttings have rooted (usually after 3-4 weeks), give them a gentle tug. If you feel resistance, congratulations! You’ve got roots. If they pull out easily, give them a bit more time. Resist the urge to pull them up every day to check – it disturbs those precious developing roots.
- Patience with Foliage: While it might look sad, don’t be tempted to water-log the soil hoping for foliage to perk up. Artemisia gorgonum cuttings are quite sensitive to overwatering. If the leaves droop, it often means the cutting is drying out. The plastic bag is your friend here – it keeps the humidity high, which is what they need.
Aftercare and What to Watch For
Once you see those little white roots appearing, it’s time to transition your new Artemisia gorgonum babies.
- Acclimatize Them: When they’ve developed a good root system and you’ve tried the gentle tug test to confirm, it’s time to gradually introduce them to less humid conditions. Start by removing the plastic bag or dome for a few hours each day, slowly increasing the time until they are acclimatized to open air.
- Potting Up: Once they are robust enough, you can pot them into slightly larger individual pots using a good quality, well-draining potting mix.
- Watering: Water them whenever the top inch of soil feels dry. Remember, they still don’t like to sit in soggy conditions.
- Troubleshooting Rot: The most common problem you’ll encounter is rot. If you see stems turning mushy and black, especially at the soil line, it’s a sign of too much moisture and not enough air circulation. Unfortunately, rot is usually fatal. Prevention is key here – use well-draining soil, don’t overwater, and ensure good air flow.
A Little Bit of Green Magic
Propagating plants is such a quiet joy, isn’t it? It’s about patience, observation, and a little bit of hopeful waiting. Don’t get discouraged if every single cutting doesn’t make it. That’s part of the learning process! Keep trying, enjoy the little triumphs, and before you know it, you’ll have a delightful collection of your own silvery Artemisia gorgonum. Happy propagating!
Resource:
https://identify.plantnet.org/k-world-flora/species/Artemisia%20gorgonum%20Webb/data