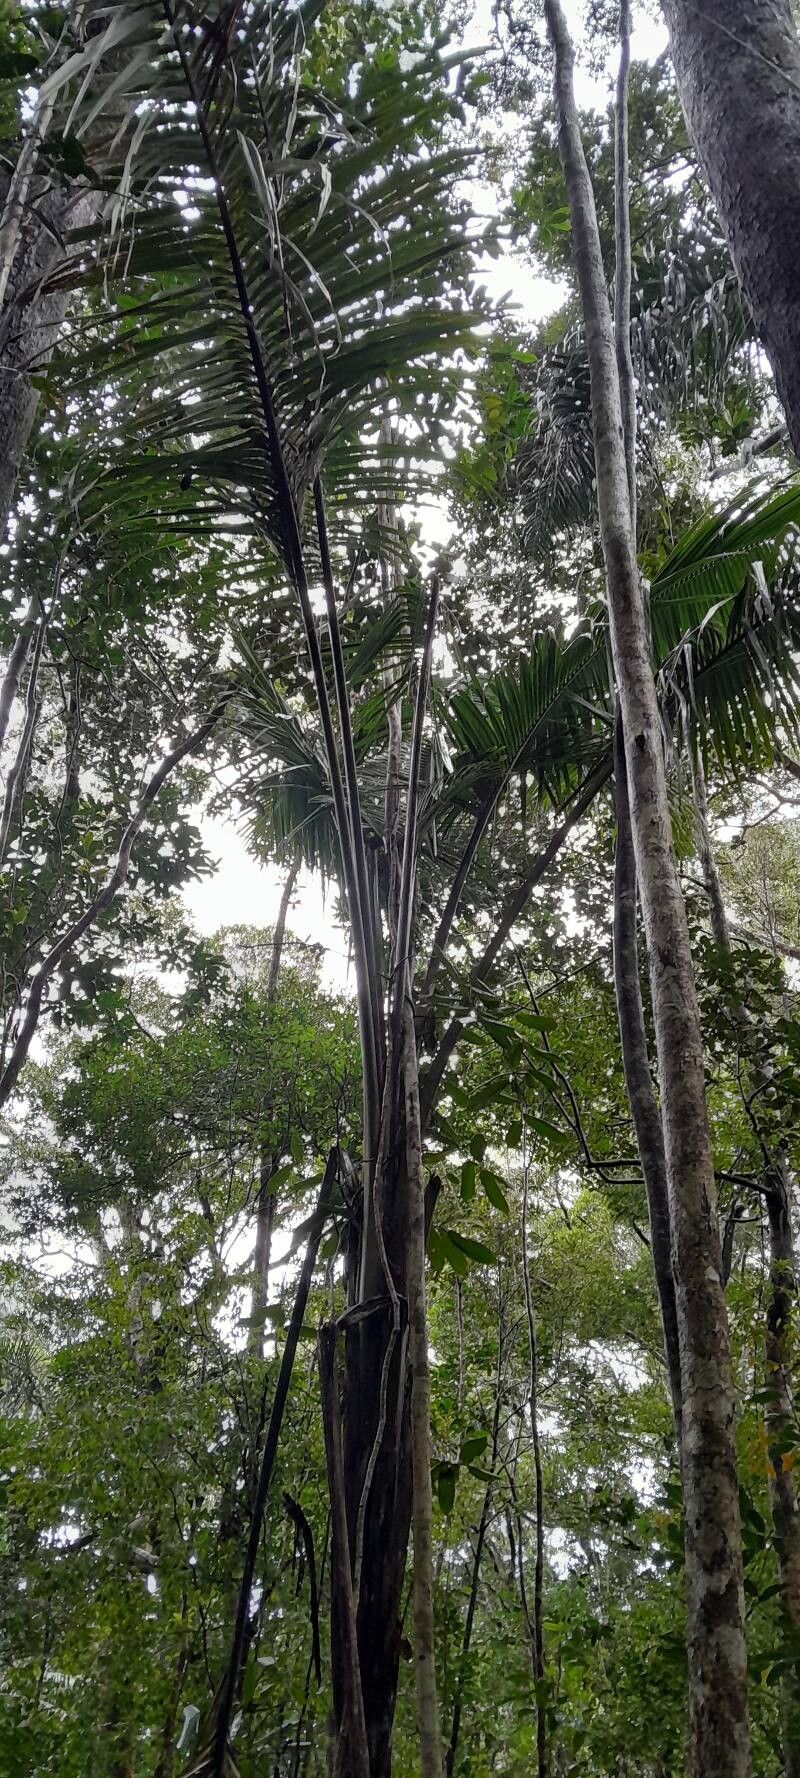
Hello, fellow plant lovers! Today, I want to talk about a gem that’s been capturing my heart for years: the Ravenea lakatra. Isn’t she a beauty? Those gracefully arching fronds and elegant silhouette bring a touch of the tropics right into our homes. Propagating this palm might sound a bit daunting, but trust me, it’s incredibly rewarding. While not quite a beginner’s first plant project, with a little patience and the right approach, you’ll be well on your way to a whole gang of these beauties.
The Best Time to Start
For the highest chance of success with your Ravenea lakatra, aim for the late spring or early summer. This is when the plant is in its most vigorous growth phase, meaning it has the energy to focus on developing new roots. You’ll want to be working with healthy, mature stems from an established plant.
Supplies You’ll Need
Here’s what you’ll want to gather before you get started:
- Sharp, clean pruning shears or a knife: Sterilize them with rubbing alcohol to prevent disease.
- Well-draining potting mix: A good blend would be equal parts peat moss, perlite, and coarse sand.
- Rooting hormone (optional but recommended): This can give your cuttings a helpful boost. Look for a powder or gel.
- Small pots or seed trays: Clean ones, of course!
- Plastic bags or a propagation dome: To create a humid environment.
- Watering can or spray bottle: For gentle watering.
- Labels: To keep track of your projects!
- Chopsticks or dowels: For making holes in the soil.
Propagation Methods
Ravenea lakatra can be propagated, though it’s not as straightforward as, say, a pothos. The most reliable method I’ve found is through stem cuttings.
Propagating by Stem Cuttings:
- Take Your Cuttings: Using your sterilized shears, carefully select a healthy, mature stem from your Ravenea lakatra. Aim for a cutting that has at least two or three healthy leaves and is about 6-8 inches long. Make a clean cut just below a leaf node (where a leaf attaches to the stem).
- Prepare the Cutting: Gently remove any leaves from the bottom half of the cutting. This prevents them from rotting in the soil. If your cutting is quite large, you can even trim the fronds in half vertically to reduce water loss through transpiration.
- Apply Rooting Hormone: Dip the cut end of the stem into your rooting hormone, tapping off any excess.
- Plant the Cutting: Fill your clean pots with your well-draining potting mix. Use a chopstick or dowel to create a hole in the center of the soil that’s deep enough for your cutting. Gently insert the prepared cutting into the hole, ensuring the leaf nodes you removed are below the soil surface. Firm the soil gently around the stem.
- Create Humidity: Water the soil thoroughly but gently. Then, cover the pot with a clear plastic bag, creating a mini-greenhouse. You can prop the bag up with stakes or chopsticks so it doesn’t touch the leaves. Alternatively, use a propagation dome. Place the pot in a warm location with bright, indirect light.
The “Secret Sauce” (Pro Tips)
Here are a couple of tricks I’ve learned over the years that can really make a difference:
- Bottom Heat is Your Friend: Ravenea lakatra loves warmth, especially when trying to root. Placing your pots on a heat mat designed for seedlings can significantly speed up root development. You’ll often see roots forming much faster when they have that gentle warmth from below.
- Don’t Drown Your Dreams: While humidity is crucial, overwatering is the enemy. The soil should be consistently moist, but never waterlogged. If the soil feels soggy, you’re not draining well enough. A good trick is to water until it just starts to drain from the bottom, then let it sit until the surface feels slightly dry before watering again.
Aftercare & Troubleshooting
Once your Ravenea lakatra cutting has developed a healthy root system – which you can gently check by giving it a very light tug (if there’s resistance, roots are forming!) – it’s time for a little pampering.
Gradually acclimate your new plant to lower humidity by opening the plastic bag or propagation dome for a few hours each day over a week. Once it’s looking perky and has a good root ball, you can transplant it into its own small pot with fresh, well-draining potting mix. Continue to water when the top inch of soil feels dry.
The most common disappointment you might face is rot. If your cutting starts to turn black and mushy, it’s likely due to too much moisture and not enough air circulation, or the use of unsterilized tools. Sadly, a rotted cutting is usually a goner. Another sign of trouble is yellowing leaves on the cutting, which can indicate it’s not getting enough light or the soil is too wet. Don’t get discouraged; just try again!
Happy Propagating!
So there you have it! Propagating a Ravenea lakatra takes a little care and attention, but seeing a new life emerge from a piece of your cherished plant is a truly special feeling. Be patient with the process, observe your cuttings closely, and most importantly, enjoy the journey. Happy gardening!
Resource:
https://identify.plantnet.org/k-world-flora/species/Ravenea%20lakatra%20(Jum.)%20Beentje/data