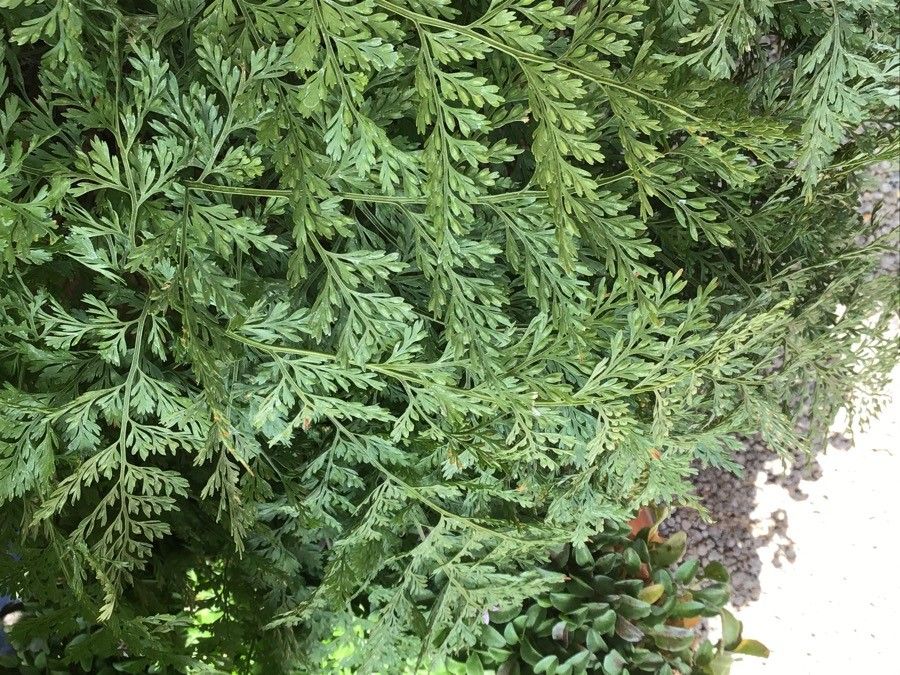
Hello fellow plant lovers! I’m so excited to chat with you today about a truly special fern: Davallia mariesii, often called the Japanese or Rabbit’s Foot Fern. Its delicate, lace-like fronds are just gorgeous, and those fuzzy, creeping rhizomes give it such a unique character. Growing these beauties is one thing, but propagating them? That feels like a whole other level of gardening magic. And let me tell you, it’s a very achievable kind of magic, even for those of you just starting out on your plant journey.
The Best Time to Start
When it comes to Davallia mariesii, the sweet spot for propagation is definitely spring and early summer. This is when the plant is actively growing and brimming with energy. You’ll find it much easier to get a healthy start when the days are getting longer and warmer. Trying to propagate when the plant is a bit dormant, say in the dead of winter, will be a much slower and less successful endeavor.
Supplies You’ll Need
Gathering your tools before you begin will make the whole process smoother. Here’s what I always have on hand:
- Sharp, clean pruning shears or a knife: For making clean cuts.
- Well-draining potting mix: I love a mix of orchid bark, perlite, and a bit of peat moss for ferns like this. It needs to breathe!
- Small pots or propagating trays: Nothing too big to start.
- Rooting hormone (optional but recommended): A powder or gel can give your cuttings a boost.
- Watering can or spray bottle: For gentle watering.
- Plastic bags or a clear plastic dome: To create a humid environment for cuttings.
- A clean workspace: Always important for preventing disease.
Propagation Methods
Davallia mariesii is wonderfully versatile, and you can propagate it using a couple of reliable methods.
1. Division: The Easiest Route
This is my go-to for Davallia because it’s so straightforward. You’re essentially taking sections of the existing rhizome and encouraging them to root.
- Gently remove the fern from its pot. If it’s been in the same pot for a while, it might be a bit root-bound.
- Inspect the rhizomes. You’re looking for those fuzzy, creeping stems. You’ll want to identify sections that have some healthy fronds attached and also active growth points.
- Carefully pull or cut the rhizome apart. You can use your hands to gently tease sections apart, or use your clean shears to make a clean cut. Make sure each division has at least one or two healthy fronds and a bit of rhizome to work with.
- Pot up your divisions. Place each division in its own small pot filled with your well-draining fern mix. You can lay the rhizome slightly on top of the soil or just barely cover it. I find shallow planting works best.
- Water gently. Give them a good, but not soaking, drink.
2. Rhizome Cuttings: A Little More Patience
This method involves taking sections of the rhizome without existing fronds, and coaxing them to grow. It takes a bit longer, but it’s rewarding to see them sprout.
- Select healthy rhizomes. Look for firm, plump rhizomes on your parent plant.
- Make clean cuts. Using your sharp shears, cut segments of the rhizome that are about 2-3 inches long. Make sure each piece has at least one visible bud or growth point.
- Apply rooting hormone (optional). Dip the cut ends into rooting hormone powder or gel.
- Plant the cuttings. Lay the rhizome pieces on the surface of your propagation mix or barely cover them. They like to be snug and have contact with the soil.
- Create a humid environment. Cover the pots with a clear plastic bag, a plastic dome, or place them in a propagator. This is crucial for keeping the humidity high.
The “Secret Sauce” (Pro Tips)
Here are a couple of things I’ve learned over the years that really make a difference with these delicate ferns:
- Don’t bury the rhizomes too deep! This is probably the most common mistake. Those fuzzy rhizomes need air and light. Think of them as being partly on the surface, like they would be in nature. Too much soil can lead to rot.
- Bottom heat is your friend for cuttings. If you’re doing rhizome cuttings, popping them onto a heated propagator mat can significantly speed up root development. It mimics the warmth of spring soil and gives those buds the encouragement they need to wake up.
Aftercare & Troubleshooting
Once your divisions or cuttings have been potted up, the real nurturing begins.
- Maintain humidity. Keep those plastic covers on and mist the surface of the soil lightly every few days, or whenever it looks dry. You want the soil to be consistently moist, but never waterlogged.
- Provide bright, indirect light. A spot near a window that doesn’t get direct sun is ideal. Too much sun will scorch those young fronds.
- Be patient! Rooting can take anywhere from a few weeks to a couple of months, especially with rhizome cuttings. Don’t be discouraged if you don’t see immediate results.
- Signs of trouble: The biggest enemy here is rot. If you see your rhizomes turning mushy and black, or the fronds wilting and yellowing rapidly, it’s likely due to too much moisture and not enough air circulation. If you catch it early, you might be able to salvage a healthy section. Gently clean off any rotted parts with a sterile knife and repot in fresh, dry mix, ensuring better drainage and less watering.
Propagating Davallia mariesii is such a rewarding way to expand your collection or share these unique ferns with friends. It might take a little patience, but seeing those new fronds unfurl from a tiny cutting is pure joy. So, grab your supplies, be gentle, and enjoy the magical process of bringing new life into your garden! Happy propagating!
Resource:
https://identify.plantnet.org/k-world-flora/species/Davallia%20mariesii%20H.J.Veitch/data