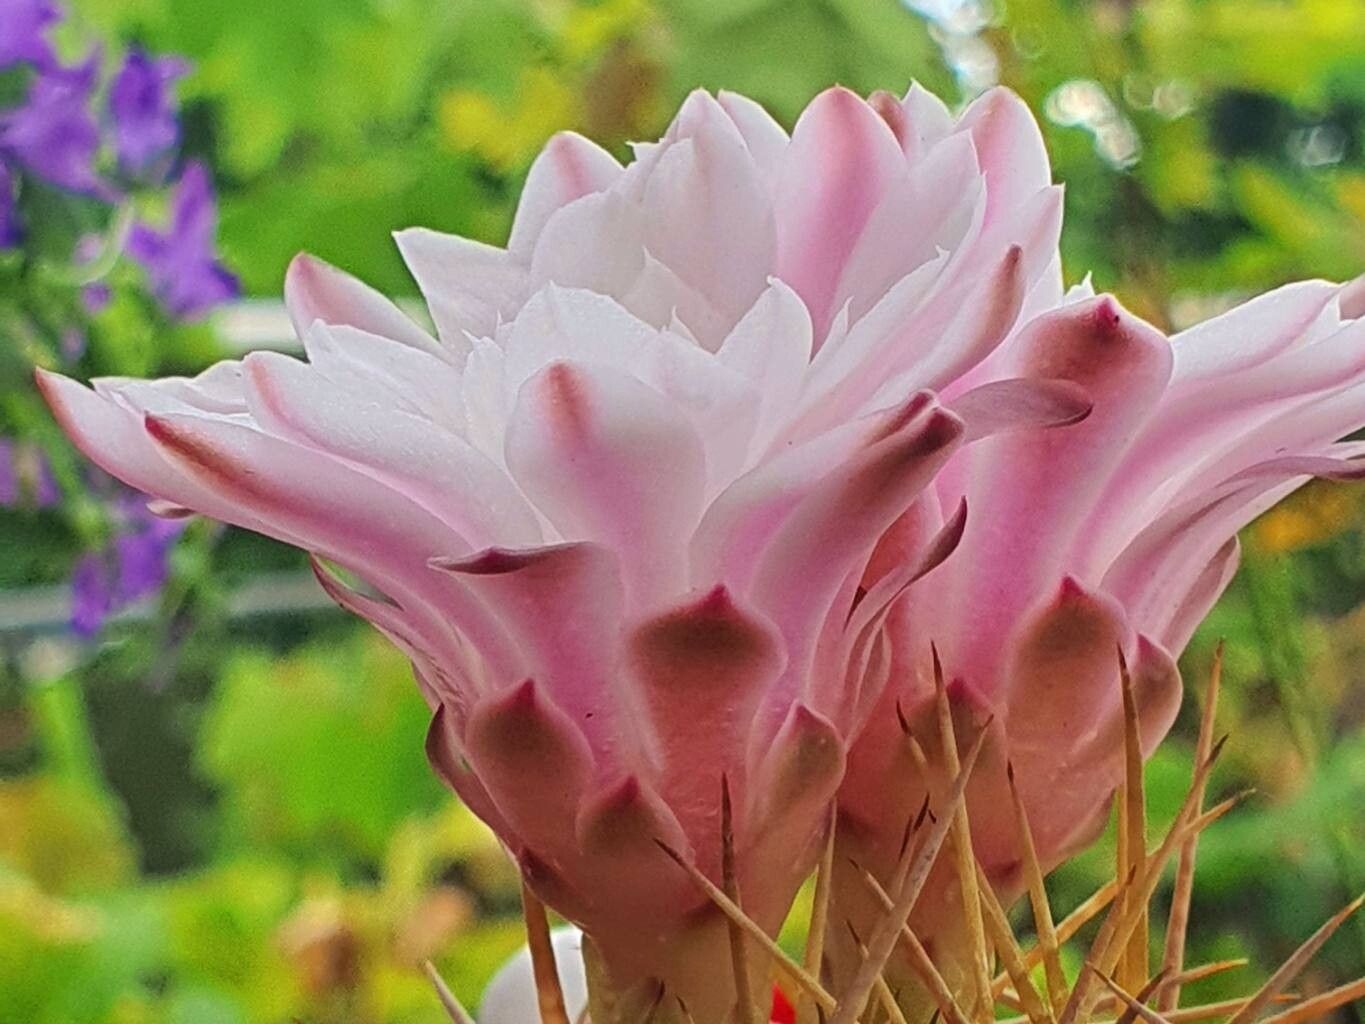
Hello there, fellow plant enthusiasts! Today, we’re diving into the wonderful world of a particularly charming cactus: Gymnocalycium eurypleurum. If you’ve ever admired its ribbed body and the way it reliably blooms, you’re in for a treat. Propagating Gymnocalycium eurypleurum isn’t just about getting more plants; it’s about understanding the life cycle of these resilient beauties and participating in their journey. And for those of you just starting out? While Gymnocalycium eurypleurum isn’t the absolute easiest cactus to propagate, with a little patience and these tips, you’ll be seeing success in no time. It’s truly a rewarding experience!
The Best Time to Start propagating Gymnocalycium eurypleurum
For these beauties, the spring and early summer are your golden ticket. This is when the plant is actively growing, and any new cuttings or divisions will have the best chance to establish themselves and root quickly. Think of it as giving them a head start into their most vigorous season. Avoid propagating when the plant is dormant in the winter or during extreme heat.
Supplies You’ll Need
To get your propagation station set up, you’ll want to gather a few key items:
- Well-draining potting mix: A cactus and succulent mix is ideal, or you can create your own by mixing equal parts potting soil, perlite, and coarse sand.
- Clean, sharp knife or pruning shears: For making clean cuts to avoid infection.
- Rooting hormone (optional but recommended): This can significantly speed up root development.
- Small pots or seedling trays: Something that will hold your new little plants.
- Gloves (optional): Cacti can be prickly!
- Watering can with a fine rose or spray bottle: For gentle watering.
- A warm spot: Somewhere with bright, indirect light and consistent temperatures.
Propagation Methods
The most reliable way to propagate Gymnocalycium eurypleurum is through offsets or pups, which are baby plants that grow from the base of the mother plant. You can also try taking stem cuttings, though this can sometimes be more challenging for this particular species if not done carefully.
Propagating Offsets (Pups)
- Gently remove the mother plant from its pot. It’s often easier to do this when the soil is slightly dry.
- Carefully locate the offsets (these are the little baby cacti growing from the sides).
- Using your sharp knife or pruning shears, make a clean cut to separate the offset from the mother plant. Try to get a bit of its own root base if possible.
- Rinse off any excess soil from the cut end of the offset.
- Allow the cut surface to callus over. This is crucial! Place the offset in a dry, shaded spot for a few days to a week, until the wound is dry and sealed. This prevents rot.
- Once callused, you can plant your offset. Prepare your small pot with your well-draining soil mix.
- Dip the callused end in rooting hormone (if using).
- Gently push the offset into the soil, ensuring it’s stable. Don’t bury it too deeply; just enough for it to stand up.
- Do not water immediately. Wait a few days to a week after planting before giving it its first light watering.
Propagating Stem Cuttings (Use with Caution)
This method is best attempted if your plant has produced a distinct “stem” section that has grown a little elongated.
- Identify a healthy section of the stem. Using your clean, sharp knife, cut a section about 2-3 inches long.
- Rinse off any soil or debris from the cut ends.
- Crucially, let the cut ends callus over thoroughly. This might take up to two weeks for stem cuttings, as they have larger wound surfaces. Place them in a dry, airy, shaded spot.
- Once callused, you can treat them like offsets. Dip in rooting hormone if desired.
- Plant them in your well-draining mix, with the cut end inserted into the soil about an inch deep.
- Again, wait to water. Be patient. This method often takes longer for roots to form compared to offsets.
The “Secret Sauce” (Pro Tips)
- Don’t rush the callusing phase. I cannot stress this enough! It’s the single most important step to preventing rot. Think of it as the plant forming its own protective bandage.
- Bottom heat is your friend. If you can provide a gentle heat mat (specifically designed for seedlings or cuttings), it can dramatically encourage root development. This mimics the warmth of spring soil.
- Be stingy with water initially. Overwatering is the fastest way to kill a new cutting. Let the soil dry out almost completely between waterings, especially in the first few months. A light misting can be enough to encourage humidity without waterlogging.
Aftercare & Troubleshooting
Once your cuttings or offsets have started to show signs of rooting – you might feel a slight resistance when you gently tug on them, or see new growth – you can begin watering them a bit more regularly. Water when the soil is dry to the touch. Continue to provide bright, indirect light.
The most common issue you’ll encounter is rot. If the cutting turns mushy, black, or smells foul, it’s likely rotted. This is usually due to insufficient callusing or overwatering. If you catch it early, you might be able to cut away the rotten part and let the healthy section callus again, but often, it’s best to start anew. Another sign of failure can be a cutting that simply shrivels and never roots; this is often due to not enough humidity or being too dry for too long.
A Little Patience Goes a Long Way
Propagating plants, especially cacti, is a journey of patience and observation. Don’t get discouraged if your first attempt doesn’t yield immediate results. Each plant is a little experiment, and learning from it is part of the joy. Enjoy the process of watching these new Gymnocalycium eurypleurum grow and thrive under your care! Happy propagating, everyone!
Resource:
https://identify.plantnet.org/k-world-flora/species/Gymnocalycium%20eurypleurum%20F.Ritter/data