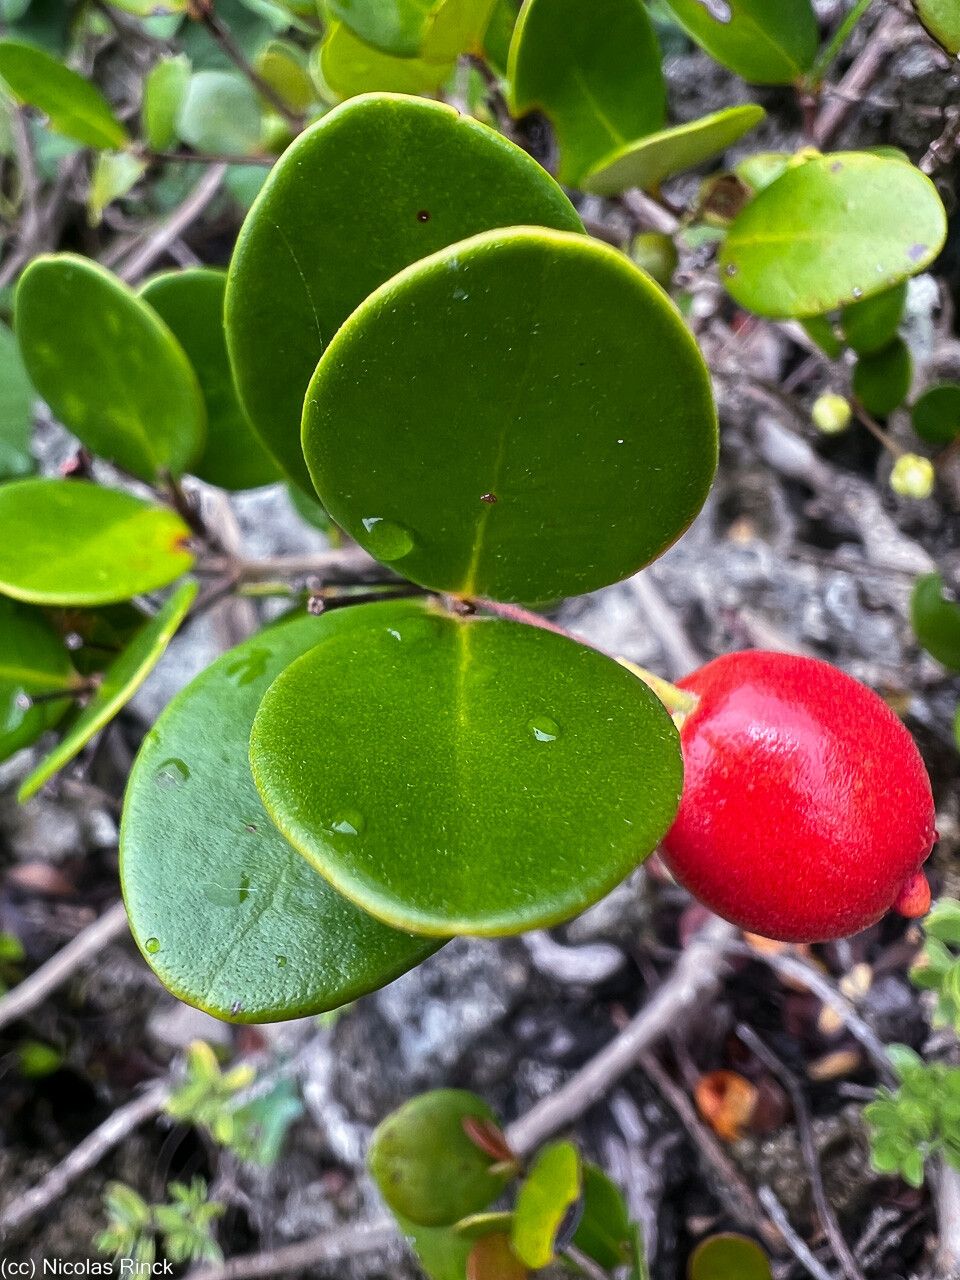
Bringing More ‘Little Gem’ to Your Life: Propagating Austromyrtus mendute
Oh, Austromyrtus mendute! Isn’t it just a delight? Those darling little leaves, the delicate white flowers, and the promise of edible berries – it’s a plant that brings so much joy to the garden. I’ve been growing these for years, and honestly, there’s nothing quite like nurturing a new plant from a tiny piece of the parent. It’s a tangible connection to the cycle of life, and so incredibly rewarding. For those of you just starting out, Austromyrtus mendute is a moderately easy plant to propagate. A little patience goes a long way!
When is the Sweet Spot for Propagation?
The absolute best time to get your hands dirty with Austromyrtus mendute is when the plant is actively growing. For most of us, this means late spring through to mid-summer. You’re looking for what propagators call “semi-hardwood” cuttings. This is when the new growth has started to firm up a bit but hasn’t turned old and woody. Think of it as the perfect balance – flexible enough to root, but with some substance.
What You’ll Need to Get Started
Gathering your supplies beforehand makes the whole process so much smoother. Trust me on this!
- Sharp, clean pruning shears or a sharp knife: Essential for making clean cuts to prevent disease.
- Potting mix: A well-draining mix is crucial. I often use a blend of 50% perlite and 50% good quality potting compost. You can also find specialized seed starting or cutting mixes.
- Small pots or trays: Clean pots are a must. Make sure they have drainage holes!
- Rooting hormone powder (optional but recommended): This gives your cuttings a helpful boost. Look for one containing IBA.
- Plastic bags or a clear plastic dome: To create a humid environment.
- Water mister or spray bottle: For keeping things moist.
- Labels and a marker: So you don’t forget what’s what!
My Favorite Ways to Grow More Austromyrtus
Propagating Austromyrtus mendute is really quite straightforward using stem cuttings. It’s my go-to method because it gives me plenty of opportunities to expand my collection.
Propagating by Stem Cuttings:
- Take your cuttings: Head out to your healthy Austromyrtus mendute plant. Using your sharp pruning shears, take cuttings that are about 4-6 inches long. Make the cut just below a leaf node (where the leaf meets the stem).
- Prepare the cuttings: Gently strip off the lower leaves from the bottom half of the cutting. You want to remove any leaves that would end up below the soil line. If the remaining leaves are very large, you can cut them in half horizontally. This reduces water loss through transpiration.
- Dip in rooting hormone: Moisten the bottom end of each cutting with a little water, then dip it into the rooting hormone powder. Tap off any excess.
- Plant your cuttings: Fill your small pots with your prepared potting mix. Make a little hole in the center of the soil with your finger or a pencil. Gently insert the prepared cutting into the hole, ensuring the hormone-coated end is in contact with the soil.
- Firm the soil: Gently firm the soil around the base of the cutting to hold it in place.
- Water gently: Water the soil thoroughly but gently, so as not to dislodge the cuttings.
- Create a humid environment: Place the pots into a plastic bag or cover them with a clear plastic dome. This is vital for keeping the moisture levels high, which is what cuttings need to root.
The “Secret Sauce” from My Garden Shed
There are a few little tricks I’ve picked up over the years that seem to make a big difference.
- The “Heel” Trick: Sometimes, instead of cutting, I’ll gently pull a shoot away from the main stem. If it comes away with a tiny sliver of the older stem attached (what we call a “heel”), that can actually increase your chances of rooting. Just clean up any ragged bits.
- Bottom Heat is Your Friend: If you have the option, placing your pots on a gentle heat mat designed for propagation can significantly speed up root development. It warms the soil and encourages activity within the cutting. Don’t make it too hot, though – just a gentle warmth.
- Don’t Drown Them: While humidity is key, you don’t want soggy soil. Water when the top inch of soil feels dry, but maintain that humid enclosure. It’s a delicate balance, but you’ll get a feel for it.
Nurturing Your New Sprouts and What to Do If Things Go Awry
Once your cuttings are planted, the waiting game begins! Keep them in a bright spot, but out of direct, harsh sunlight. Your goal is to keep the leaves green and the soil consistently moist but not waterlogged.
You’ll know your cuttings have rooted when you see new leaf growth, or if you gently tug on a cutting and feel resistance. This usually takes anywhere from 4 to 8 weeks, sometimes longer.
Troubleshooting: If a cutting starts to look yellow and limp, it could be a sign of too much water and potential rot. Your first port of call is to check the soil moisture – is it waterlogged? If you see mushy, dark stem bases, that’s rot, and sadly, that cutting is likely lost. Remove any rotted cuttings immediately to prevent it from spreading.
Patience is a Gardener’s Virtue
Propagating plants is a journey, and Austromyrtus mendute is a wonderful companion for that journey. Don’t be discouraged if not every cutting takes. Nature has its own pace, and sometimes it just takes a few tries. Keep observing, keep tending to your little green babies, and enjoy the incredible satisfaction of watching them grow. Happy propagating!
Resource: