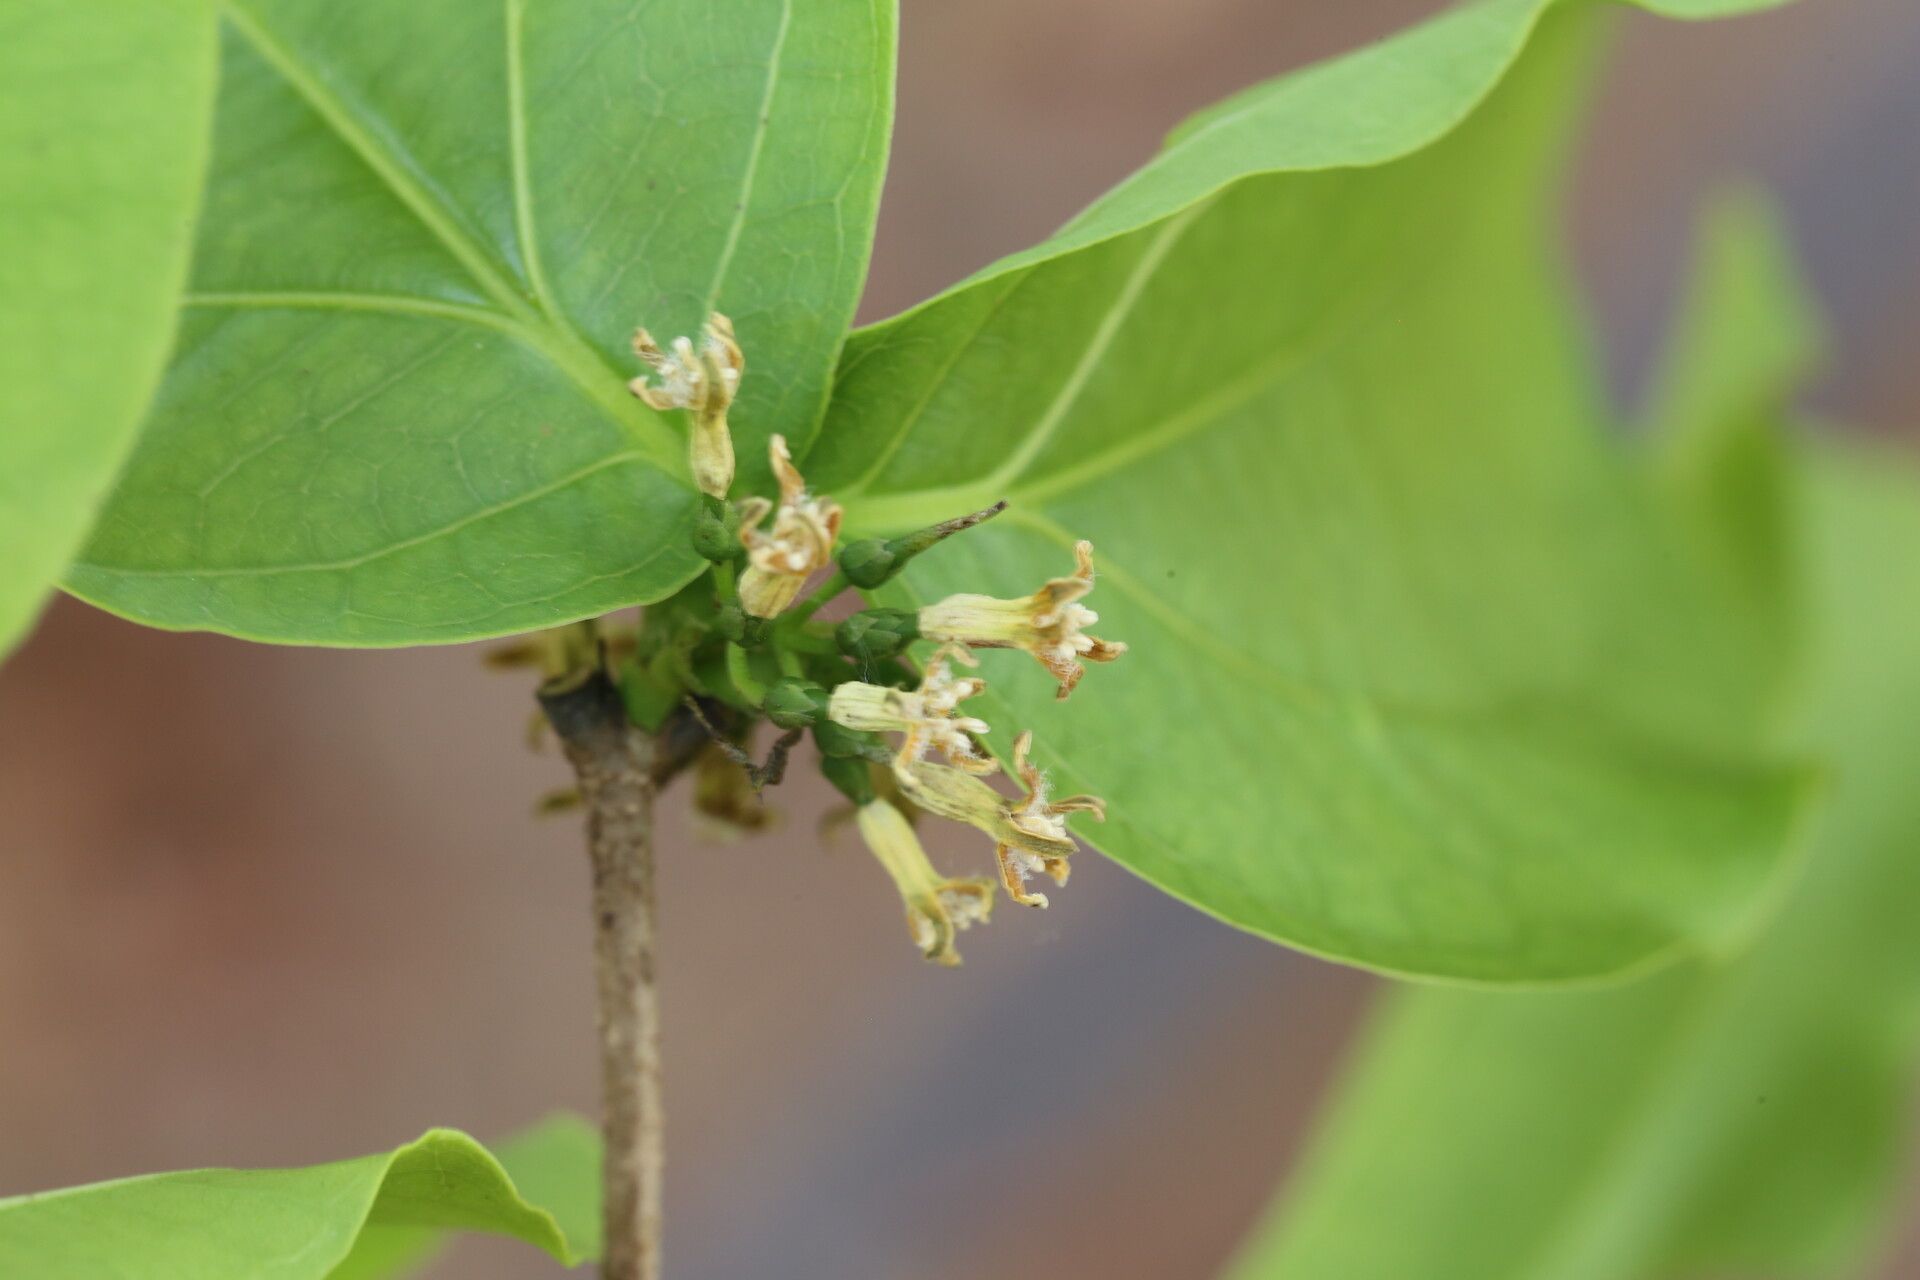
Hello there, fellow garden enthusiasts! It’s so wonderful to connect with you again. Today, we’re diving into the fascinating world of a plant I’ve grown to adore: Strychnos potatorum, or as it’s affectionately known, the Clearing Nut Tree. Its elegant foliage and the sheer reward of seeing a new life spring from a parent plant are truly special. Propagating this particular beauty might sound a little intimidating at first glance, especially if you’re just dipping your toes into the gardening world. But honestly? With a little care and patience, it’s quite achievable, and I’m here to guide you every step of the way.
The Best Time to Start
For Strychnos potatorum, I’ve found that the absolute best time to begin propagation is during its active growing season, which typically falls in the late spring to early summer. You want to take cuttings when the plant is brimming with vitality, not when it’s stressed or dormant. Look for stems that are semi-hardwood – they should snap cleanly when bent, but not be brittle like a dry twig. This stage offers a fantastic balance of responsiveness and resilience.
Supplies You’ll Need
Here’s a little kit of what I always have on hand when I’m propagating:
- Sharp Pruning Shears or a Clean Knife: For taking clean, precise cuts. Sterilize them with rubbing alcohol before you start!
- Rooting Hormone: A good quality rooting hormone powder or gel can really give your cuttings a boost.
- Potting Mix: I love a loose, well-draining mix. A blend of peat moss, perlite, and a little bit of coarse sand usually does the trick. You can also buy specialized propagation mixes.
- Small Pots or Seed Starting Trays: Clean pots or trays with drainage holes are essential.
- Plastic Bags or Humidity Domes: To create a mini-greenhouse effect for your cuttings.
- Spray Bottle: For misting your cuttings.
- Labels: So you don’t forget what you planted where!
Propagation Methods
While Strychnos potatorum can be propagated in a few ways, I’ve had the most success with stem cuttings. Let’s walk through it.
Stem Cuttings
- Select Your Cuttings: Head back to your healthy, mature Strychnos potatorum. Choose a stem that’s about 4-6 inches long and has at least two or three leaf nodes (the little bumps where leaves emerge).
- Make the Cut: Using your sterile pruners or knife, make a clean cut just below a leaf node. This is where the magic happens, where roots are most likely to form.
- Prepare the Cutting: Gently remove the lower leaves from the cutting, leaving just a couple of leaves at the top. If your remaining leaves are quite large, you can even cut them in half to reduce water loss.
- Apply Rooting Hormone: Dip the cut end of the stem into your rooting hormone, tapping off any excess. This step isn’t strictly mandatory, but it significantly improves your chances of success.
- Plant Your Cuttings: Fill your small pots with your prepared potting mix. Make a small hole in the center with a pencil or your finger. Carefully insert the cutting into the hole, ensuring the nodes where you removed the leaves are buried. Gently firm the soil around the base.
- Water and Cover: Water the soil thoroughly until it’s moist but not soggy. Then, cover the pot with a clear plastic bag or a humidity dome. Make sure the leaves do not touch the sides of the bag; this can lead to rot.
The “Secret Sauce” (Pro Tips)
Now for a couple of little nuggets of wisdom that have saved more than a few cuttings for me:
- Bottom Heat is Your Friend: If you have them, placing your pots on a gentle heat mat can dramatically speed up root development. It mimics the warmth of the soil in nature and encourages those roots to push out.
- Be Patient with Watering: Instead of watering from the top, which can disturb delicate new roots, try bottom watering. Place your pots in a tray of water and let the soil soak it up from below. Remove them once the surface feels moist. This also helps prevent damping off.
- Air Circulation is Key: Even with a humidity dome, it’s a good idea to remove the cover for about 15-30 minutes each day to allow for some air exchange. This helps prevent fungal issues.
Aftercare & Troubleshooting
Once your cuttings have been planted, keep them in a bright, indirect light location. Avoid direct sun, which can scorch young plants. Mist the leaves occasionally if things start to look a bit dry, but primarily focus on keeping the soil consistently moist.
You’ll know your cuttings are rooting when you see new leaf growth and feel a gentle resistance when you tug lightly on the stem. This usually takes anywhere from 4 to 8 weeks, sometimes longer.
If you notice mushy, black stems or wilting leaves that haven’t recovered after misting, that’s a sign of rot. Unfortunately, if rot sets in, it’s often too late for that particular cutting. This usually happens when the soil is too wet and there isn’t enough airflow. Don’t be discouraged! Just clean up the area and try again with fresh cuttings.
Cheers to New Beginnings!
Propagating plants is such a rewarding journey. It’s a slow dance with nature, a testament to persistence and a little bit of green-thumb magic. Don’t be disheartened if your first attempts aren’t perfect. Each cutting is a learning opportunity. Keep observing, keep adjusting, and most importantly, keep enjoying the process. Happy propagating – I can’t wait for you to see your own little Strychnos potatorum babies thrive!
Resource:
https://identify.plantnet.org/k-world-flora/species/Strychnos%20potatorum%20L.f./data