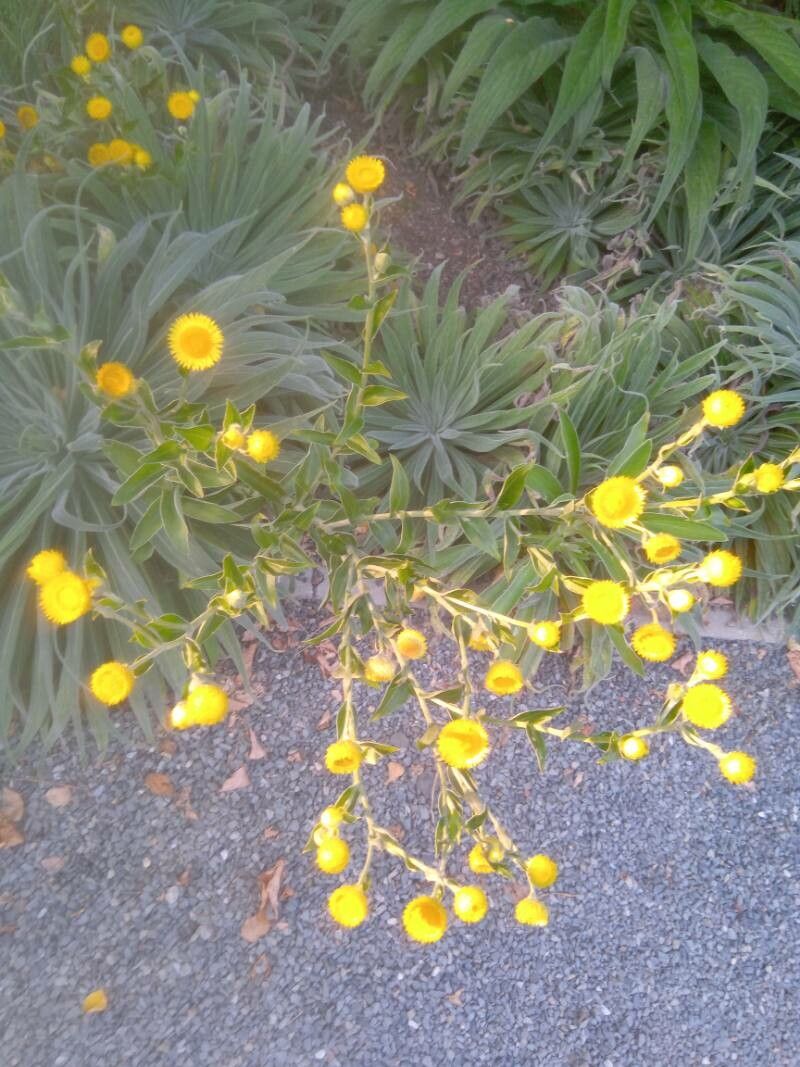
Oh, Helichrysum cooperi! If you’ve ever fallen for those silvery, ever-fragrant leaves and delicate, papery flowers, you’re not alone. This little darling of the garden, also known as “Cape Everlasting” or “Immortelle,” really does bring a touch of sunshine and everlasting charm. The best part? It’s surprisingly easy to bring more of this beauty into your life by propagating it yourself. I’ve been growing and sharing it for years, and it’s one of those plants that makes you feel like a bit of a gardening wizard when you see those first tiny roots emerge. For beginners, I’d say Helichrysum cooperi is a wonderfully forgiving plant to start with.
The Best Time to Start
My go-to time for propagating Helichrysum cooperi has always been late spring to early summer. This is when the plant is actively growing after the last frost, and the new young stems are most vigorous and best able to produce roots. You’re essentially taking advantage of its natural surge of energy.
Supplies You’ll Need
To get your Helichrysum cooperi propagation off to a flying start, gather these bits and bobs:
- Sharp pruning shears or a clean knife: For taking clean cuts.
- Rooting hormone (optional, but helpful): A powder or gel that encourages root development.
- Small pots or seed trays: With drainage holes, of course!
- Well-draining potting mix: I like a blend of equal parts peat-free compost, perlite, and sharp sand. This ensures good aeration and prevents waterlogging.
- Plastic bags or a propagator with a lid: To create a humid environment.
- Watering can with a fine rose: For gentle watering.
Propagation Methods
Stem cuttings are my absolute favorite way to multiply Helichrysum cooperi. It’s straightforward and yields great results.
Stem Cuttings:
- Select your source: Look for healthy, non-flowering shoots on your established Helichrysum cooperi plant. Aim for stems that are about 4-6 inches long.
- Take the cutting: Using your clean shears or knife, make a clean cut just below a leaf node. This is the little bump where a leaf attaches to the stem.
- Prepare the cutting: Gently remove the lower leaves from the stem, leaving just a few at the very top. This prevents them from rotting in the soil. If the leaves are quite large, you can even trim them in half to reduce moisture loss.
- Apply rooting hormone: If you’re using it, dip the cut end of the stem into the rooting hormone, tapping off any excess.
- Potting up: Make a hole in your prepared potting mix with a pencil or your finger. Insert the cutting into the hole, making sure the leaf nodes are below the soil surface. Gently firm the soil around the stem.
- Water gently: Water the pot thoroughly until water drains from the bottom.
- Create humidity: Cover the pot with a clear plastic bag or place it in a propagator. Make sure the leaves don’t touch the sides of the bag, if possible.
The “Secret Sauce” (Pro Tips)
Now, for a couple of tricks I’ve learned over the years that really make a difference:
- The Gentle Dip: When you water your newly potted cuttings, be really gentle. I like to place the pots in a tray of water and let them soak it up from the bottom. This prevents disturbing the delicate cuttings and ensures the soil is evenly moist without compacting it.
- A Little Warmth Goes a Long Way: Helichrysum cooperi cuttings really appreciate a bit of warmth from below. If you have space, placing your pots on a heat mat designed for propagation can significantly speed up root formation. It mimics the warmth of spring soil and gives the roots a real boost.
Aftercare & Troubleshooting
Once your cuttings are potted, place them in a bright spot but out of direct sunlight. Keep the soil consistently moist but not waterlogged. You’ll know your cuttings have rooted when you see new leaf growth or gentle resistance when you tug lightly on the stem. This usually takes 3-6 weeks.
The biggest thing to watch out for is rot. If your cuttings droop, turn mushy, or develop black spots, it’s usually a sign of too much moisture or poor drainage. In this case, try to increase air circulation (open the propagator lid a bit) and ensure your soil isn’t constantly soggy. You might need to get new cuttings if rot takes hold.
A Encouraging Closing
Propagating Helichrysum cooperi is a journey, and like all good gardening adventures, it requires a little patience and a lot of observation. Don’t be discouraged if not every cutting takes – it’s all part of the learning process! Enjoy watching those tiny roots develop, and soon you’ll have a whole new patch of that lovely silver foliage to admire and share. Happy propagating!
Resource:
https://identify.plantnet.org/k-world-flora/species/Helichrysum%20cooperi%20Harv./data