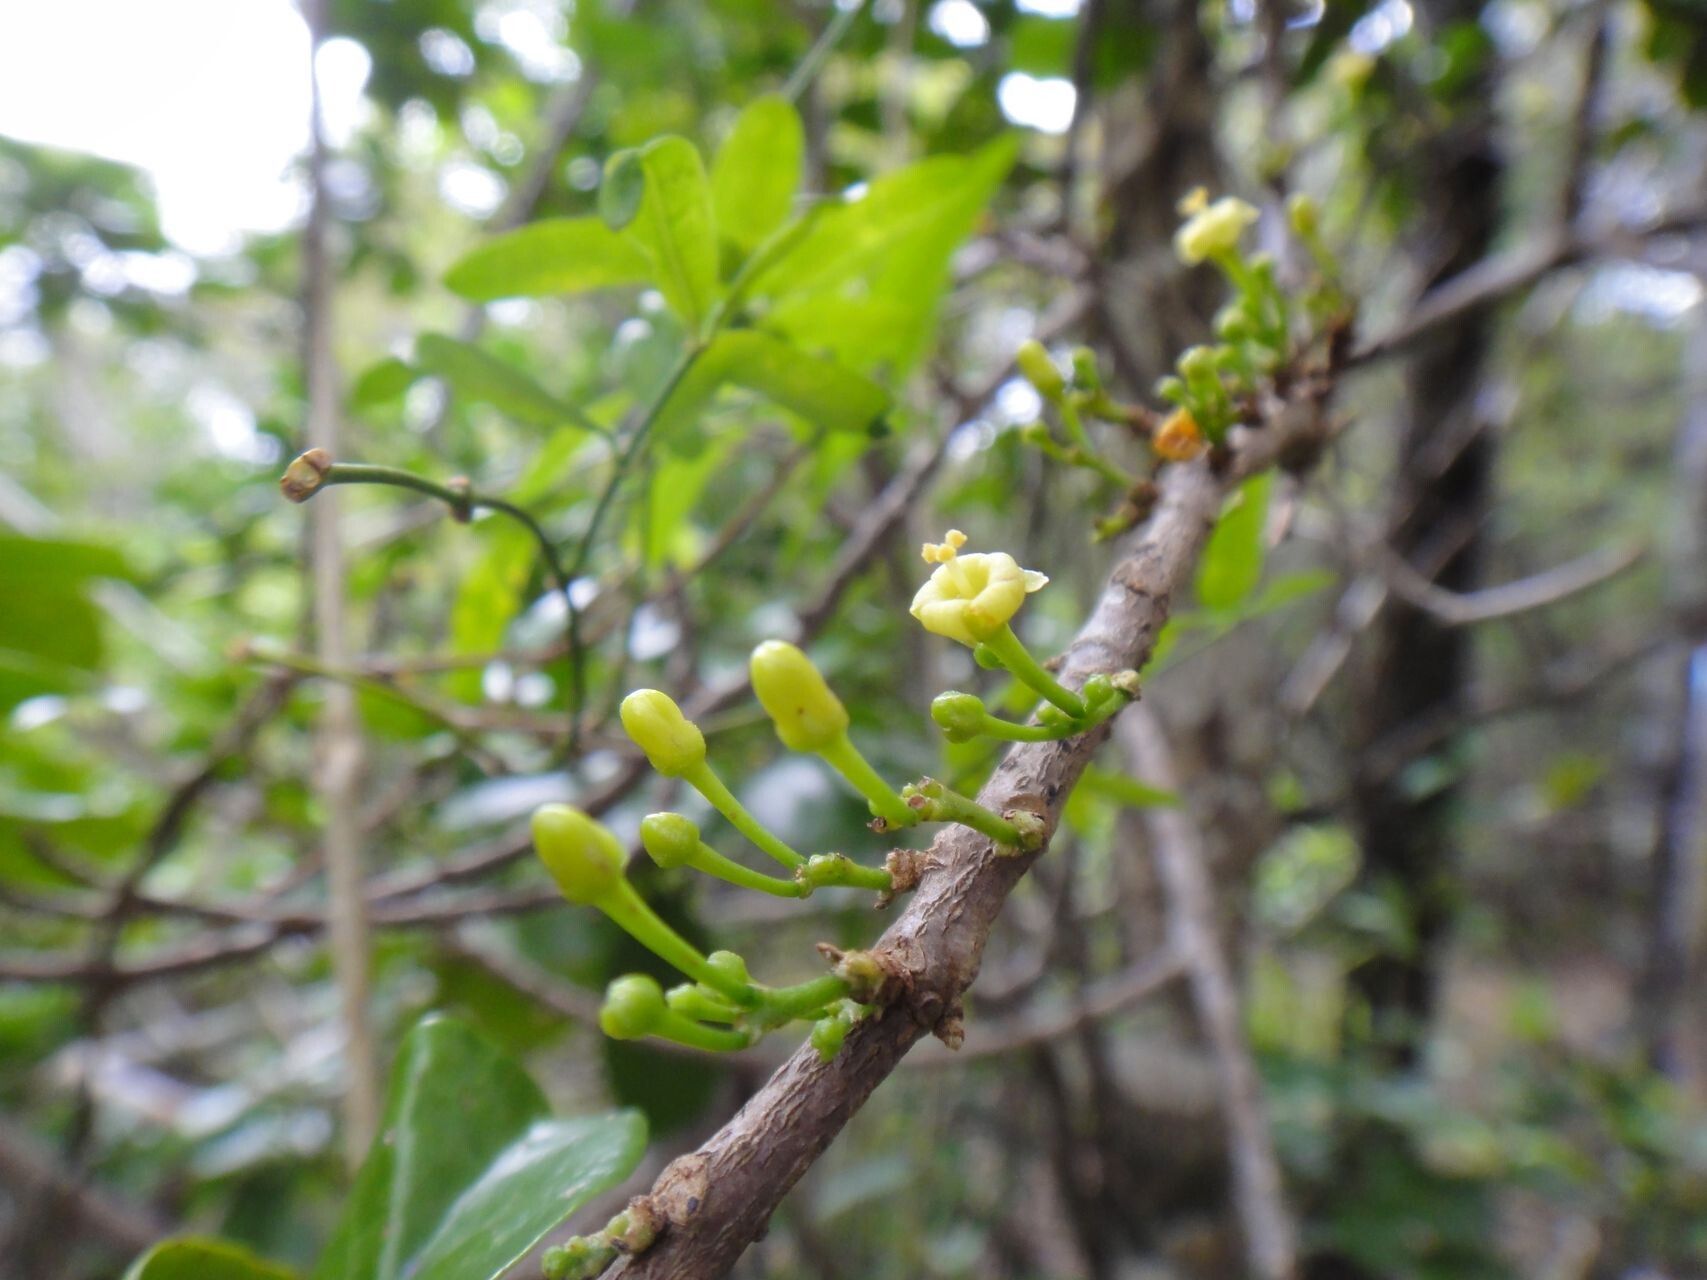
Hello fellow garden enthusiasts! Today, we’re diving into a wonderfully rewarding propagation project: Trigonostemon cherrieri. If you’re drawn to plants with unique foliage and a bit of a tropical flair, you’ll love this one. Its intricate leaves and lovely habit make it a standout. And the best part? Bringing new Trigonostemon cherrieri plants into existence is a deeply satisfying experience. For those just starting out in propagation, I’d say it falls into the moderately easy category. A little attention to detail goes a long way!
The Best Time to Start
When it comes to getting the best results, timing is everything. Your best bet for propagating Trigonostemon cherrieri is during its active growing season. Think late spring through summer. This is when the plant has plenty of energy to put into developing roots. You’ll want to select healthy, vigorous stems that are neither brand new, soft growth nor old, woody growth. Look for stems that have a bit of substance to them.
Supplies You’ll Need
Gathering your supplies beforehand makes the whole process smoother. Here’s what I recommend:
- Sharp Pruning Shears or a Clean Knife: For making clean cuts.
- Rooting Hormone (Optional but Recommended): A powder or gel to encourage root development.
- Well-Draining Potting Mix: I like a mix of equal parts peat moss, perlite, and orchid bark for excellent aeration.
- Small Pots or Seedling Trays: With drainage holes, of course!
- Clear Plastic Bag or Propagator with Lid: To maintain humidity.
- Watering Can with a Fine Rose or Spray Bottle: For gentle watering.
- Labels: To keep track of your cuttings!
Propagation Methods
Trigonostemon cherrieri is quite amenable to stem cuttings, which is my favorite and most successful method for this plant.
-
Taking the Cuttings:
- Select a healthy, semi-hardwood stem. Aim for a cutting that’s about 4-6 inches long.
- Beneath a leaf node (where a leaf attaches to the stem), make a clean cut with your sharp shears or knife.
- Remove the lower leaves from the cutting, leaving just a couple of leaves at the top. If the remaining leaves are very large, you can trim them in half to reduce water loss.
-
Preparing for Rooting:
- If you’re using rooting hormone, dip the cut end of the stem into the hormone powder or gel. Tap off any excess. This step really helps speed things up!
-
Planting the Cuttings:
- Fill your small pots or trays with your prepared, moistened potting mix.
- Gently insert the cuttings into the mix, ensuring the leaf nodes are buried in the soil. This is where the roots will emerge.
- Gently firm the soil around the base of each cutting.
-
Creating a Humid Environment:
- Water the soil thoroughly but gently. You want it to be moist, not soaking wet.
- Cover the pots with a clear plastic bag supported by stakes or use a propagator with its lid. This creates a mini-greenhouse effect, keeping the humidity high, which is crucial for cuttings that can’t yet absorb water from the soil.
The “Secret Sauce” (Pro Tips)
Here are a few little tricks I’ve learned over the years that often make all the difference:
- Bottom Heat is Your Friend: If you have a heated propagator or a seedling heat mat, place your pots on it. A gentle warmth from below can significantly speed up root formation. It’s like giving your cuttings a cozy, warm bed to grow in.
- Don’t Let Leaves Touch the Water (If Water Propagating): While stem cuttings are my primary method for Trigonostemon cherrieri, if you ever try water propagation with other plants, remember this golden rule: ensure no leaves are submerged. Submerged leaves will rot quickly and can kill your cutting. Always keep them above the water line.
- The “Snap Test”: Before you even try to root, gently try to bend an older stem. If it snaps cleanly, it’s likely a good semi-hardwood cutting. If it bends without breaking, it’s probably too soft. If it’s too stiff and reluctant to bend, it’s too old.
Aftercare & Troubleshooting
Once your cuttings have been planted, the patient waiting game begins!
- Maintain Humidity: Keep that plastic bag or propagator lid on. Check the moisture of the soil every few days and mist if it starts to dry out. Ventilate daily for a few minutes to prevent fungal issues.
- Bright, Indirect Light: Place your pots in a location that receives bright, indirect light. Avoid direct sun, which can scorch the delicate cuttings.
- Look for Roots: It can take anywhere from 4-8 weeks, sometimes longer, for roots to develop. You’ll know they’re ready when you see new leaf growth or gentle resistance when you tug on the cutting.
- Transplanting: Once rooted, you can carefully transplant your new Trigonostemon cherrieri into slightly larger pots with fresh potting mix.
- Troubleshooting – The Dreaded Rot: The most common issue is rot, which usually happens if the soil stays too wet or humidity is too high without ventilation. If you see stems turning mushy or black, remove them immediately. Ensure good airflow and allow the soil to dry out slightly between waterings.
A Word of Encouragement
Propagating plants is a journey, and sometimes, not every cutting makes it. That’s perfectly okay! Don’t get discouraged. Each attempt is a learning experience. Celebrate the successes, learn from the challenges, and most importantly, enjoy the process of nurturing new life for your garden. Happy propagating!
Resource:
https://identify.plantnet.org/k-world-flora/species/Trigonostemon%20cherrieri%20Veillon/data