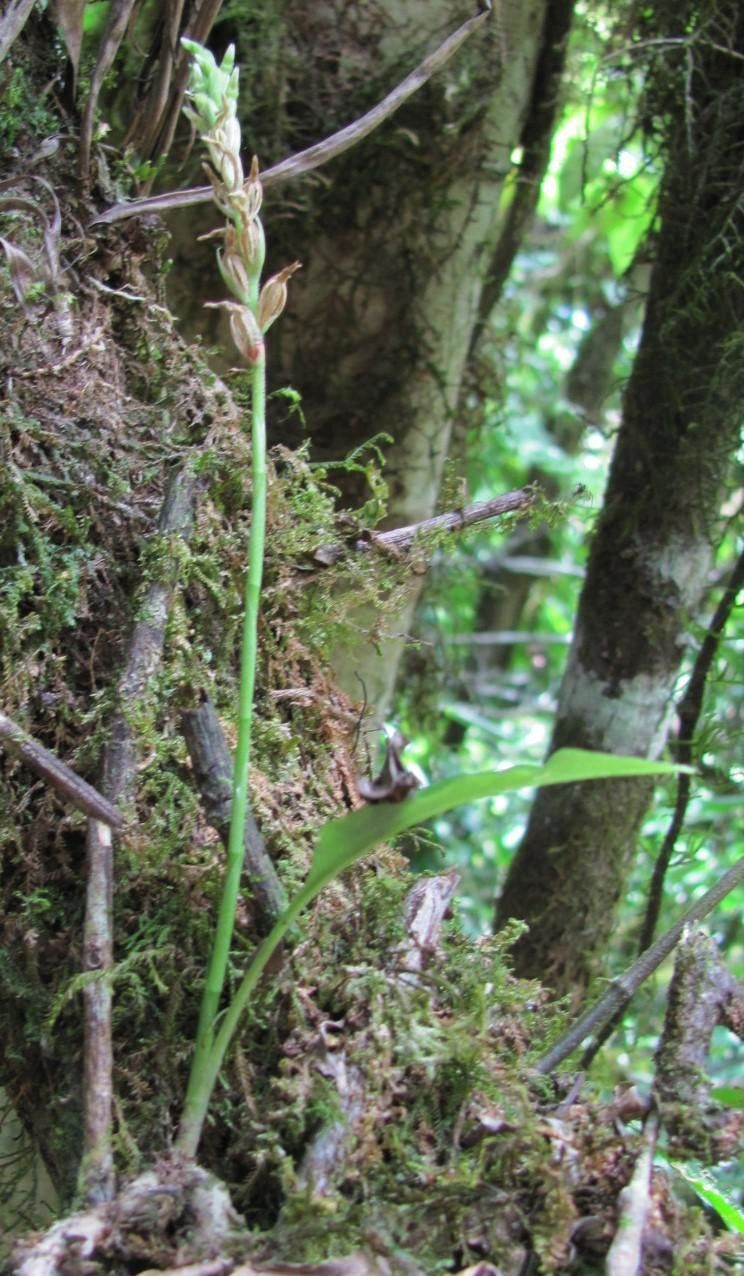
Oh, hello there! Grab a mug of your favorite brew. Today, we’re diving into something truly delightful: propagating Beloglottis hameri. If you’ve ever admired its delicate charm, those lovely, often deeply veined leaves, and the subtle elegance it brings to a shaded corner, you’re in for a treat. Getting more of these beauties to call your own is incredibly satisfying. Now, I’ll be upfront – while it’s not quite as straightforward as taking a cutting from a pothos, Beloglottis hameri is definitely achievable for the enthusiastic beginner. It just requires a little focused attention, and that’s where I come in.
The Best Time to Start
Think of it like this: when is a plant most eager to grow? For Beloglottis hameri, the absolute sweet spot is late spring to early summer. This is when the plant is in its active growth phase. After a period of winter rest, it’s full of energy and ready to put out new shoots and roots. You’ll see lots of fresh, vigorous growth then, which is exactly what we want when we’re taking cuttings or dividing. Trying to propagate when it’s dormant is like asking someone to run a marathon without training!
Supplies You’ll Need
Before we get our hands dirty, let’s gather our tools. Having everything ready makes the process so much smoother:
- Sharp Pruning Shears or a Clean Knife: Essential for making clean cuts. Anything dull can crush delicate tissues.
- Potting Mix: A well-draining mix is non-negotiable. I usually go for a fluffy blend of peat moss, perlite, and a little bit of orchid bark. You want air to circulate!
- Small Pots or Trays: For your cuttings or divisions. Make sure they have drainage holes.
- Rooting Hormone (Optional but Recommended): A powder or gel can really give your cuttings a boost.
- Clear Plastic Bag or Humidity Dome: To create a humid environment for cuttings.
- Watering Can or Spray Bottle: For gentle watering.
- Labels and a Marker: Because trust me, you will forget what you planted where!
Propagation Methods
Beloglottis hameri is best propagated through division, but you can also have success with stem cuttings.
1. Division: The Surefire Way
This is my go-to method for Beloglottis hameri. It’s less about creating something entirely new and more about gently helping the existing plant expand.
- Step 1: Gently Remove from Pot. Carefully take your Beloglottis hameri plant out of its current container. You might need to loosen the edges with a knife if it’s been there a while.
- Step 2: Inspect the Roots. Gently shake away some of the old soil to get a good look at the root ball. You’re looking for natural divisions – places where the plant has grown into separate clumps, each with its own roots and at least one healthy stem or shoot.
- Step 3: Separate the Divisions. Using your fingers or a clean knife, carefully separate these divisions. Be patient and try not to tear too many roots. If a division looks like it has a good root system, it’s a good candidate.
- Step 4: Pot Them Up. Plant each division in its own small pot filled with your well-draining potting mix. Water gently.
- Step 5: Provide Initial Care. Place the newly potted divisions in a bright spot with indirect light. Keep the soil consistently moist but not soggy for the first couple of weeks until they establish.
2. Stem Cuttings: For Extra Patience
This method is a bit more involved but can yield multiple new plants from a single healthy specimen.
- Step 1: Select a Healthy Stem. Look for a stem that has several healthy leaves and is actively growing. Avoid old, woody stems or ones that look weak.
- Step 2: Make the Cut. Using your clean shears, cut a stem that is about 4-6 inches long. Make the cut just below a leaf node (where a leaf attaches to the stem). This is where roots are most likely to form.
- Step 3: Prepare the Cutting. Remove the lower leaves from the cutting, leaving perhaps two or three at the top. This prevents them from rotting in the soil or water.
- Step 4: Apply Rooting Hormone (Optional). If you have it, dip the cut end into the rooting hormone powder or gel. Tap off any excess.
- Step 5: Plant the Cutting. Create a small hole in your well-draining potting mix using a pencil or your finger. Gently insert the cut end of the stem into the hole, ensuring the node where you removed the leaves is buried. Firm the soil around it.
- Step 6: Create a Humid Environment. Water the soil lightly. Then, cover the pot with a clear plastic bag, supported by stakes so it doesn’t touch the leaves, or place it under a humidity dome. This will trap moisture and create the humid microclimate cuttings crave.
- Step 7: Find the Right Spot. Place the potted cutting in a warm location with bright, indirect light.
The “Secret Sauce” (Pro Tips)
You know, over the years, I’ve found a few little tricks that make a big difference. These aren’t in every book, but they’ve served me well:
- Bottom Heat is Your Friend: If you’re using stem cuttings, placing your pots on a gentle heat mat is a game-changer. Roots love warmth, and this will significantly speed up the rooting process, especially if your home isn’t naturally warm. It’s like a cozy little incubator for your plant babies.
- Don’t Over-Water the Cuttings: This is a big one. It’s so tempting to water liberally when you’re trying to encourage roots, but soggy soil is a fast track to rot. Let the top inch of soil dry out slightly between waterings. The humidity cover will help keep the plant itself hydrated. Your goal is moist, not drowned!
- Patience with the Leaves: If you’re propagating in water (which I generally find less successful for Beloglottis hameri than soil), ensure no leaves are submerged. They’ll rot quickly and introduce disease to the water, which can kill your cutting.
Aftercare & Troubleshooting
Once you see signs of new growth – tiny new leaves unfurling or visible roots poking from the drainage holes – you’re doing great! This is where you transition them to more regular care:
- Gradual Acclimation: For cuttings that were under covers, gradually remove the cover over a week or so. Open the bag a little more each day to let them get used to normal humidity.
- Watering: Continue to water when the top inch of soil feels dry. They’ll need consistent moisture but still dislike soggy feet.
- Light: Keep them in bright, indirect light. As they grow stronger, you can slowly introduce them to slightly brighter conditions, but always avoid direct, harsh sun, which can scorch their delicate leaves.
- Fertilizing: Wait until you see a few sets of new leaves before offering a very diluted dose of a balanced liquid fertilizer.
Now, what if things aren’t going as planned? The most common issue is rot. If your cutting turns black and mushy at the base, or if a division seems to be wilting and dying despite consistent watering, rot is the likely culprit. This usually means the conditions were too wet, or the cutting wasn’t healthy to begin with. Don’t get discouraged! Sometimes plants just don’t make it, and that’s okay. Just learn from it, adjust your watering or soil mix, and try again.
A Little Patience Goes a Long Way
Propagating plants is a bit like tending a garden – it requires patience, observation, and a whole lot of love. Don’t rush it. Enjoy the process of nurturing these new little lives. Watching those first tiny roots emerge or seeing a new leaf unfurl is such a rewarding experience. You’ve got this! Happy growing.
Resource:
https://identify.plantnet.org/k-world-flora/species/Beloglottis%20hameri%20Garay/data