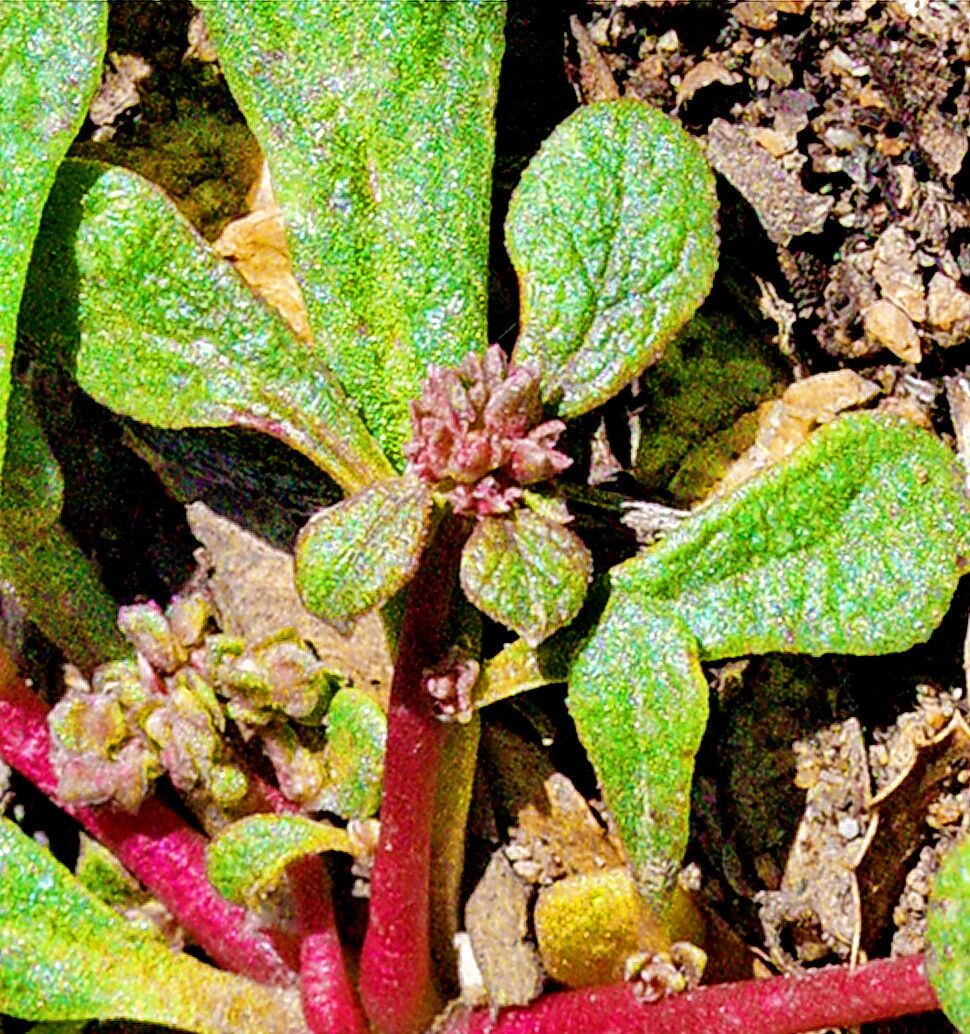
Hey there, fellow plant lovers! I’m so excited to talk to you today about a little gem that often flies under the radar: Calyptridium monandrum, or what some call “common shining-club.” If you’ve ever admired its delicate foliage and charming, star-like flowers, you’re in for a treat. Propagating this beauty is absolutely doable, and honestly, it’s one of those deeply satisfying gardening moments when you see a new life emerge from a piece of the original. For a beginner, I’d say it’s moderately challenging – it needs a little attention to detail, but nothing a willing hand can’t master.
The Best Time to Start
For Calyptridium monandrum, the sweet spot for propagation is late spring to early summer. This is when the plant is in its active growth phase, meaning it has plenty of energy to put into developing new roots. You’ll want to select cuttings from healthy, vigorous stems that haven’t yet flowered. Think of it like picking the best, plumpest fruit – that’s the kind of energy you’re looking for in your propagation material.
Supplies You’ll Need
Gathering your tools beforehand makes the whole process much smoother. Here’s what I always have on hand:
- Sharp, clean pruning shears or a sharp knife: Essential for making clean cuts that heal well.
- Well-draining potting mix: A blend of perlite, vermiculite, and a small amount of coarse sand works wonders. You can also find good “seed starting” mixes.
- Small pots or rooting trays: Make sure they have drainage holes!
- Rooting hormone (optional but recommended): A powder or gel can give your cuttings a helpful boost.
- Spray bottle: For gently misting your cuttings.
- Clear plastic bag or propagation dome: To create a humid environment.
- Labels: So you don’t forget what you planted where!
Propagation Methods
Calyptridium monandrum tends to do best with stem cuttings. It’s straightforward and usually yields good results.
- Taking Cuttings: Using your sharp shears or knife, take a cutting that is 4-6 inches long from a healthy, non-flowering stem. Make the cut just below a leaf node (the point where a leaf attaches to the stem). Remove the lower leaves, leaving only one or two pairs at the top. This prevents them from rotting when buried.
- Preparing the Cutting: If you’re using rooting hormone, dip the cut end into the powder or gel. Gently tap off any excess.
- Planting the Cutting: Fill your small pots or trays with your well-draining potting mix. Make a small hole in the center with your finger or a pencil. Carefully insert the cut end of the stem into the hole, ensuring the nodes where the lower leaves were removed are buried in the soil. Gently firm the soil around the cutting so it stands upright.
- Creating Humidity: Water the soil lightly until it’s evenly moist but not waterlogged. Then, cover the pot with a clear plastic bag or place it under a propagation dome. This traps in moisture, which is crucial for cuttings to root.
The “Secret Sauce” (Pro Tips)
Having gardened for a good while, I’ve picked up a few tricks that really seem to make a difference with trickier plants. For Calyptridium monandrum:
- Bottom Heat is Your Friend: If you have it, placing your rooting tray on a gentle heat mat can significantly speed up root development. This little bit of warmth encourages the plant to put its energy into root growth from below.
- Don’t Overwater, Ever!: This is probably the most common mistake. While humidity is key, soggy soil is a death sentence for cuttings. Let the top layer of soil just start to dry out before watering again. You can check this by gently poking your finger into the soil.
- Indirect Light is Best: As tempting as it is to give your new babies plenty of sun, bright, indirect light is perfect initially. Too much direct sun can scorch the delicate cuttings and dry out the soil too quickly.
Aftercare & Troubleshooting
Once your cuttings have been planted, keep them in that humid environment and provide that bright, indirect light. You’ll start seeing new leaf growth – that’s usually a good sign that roots are forming. It can take anywhere from 3-6 weeks, sometimes longer, so patience is key!
The biggest challenge you might face is rot. If you notice your cuttings looking mushy, turning black, or developing wilting leaves that don’t perk up with misting, it’s usually a sign of too much moisture or poor air circulation. If this happens, try to improve air flow by opening your dome a bit, or gently removing a waterlogged cutting. Sometimes, using a bit more perlite in your mix can help prevent this.
Happy Gardening!
Propagating Calyptridium monandrum is a rewarding journey. Don’t get discouraged if your first attempt isn’t perfect. Each plant is a little experiment, and the joy of seeing those tiny roots develop and then watching your new plant thrive is truly special. So, grab your tools, embrace the process, and enjoy growing your garden!
Resource:
https://identify.plantnet.org/k-world-flora/species/Calyptridium%20monandrum%20Nutt./data