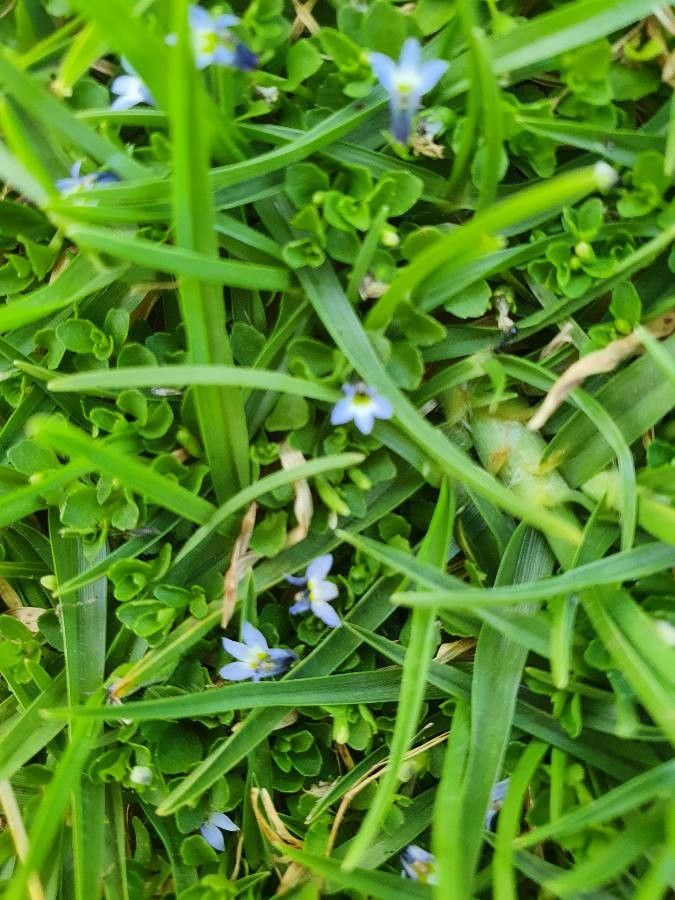
Oh, Lobelia duriprati! I’ve always adored this little gem for its vibrant, sapphire-blue blooms and its delightful way of cascading over edges. It’s like having little sparks of joy in the garden. Bringing more of these beauties into your life through propagation is incredibly satisfying. And honestly, for most gardeners, I’d say it’s moderately easy, with a little patience and the right approach. You can definitely do this!
The Best Time to Start
For the most foolproof results with Lobelia duriprati, I always find that late spring or early summer is the sweet spot. This is when the plant is actively growing and brimming with energy. You want to take cuttings from healthy, non-flowering stems. If you wait until the plant is already putting all its effort into blooming, the cuttings might struggle a bit more.
Supplies You’ll Need
Here’s what you’ll want to have on hand:
- Sharp pruning shears or a clean knife: To make precise cuts.
- Rooting hormone (optional but helpful): A powder or gel can really give your cuttings a boost.
- Well-draining potting mix: I like a blend of equal parts peat moss, perlite, and a touch of compost for starting cuttings.
- Small pots or seedling trays: Nothing too large, just big enough for a few cuttings.
- Watering can or spray bottle: For gentle watering.
- Plastic bag or humidity dome: To create a mini greenhouse effect.
Propagation Methods
Let’s get our hands dirty with a couple of reliable methods:
Stem Cuttings (My Go-To)
- Select your material: Find a healthy, vigorous stem on your Lobelia duriprati that’s about 3-4 inches long and free of flowers.
- Make the cut: Using your clean shears or knife, make a clean cut just below a leaf node. This is where the magic happens for root development.
- Prepare the cutting: Gently remove the lower leaves, leaving just a few at the top. If any of the leaves are quite large, I’ll sometimes snip them in half to reduce water loss.
- Dip in rooting hormone (if using): Lightly dip the cut end into your rooting hormone powder or gel. Tap off any excess.
- Plant the cuttings: Fill your small pots or trays with your prepared potting mix. Make a small hole with your finger or a pencil, and gently insert the cut end of the Lobelia cutting, firming the soil around it.
- Water gently: Water thoroughly but avoid soggy soil. You want it moist, not waterlogged.
- Create a humid environment: Cover the pot or tray with a clear plastic bag or a humidity dome. This is crucial for preventing the cuttings from drying out before they can root.
Water Propagation (Quick & Easy to See Progress)
- Take your cuttings: Follow steps 1-3 from the stem cuttings method.
- Place in water: Pop the prepared cuttings into a small jar or glass of clean water.
- Key rule: Make sure no leaves are submerged in the water. This can lead to rot. If a leaf is too low, snip it off.
- Location, location: Place the jar in a bright spot, but out of direct sunlight.
- Change the water: Change the water every few days to keep it fresh. You’ll start to see little white roots forming in a week or two!
The “Secret Sauce” (Pro Tips)
Here are a few little tricks I’ve learned over the years that can really make a difference:
- Bottom heat is your friend: If you have a seedling heat mat, placing your pots on it can significantly speed up root development, especially for cuttings. Roots love to be warm!
- Don’t overcrowd: Give your cuttings a little breathing room. If they’re too packed in, they’re more susceptible to fungal issues and it’s harder for them to establish.
- Gentle is best: When you’re potting up your new rooted plants, be very careful with those delicate new roots. Don’t rush it!
Aftercare & Troubleshooting
Once you see new leaf growth or a good network of roots peeking out from the drainage holes (for cuttings), they are ready for a bit more independence.
- Gradual hardening off: If you used a plastic bag or dome, start by opening it for a few hours each day to let the cuttings adjust to the drier air. Gradually increase the time they are exposed.
- Watering: Continue to keep the soil consistently moist but not wet. Water when the top inch of soil feels dry to the touch.
- Light: Move them to a spot with bright, indirect light.
- Signs of trouble: The most common issue is rot, which usually shows up as mushy, blackened stems. This is almost always due to overwatering and poor air circulation. If you see this, sadly, that cutting is likely lost. Another sign is wilting that doesn’t improve after watering, which can mean the roots haven’t established or the cutting is just too dry.
A Little Encouragement
Propagating plants is a journey, and like any good journey, it’s about the process. Don’t get discouraged if a few cuttings don’t make it. Celebrate the successes, learn from the challenges, and most importantly, enjoy the incredible feeling of creating new life from your favorite plants. Happy gardening!
Resource:
https://identify.plantnet.org/k-world-flora/species/Lobelia%20duriprati%20T.C.E.Fr./data