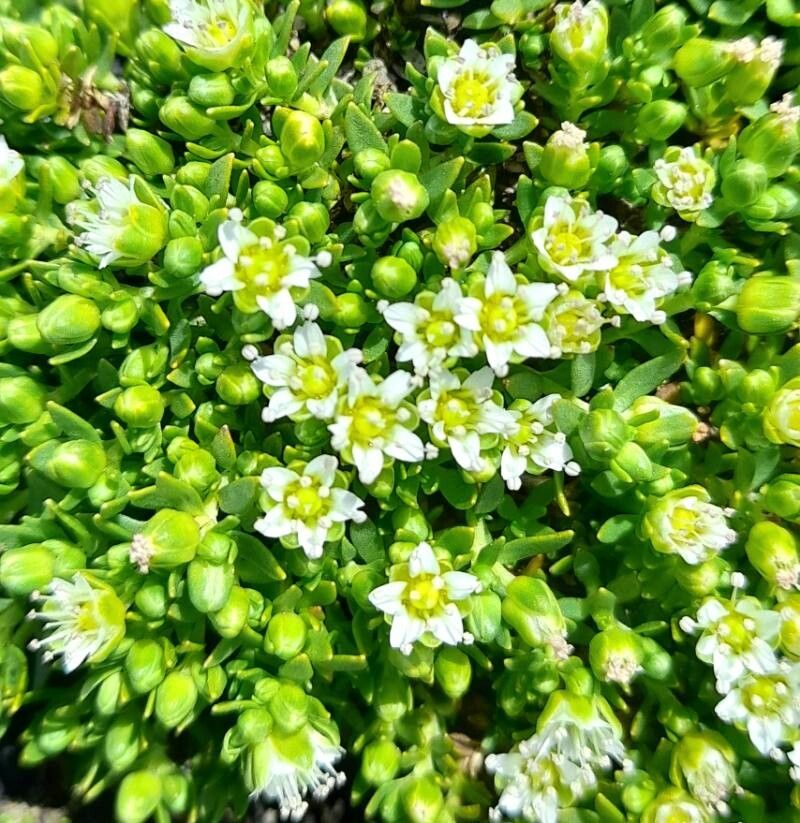
Oh, Arenaria serpens! If you haven’t met this little charmer, let me introduce you. It’s one of those plants that just brings a smile to your face. Imagine a carpet of delicate, thread-like leaves, forming soft mounds that are simply delightful to look at. It’s especially lovely when it bursts into bloom with tiny, star-shaped white flowers. Growing new plants from the ones you already love is such a deeply satisfying part of gardening, and Arenaria serpens is a joy to propagate. For us garden enthusiasts, it’s a fairly straightforward plant to work with, making it a great one for trying your hand at propagation, even if you’re just starting out.
The Best Time to Start
For the highest success, I always reach for my tools in late spring or early summer. This is when the plant is actively growing and has plenty of vibrant energy to spare. You want to grab pieces that look healthy and robust, not anything that’s tired or starting to fade.
Supplies You’ll Need
Here’s what I usually gather before I get started:
- Sharp, clean pruning shears or a razor blade: Cleanliness is key to preventing disease.
- Rooting hormone (optional, but helpful): I find it gives cuttings a little boost.
- A well-draining potting mix: A good blend of perlite, peat moss, and a little sand works wonders. You can also buy a specific seed starting or cactus/succulent mix.
- Small pots or trays: Clean containers are a must.
- A clear plastic bag or dome: This helps create a humid environment for your cuttings.
- Watering can or spray bottle: Gentle watering is essential.
Propagation Methods
Arenaria serpens is quite versatile, but my go-to methods are stem cuttings and division.
Stem Cuttings: This is my favorite way to get lots of little Arenaria plants.
- First, find a healthy, non-flowering stem.
- Using your clean pruning shears, snip off a section about 2-3 inches long. Try to get a piece that’s not too woody.
- Gently remove the lower leaves. You want a clean stem to insert into the soil.
- If you’re using rooting hormone, dip the cut end into it now, tapping off any excess.
- Make a small hole in your prepared potting mix with your finger or a pencil.
- Carefully insert the cutting into the hole, pressing the soil gently around it to secure it.
- Water sparingly, just to moisten the soil.
- Pop the pot into a clear plastic bag or cover it with a dome. This creates that crucial humid little greenhouse effect. Place it in bright, indirect light.
Division: If your Arenaria has gotten nice and full, this is a straightforward option.
- Gently remove the entire plant from its pot. You might need to loosen the edges with a knife if it’s really root-bound.
- Carefully tease apart the root ball into smaller sections. Look for natural divisions where you can see distinct clumps of roots and shoots.
- Sometimes, you might need to use your fingers or a clean knife to help separate stubborn clumps.
- Pot each division into its own container filled with your well-draining potting mix.
- Water gently and place in bright, indirect light.
The “Secret Sauce” (Pro Tips)
Here are a couple of things I’ve learned over the years that really make a difference:
- Don’t let those leaves touch the water: If you’re doing water propagation (though I find soil works best for this plant), make sure only the cut stem is submerged. Any leaves sitting in water are a prime spot for rot to set in.
- Bottom heat is your friend: If you have a bit of space, using a heating mat placed under your pots can significantly speed up root formation. It mimics the warmth of spring soil and gives your cuttings a real boost.
Aftercare & Troubleshooting
Once your cuttings have roots – you’ll know because they won’t wiggle when gently tugged – it’s time to treat them like little baby established plants. Water them when the top inch of soil feels dry. Gradually acclimate them to less humidity by opening the plastic bag or dome a little each day over a week or so.
The most common issue you might see is rot. If a cutting turns mushy and black, especially at the base, it’s usually a sign of too much moisture or not enough air circulation. Clean tools and well-draining soil are your best defense against this. If you see mold on the surface, try to gently scrape it off and ensure better airflow.
A Encouraging Closing
Don’t be discouraged if every single cutting doesn’t make it. Gardening is all about learning and experimenting! Be patient with your new little Arenaria plants. Watch them grow, enjoy the process of nurturing them, and soon you’ll have a whole collection of these charming mounds to share with friends or to plant out in your own garden. Happy propagating!
Resource:
https://identify.plantnet.org/k-world-flora/species/Arenaria%20serpens%20Kunth/data