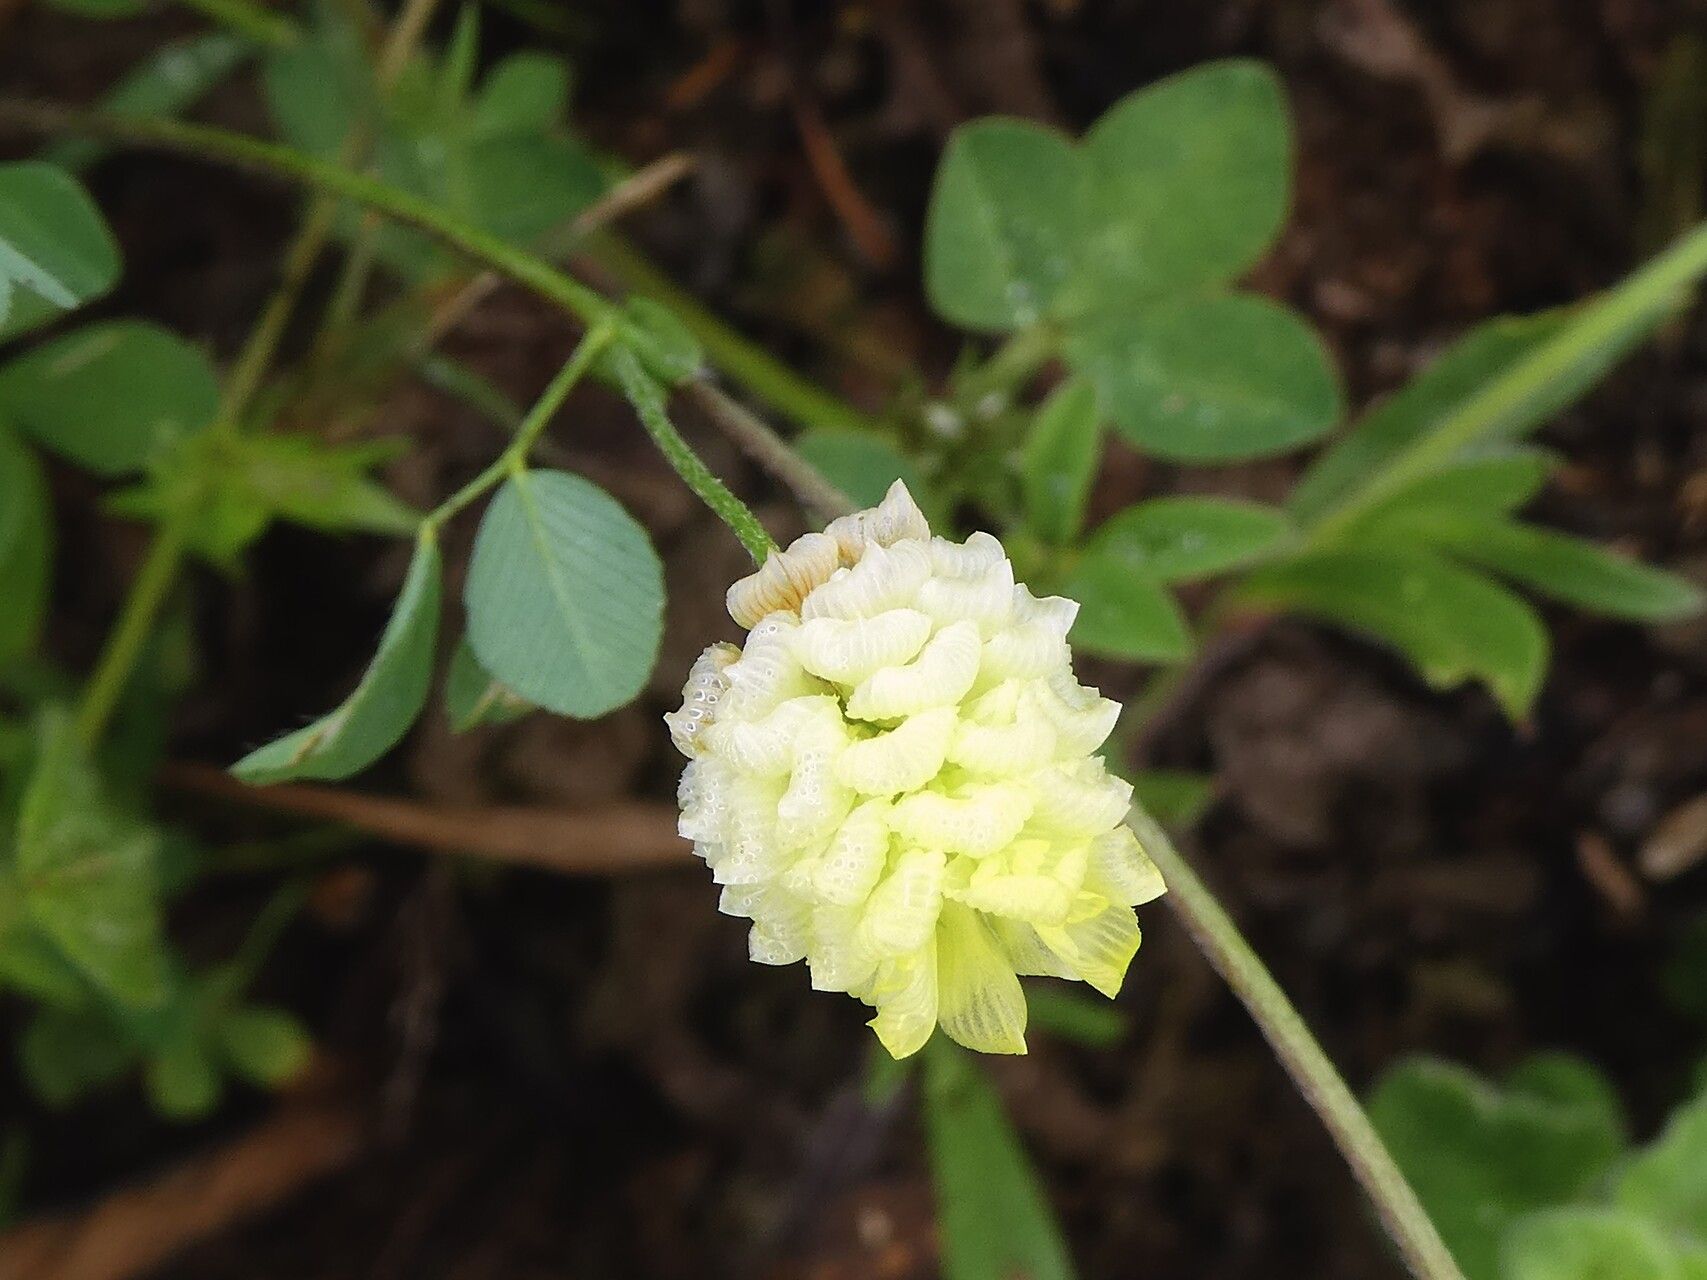
Hello there, fellow plant enthusiasts! Today, we’re diving into the wonderful world of Trifolium campestre, also known as field clover or low hop clover. You know, that cheerful little groundcover dotted with bright, buttery yellow blooms that adds so much charm to meadows and even cracks in the sidewalk? It’s a delightful plant, and propagating it is a fantastic way to bring that sunny disposition into your own garden.
If you’re new to the plant propagation game, you’ll be pleased to hear that Trifolium campestre is quite forgiving. It’s a genuinely rewarding plant to work with, offering a high success rate even for those just dipping their toes into the world of semi-native beauties.
The Best Time to Start
For the most robust and successful propagation, I find that late spring to early summer, just as the plant is hitting its stride and before the intense heat of midsummer sets in, is the sweet spot. You’re looking for healthy, non-flowering stems. If you can snag some material right after a good rain, even better – the plant will be perfectly hydrated.
Supplies You’ll Need
Gathering your tools makes the whole process smoother. Here’s what I usually have on hand:
- Sharp pruning shears or scissors: Clean cuts are key!
- Small pots or seed trays: Whatever fits your space.
- A good quality seed-starting mix or a blend of equal parts potting soil and perlite: This provides excellent drainage.
- Rooting hormone (optional, but helpful): Especially if your cuttings are a bit woody already.
- A spray bottle filled with water: For keeping things humid.
- Labels and a marker: Don’t lose track of your precious little ones!
Propagation Methods
Trifolium campestre is surprisingly versatile. I often find myself using a couple of different methods depending on what I have readily available.
Stem Cuttings
This is my go-to for Trifolium campestre.
- Select your stem: Look for healthy, vigorous stems that are about 4-6 inches long. Aim for stems that are still somewhat flexible, not yet brittle or woody.
- Make the cut: Using your sharp pruning shears, make a clean cut just below a leaf node (that’s where a leaf meets the stem).
- Prepare the cutting: Gently remove the lower leaves, leaving just a couple of sets at the top. If you’re using rooting hormone, dip the cut end into it now.
- Plant the cutting: Stick the prepared cutting about an inch deep into your moistened seed-starting mix. Make sure the leaves aren’t buried.
- Water gently: Give the pot a gentle watering to settle the soil around the cutting.
- Create a humid environment: Cover the pot with a clear plastic bag or dome to trap humidity. You can prop it up with a few skewers if needed. Place it in a bright spot with indirect light.
Division
If you have a mature clump of Trifolium campestre, division is a quick win.
- Gently dig up the plant: Carefully excavate the entire plant, trying to disturb the roots as little as possible.
- Locate natural divisions: Look for sections of the plant where new growth is clearly emerging from the parent clump.
- Separate the sections: With your hands or a small trowel, gently pull apart the clump into smaller sections. Each section should have roots and some foliage.
- Replant immediately: Plant each division into its own pot filled with good potting soil, or directly into a prepared spot in your garden. Water well.
The “Secret Sauce” (Pro Tips)
Here are a couple of things I’ve learned over the years that really make a difference:
- Bottom Heat is Your Friend: For stem cuttings, placing the pots on a gentle heating mat can significantly speed up root development. It mimics the warmth found in the soil during the growing season. You don’t want it too hot, just a mild warmth.
- Air Circulation is Crucial (Once Roots Form): While you want humidity to encourage rooting, once you see roots appearing, you need to gradually introduce more air flow. Start by opening the plastic bag for a few minutes each day, increasing the time over a week. This helps prevent fungal issues.
Aftercare & Troubleshooting
Once your cuttings or divisions have developed a good root system, it’s time to start transitioning them.
- Watering: Continue to water regularly, keeping the soil consistently moist but not waterlogged. As the plants grow stronger, you can ease up slightly until they are established.
- Light: Gradually move your new plants into a location with more direct sunlight, similar to where you want them to grow in the garden.
- Signs of Trouble: The most common issue is rot, which usually signals too much moisture and poor air circulation. If you see wilting, yellowing leaves, or a mushy stem base, it’s a sign to back off on the watering and ensure good airflow. Sometimes, a cutting is simply not viable – don’t be discouraged if a few don’t make it!
There you have it – a straightforward way to get more of those delightful Trifolium campestre plants into your life. Be patient with the process; nature has its own timetable! Enjoy the journey of nurturing these little green wonders, and soon you’ll have a meadow of sunshine right in your own backyard. Happy propagating!
Resource:
https://identify.plantnet.org/k-world-flora/species/Trifolium%20campestre%20Schreb./data