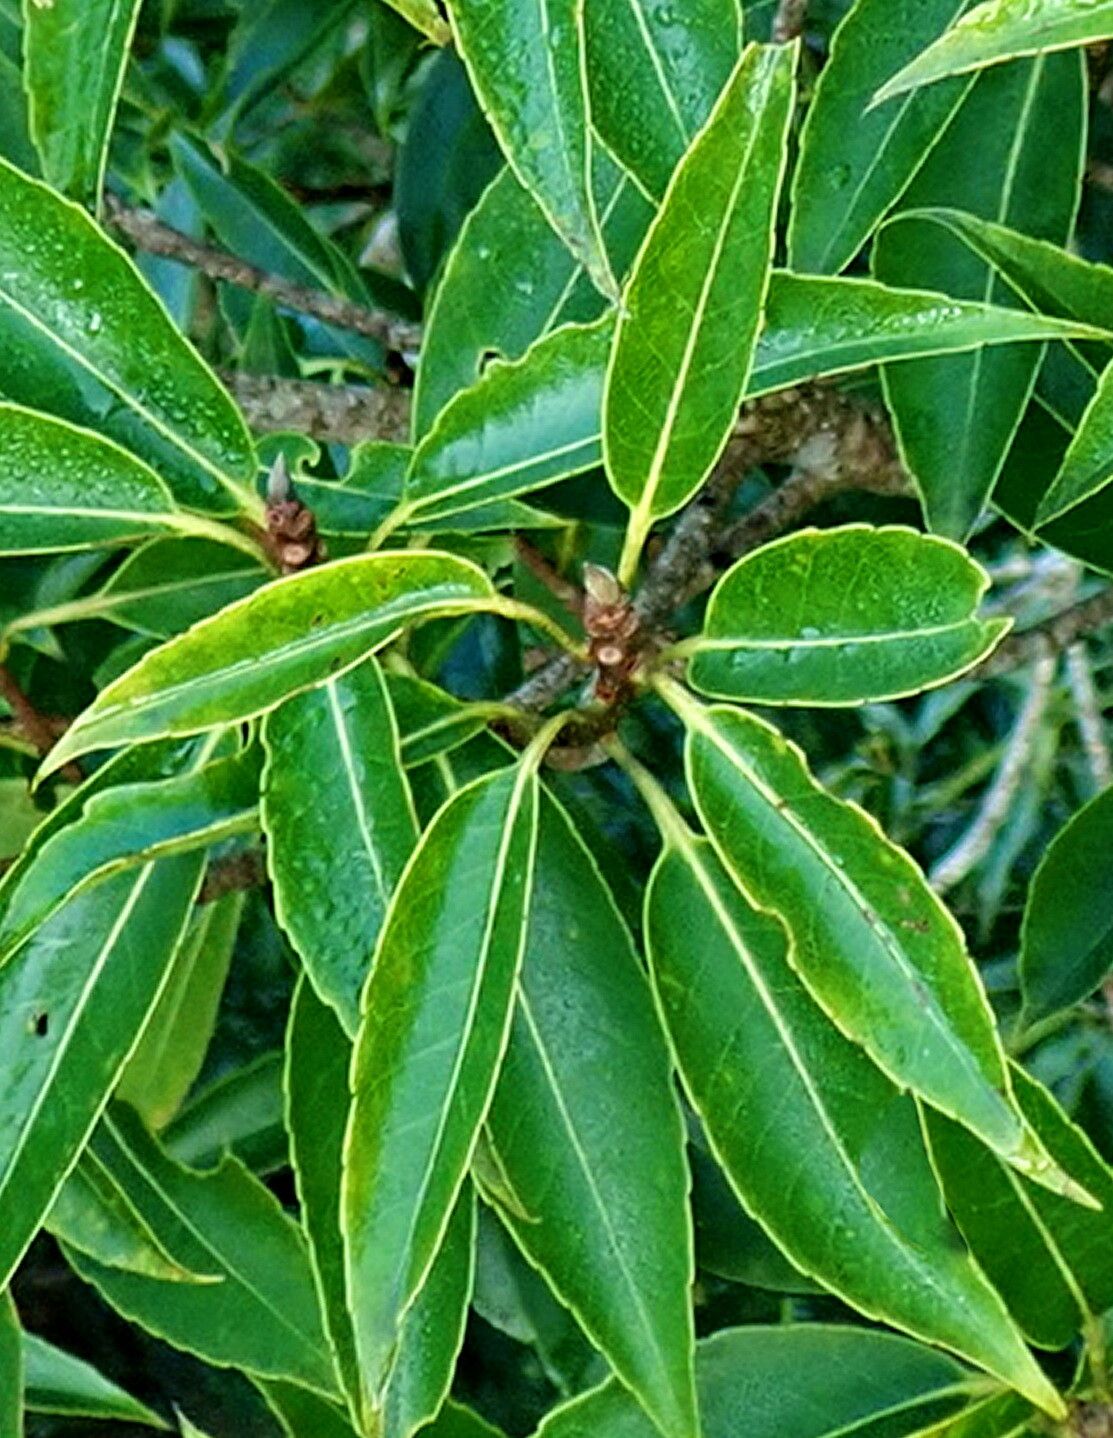
Oh, hello there! Pull up a chair. I’m so pleased you’re curious about propagating Schima wallichii. I’ve always had a soft spot for this beauty. Its glossy, dark green leaves and delicate white flowers, which often have a lovely hint of fragrance, make it a truly elegant addition to any garden, especially in milder climates. While it’s not the absolute easiest plant for a complete beginner, with a little patience and a few pointers, you can absolutely get it to grow. The reward of watching a tiny cutting transform into a new plant? Honestly, it never gets old.
When is the Best Time to Start?
For Schima wallichii, late spring to early summer, right after its main burst of growth, is generally your golden window. This is when the stems are semi-hardwood – not too soft and floppy from new growth, and not too woody and mature. They have enough stored energy to put into rooting. Wait until the new growth has firmed up a bit.
What You’ll Need for Success
Gathering your supplies beforehand makes the whole process so much smoother. Here’s what I always have on hand for propagating Schima:
- Sharp Pruning Shears or a Craft Knife: For clean cuts.
- Rooting Hormone: A powder or gel helps immensely.
- Potting Mix: A well-draining mix is crucial. I like a blend of equal parts peat moss (or coco coir), perlite, and a bit of coarse sand.
- Small Pots: Clean pots (4-6 inches) with drainage holes.
- Clear Plastic Bags or Domes: To create a humid environment.
- Water: For misting.
- Small Labels: To keep track of what you’ve potted.
- Bottom Heat (Optional but Recommended): A heat mat can speed things up considerably.
Letting Nature (and a Bit of Help) Take Its Course
I find that stem cuttings are the most reliable method for propagating Schima wallichii. Here’s how I do it:
- Take Your Cuttings: Select healthy, current-year stems that are starting to firm up – they should bend slightly without snapping. Aim for cuttings about 4-6 inches long. Use your sharp shears to make a clean cut just below a leaf node (where a leaf meets the stem). Remove the lower leaves from the cutting, leaving just the top few.
- Prepare the Cutting: Dip the cut end into rooting hormone, tapping off any excess. This isn’t strictly essential, but it really gives your cutting a boost.
- Potting Up: Fill your clean pots with your well-draining potting mix. Make a small hole in the center with your finger or a pencil. Gently insert the prepared cutting into the hole, ensuring the nodes where you removed the leaves are buried. Firm the soil around the stem.
- Mist and Cover: Thoroughly mist the soil and the leaves of the cutting. Then, cover the pot with a clear plastic bag or a clear plastic dome. This creates a humid mini-greenhouse, which is vital to prevent the cutting from drying out before it develops roots.
- Provide Light and Warmth: Place the pot in a bright spot that receives indirect light. Direct sun will scorch the delicate leaves. If you have a heat mat, place the pot on it. This gentle bottom heat is a game-changer for encouraging root development.
My Little “Secret Sauce” for Extra Success
After years of “gardening by the seat of my pants,” I’ve learned a few tricks that seem to make a difference:
- Don’t Let the Leaves Touch the Water (if misting): When you’re misting, try to aim for the soil rather than letting water pool on the leaves. Excessive moisture on the foliage can sometimes encourage fungal issues, especially in a closed environment.
- The Power of Bottom Heat: I cannot stress this enough – if you can, invest in a small heat mat. It mimics natural soil temperatures and really speeds up the root formation process. My success rate jumped significantly once I started using one consistently.
- Patience with Air Circulation: Ever so slightly open the plastic bag or dome for a few minutes each day to allow for some air exchange. This helps prevent stale air and reduces the risk of mold.
Aftercare and What to Watch For
Once roots have started to form (you might see them poking out of the drainage holes, or gently tugging on the cutting reveals resistance), it’s time to transition.
- Gradual Acclimation: Once roots are visible, start gradually increasing ventilation. Remove the plastic bag for longer periods, and eventually, leave it off completely.
- Watering: Water when the top inch of soil feels dry. Avoid overwatering; this is often the quickest way to lose a newly rooted cutting.
- Transplanting: When the plant is well-rooted and looks robust (usually after several weeks to a couple of months), you can transplant it into a slightly larger pot with fresh potting mix.
The most common sign of trouble is rot, which appears as a black, mushy stem base. This is usually a sign of too much moisture and not enough drainage or air circulation. If you see this, unfortunately, that cutting is likely lost. Another sign is wilting that doesn’t improve with watering, which can indicate it just hasn’t rooted yet and is drying out.
Keep Growing!
There you have it – a little guide to getting your own Schima wallichii plants. Remember, gardening is a journey, and experimentation is part of the fun. Don’t be discouraged if not every cutting takes. Just keep trying, learn from each attempt, and most importantly, enjoy the beautiful process of nurturing new life. Happy gardening!
Resource:
https://identify.plantnet.org/k-world-flora/species/Schima%20wallichii%20(DC.)%20Korth./data