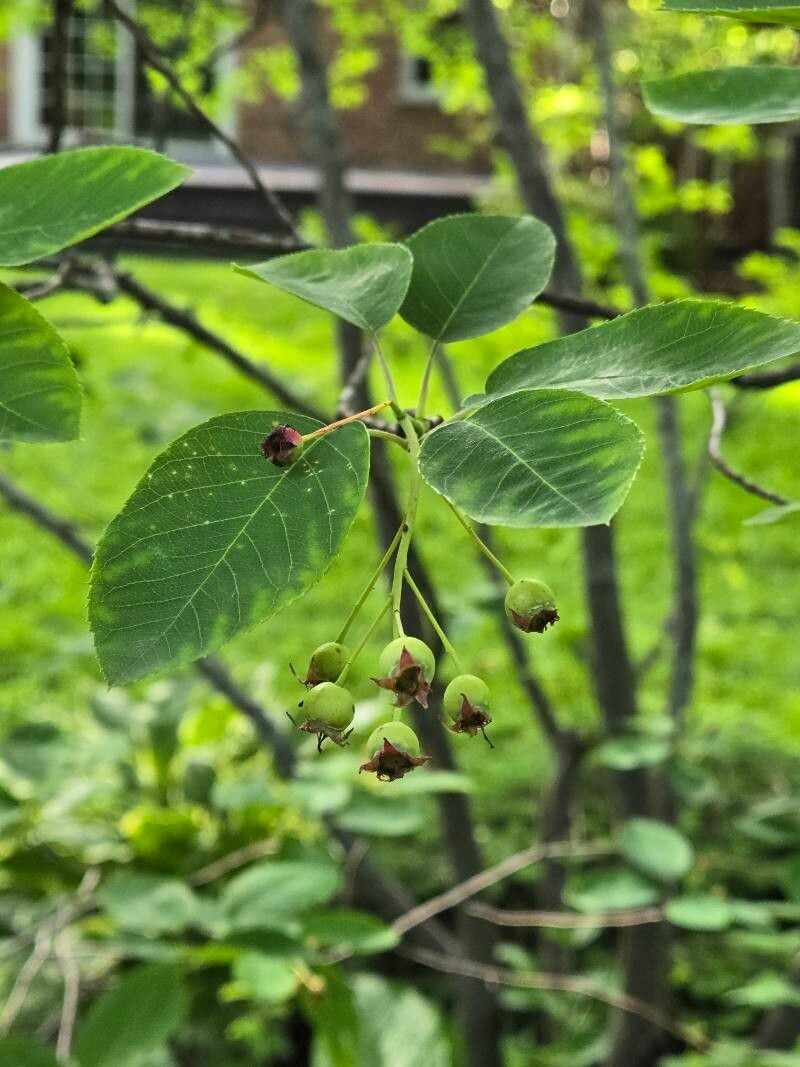
Hello, fellow garden lovers! Today, we’re diving into the wonderful world of propagating Amelanchier arborea, often called Serviceberry or Juneberry. I’ve spent two decades coaxing new life from my plants, and I can tell you, there’s a special kind of joy in creating a new tree or shrub from something you already have.
Serviceberries are just a delight. They offer gorgeous spring blossoms, edible (and delicious!) berries in the early summer, and stunning fall color. Plus, they’re a magnet for birds. Growing your own from cuttings or offsets is a truly rewarding endeavor, and I find Amelanchier to be a surprisingly forgiving plant for beginners wanting to try their hand at propagation. You’ll be sharing your own little gems with friends before you know it!
The Best Time to Start
For the highest success rate with Amelanchier arborea, I always aim for late spring to early summer. This is when the plant is in active growth, and the new shoots have started to harden off just a bit – they’re not too soft and floppy, but not completely woody either. This “semi-hardwood” stage is just perfect for taking cuttings.
Supplies You’ll Need
Gathering your supplies beforehand makes the whole process smoother. Here’s what I usually have on hand:
- Sharp Pruning Shears or a Knife: For clean cuts that heal well.
- Rooting Hormone: This isn’t strictly necessary for Serviceberry, but it can definitely give your cuttings a helpful boost. I prefer the powdered form.
- Sterile Potting Mix: A good blend of peat moss, perlite, and vermiculite works wonderfully. It needs to drain well!
- Small Pots or Seed Starting Trays: With drainage holes, of course.
- Plastic Bags or a Clear Plastic Dome: To maintain humidity around your cuttings.
- Watering Can with a Fine Rose: For gentle watering.
- Labels and a Permanent Marker: So you don’t forget what you planted!
Propagation Methods
There are a couple of ways to get new Amelanchier arborea going, and I’ll walk you through my favorites.
Stem Cuttings
This is my go-to method for Serviceberry.
- Take Your Cuttings: On a cool, overcast morning (after the dew has dried), select healthy, current-season shoots. Look for stems that are flexible but not too soft. You want pieces about 4-6 inches long. Make your cut just below a leaf node (where a leaf attaches to the stem).
- Prepare the Cuttings: Gently remove the leaves from the bottom half of the cutting. You can leave one or two leaves at the very top to continue photosynthesis, but remove any extra foliage to reduce water loss. If your cuttings are on the larger side, I sometimes even cut the remaining leaves in half.
- Apply Rooting Hormone: Dip the cut end of the stem into your rooting hormone. Tap off any excess.
- Plant the Cuttings: Fill your pots with the sterile potting mix. Make a small hole with a pencil or your finger. Insert the treated end of the cutting into the hole, ensuring the leaf nodes you removed are buried beneath the soil line. Gently firm the soil around the cutting.
- Water and Cover: Water the mix thoroughly but gently. Then, cover the pot with a clear plastic bag (making sure the leaves don’t touch the plastic if possible) or a clear plastic dome. This creates a humid microclimate.
Division (for suckering plants)
Amelanchier can sometimes produce suckers, which are new shoots that emerge from the base of the parent plant. If yours does this, division is a breeze!
- Gently Excavate: In early spring before new growth really takes off, carefully dig around the base of the parent plant. You want to expose where the suckers are attached.
- Make the Cut: Using your sharp pruners or a knife, carefully sever the sucker from the parent plant, making sure it has some roots attached.
- Plant the Division: Plant the separated sucker in its own pot filled with good potting mix, or directly into a prepared spot in the garden if the soil is ready. Water well.
The “Secret Sauce” (Pro Tips)
After years of tinkering, a few tricks always seem to help my cuttings along.
- Bottom Heat is Your Friend: If you’re serious about propagation, consider a heat mat placed under your pots. This gentle warmth encourages root development and can make a significant difference, especially if your house is a bit on the cool side. You’d be amazed at how much faster those roots will form!
- Don’t Drown Them: While humidity is crucial, soggy soil is the enemy. Make sure your potting mix is well-aerated and drains freely. If you’re using the bag method, poke a few small holes in the bag if you see excessive condensation building up. We want damp, not waterlogged.
- Location, Location, Location: Place your potted cuttings in a bright spot but out of direct, scorching sunlight. A north-facing windowsill or a spot dappled with shade is ideal. Too much sun will scorch those delicate new leaves.
Aftercare & Troubleshooting
Once your cuttings have rooted (you might see new leaf growth, or gently tugging on the stem will feel resistance), it’s time for a little tender loving care.
Carefully remove the plastic cover gradually over a few days, allowing the new plant to acclimate to normal humidity. Continue to keep the soil consistently moist but not saturated. You can repot your new Serviceberry into a slightly larger container when it’s a bit bigger, or transplant it to its permanent garden spot.
The biggest challenge you might face is rot. This is usually a sign of overwatering or poor drainage. If you see your cutting turning black and mushy, unfortunately, it’s likely a lost cause. Don’t get discouraged! Compost it and try again. Sometimes, a bit of powdery mildew can appear; good air circulation and avoiding misting directly on leaves can often prevent this.
A Little Patience Goes a Long Way
Propagating new plants is an act of hope and patience. Some cuttings will surprise you with their speed, while others might take their sweet time. Embrace the learning curve, celebrate every tiny success – even a hint of a root – and most importantly, enjoy the process of nurturing new life into your garden. Happy gardening!
Resource: