Oh, hello there! Grab a cuppa, and let’s talk about a plant that might just steal your heart: Casearia coriacea. I’ve been coaxing new life from this beauty for years now, and let me tell you, there’s a special kind of magic in watching a tiny cutting transform into a thriving plant. If you’re looking for a bit of leafy green joy and a rewarding weekend project, you’ve come to the right place.
Why You’ll Love Propagating Casearia coriacea
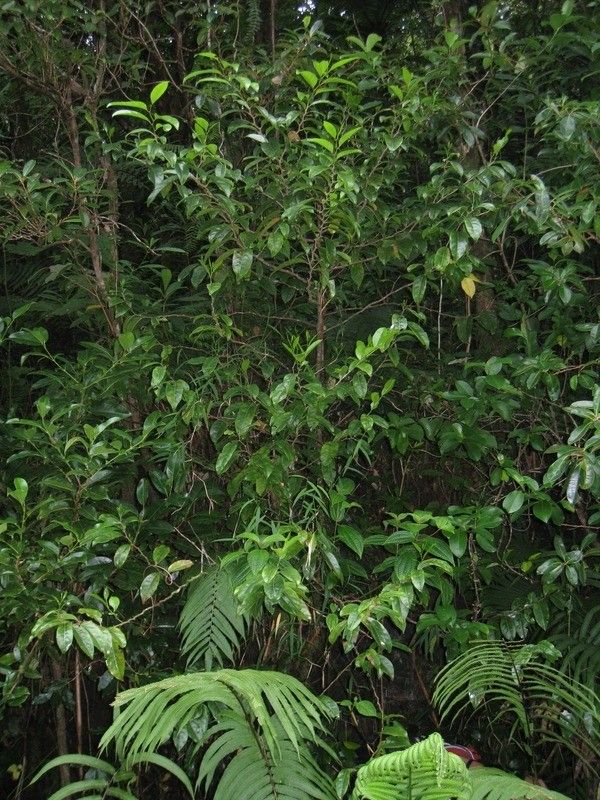
This isn’t some fussy prima donna of a plant. Casearia coriacea has this wonderful, almost understated elegance. Its glossy leaves have a lovely texture, and it can bring a touch of the tropics to even the most temperate garden or indoor space. Propagating it yourself? It’s incredibly satisfying. It’s also a fantastic way to get more of these beauties to fill your space or share with fellow plant lovers. For those just dipping their toes into propagation, I’d say Casearia coriacea is wonderfully accessible. It’s not overly demanding, and with a little attention, you’ll be rewarded.
The Best Time to Start
My experience tells me that spring and early summer are your golden windows for propagating Casearia coriacea. This is when the plant is actively growing, meaning those cuttings have the energy to put down roots much more readily. Look for new growth – stems that are firm but not yet woody. Avoid trying this with old, dormant growth; it’s just not as enthusiastic about sprouting new life.
Supplies You’ll Need
Ready to gather your bits and bobs? Here’s a list of what you’ll want on hand:
- Sharp Pruning Shears or a Craft Knife: Clean cuts are key to happy cuttings.
- Sterilizing Solution: Rubbing alcohol or a bleach solution (1 part bleach to 9 parts water) to clean your tools.
- Rooting Hormone (Optional but Recommended): A little dip in this can significantly speed up the process.
- Potting Mix: A well-draining mix is crucial. I often use a blend of equal parts peat moss, perlite, and a bit of coarse sand.
- Small Pots or Seedling Trays: Clean ones, of course!
- Plastic Bags or a Clear Propagator: To create a humid environment.
- Watering Can with a Fine Rose: For gentle watering.
- Label Stakes and a Permanent Marker: To keep track of your projects!
Propagation Methods: Let’s Get Our Hands Dirty!
We’ll focus on the method that’s proven most successful for me: stem cuttings.
- Select Your Cuttings: Gently inspect your Casearia coriacea plant. Look for healthy, semi-hardwood stems from the current season’s growth. You want pieces that are about 4-6 inches long.
- Make the Cut: Using your sterilized pruning shears or knife, make a clean cut just below a leaf node (where a leaf attaches to the stem). This node is where roots are most likely to form.
- Prepare the Cutting: Remove the lower leaves from the cutting, leaving just a couple of leaves at the very top. This helps the cutting conserve energy and prevents leaves from rotting once they’re in the soil. If the upper leaves are very large, you can even cut them in half horizontally to further reduce water loss.
- Apply Rooting Hormone (If Using): Dip the cut end of the stem into your rooting hormone powder or gel, tapping off any excess.
- Plant Your Cuttings: Fill your small pots or trays with your well-draining potting mix. Make a small hole in the center of the soil with your finger or a pencil. Gently insert the cut end of your Casearia coriacea cutting into the hole, ensuring it’s deep enough to be stable. Firm the soil gently around the stem.
- Water Gently: Use your watering can with the fine rose to lightly water the soil. You want it moist, not soggy.
- Create a Humid Environment: This is where the magic starts! Cover the pot with a clear plastic bag or place it inside a propagator. Make sure the leaves aren’t touching the plastic. You can use stakes to keep the bag from collapsing onto the foliage.
The “Secret Sauce” (Pro Tips)
Now, for a few nudges from my own experiences that have made a real difference:
- Bottom Heat is Your Friend: If you can, place your pots on a propagator mat or a sunny windowsill above a radiator (but not directly on it). That gentle warmth from below encourages root development like nothing else. It truly speeds things up.
- Don’t Over-Water: This is a big one! Excess moisture is the fast track to rot, and that’s the end of your hopeful cutting. The goal is consistently moist, not soggy. I often check the soil by poking my finger in. If it feels dry an inch down, it’s time for a gentle drink.
- Be Patient with Light: While you want bright, indirect light, avoid harsh, direct sun on your new cuttings. They’re delicate! They’ll tell you if they’re getting too much sun by looking bleached or scorched.
Aftercare & Troubleshooting
Once you start seeing signs of new growth – perhaps a new leaf unfurling – it’s a good indicator that roots have formed. You can gently tug on the cutting; if there’s resistance, you likely have roots.
Keep the humidity high for a while longer, gradually acclimating your new plant to normal room conditions by opening the plastic bag a little more each day over a week or two. Continue to water when the soil feels dry.
What if things go wrong? The most common culprit for cuttings is rot. If you see your cutting turning black or mushy, it’s usually a sign of too much moisture and not enough air circulation. Sadly, at that point, it’s unlikely to recover, but don’t despair! Just try again. Sometimes, a cutting might just remain stubbornly unchanged; this can happen for many reasons, and it’s not necessarily a sign of failure, just a lack of success this time around.
Happy Propagating!
So there you have it! Casearia coriacea is a joy to propagate, and I truly hope you give it a go. Remember to be patient with your little green charges. Gardening, and especially propagation, is a journey of learning and discovery. Enjoy the process, celebrate every sprout, and don’t be afraid to get your hands dirty. Happy growing!
Resource:
https://identify.plantnet.org/k-world-flora/species/Casearia%20coriacea%20Vent./data