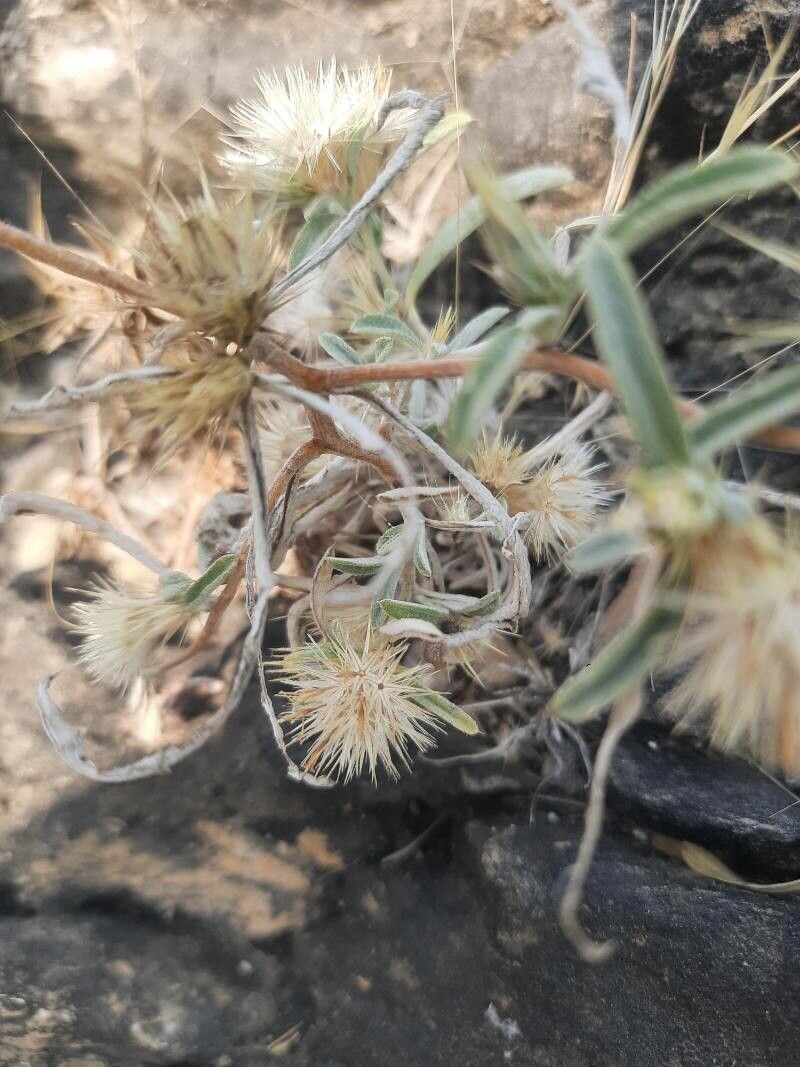
Oh, hello there, fellow plant enthusiast! Come on in, let’s grab a cuppa. Today, we’re talking about a rather special little plant: Dicoma tomentosa. You know, the one with those delightful, fuzzy, almost woolly leaves and charming daisy-like flowers that just seem to capture the essence of sunshine. It’s a plant that brings a certain rustic charm to any garden, and honestly, coaxing new life from it is incredibly satisfying. Now, about propagating it – is it a walk in the park for beginners? I’d say it’s moderately successful. It’s not as tricky as some of the more finicky specimens, but it does appreciate a little know-how.
The Best Time to Start
For Dicoma tomentosa, the sweet spot for propagation is really as the plant is actively growing. This generally means spring and early summer. You’re looking for healthy, vibrant stems that aren’t too woody or too soft. Think of it as harvesting your ingredients when they’re at their peak. Trying to propagate when the plant is dormant or stressed simply won’t yield the best results.
Supplies You’ll Need
Here’s what you’ll want to have on hand before you dive in:
- Sharp pruning shears or a clean, sharp knife: For making clean cuts. Sterilize them with rubbing alcohol before you start!
- Rooting hormone (powder or gel): This isn’t strictly mandatory, but it really does give your cuttings a boost.
- Well-draining potting mix: A mix designed for succulents or cacti works beautifully. You can also create your own by combining equal parts perlite and peat moss or coco coir.
- Small pots or trays: 3-4 inch pots are a good size. Make sure they have drainage holes.
- Watering can or spray bottle: For gentle watering.
- Optional: A heat mat: This can significantly speed up root development.
Propagation Methods
Dicoma tomentosa is a pretty straightforward plant to propagate from stem cuttings. It’s my go-to method, and I’ve had great success with it.
- Take Your Cuttings: Head out to your plant on a bright, mild day. Select a healthy, non-flowering stem. You want a cutting that’s about 3-5 inches long. Using your sterilized shears or knife, make a clean cut just below a leaf node (that little bump where a leaf emerges from the stem). Remove the lower leaves, leaving just a couple of leaves at the top.
- Let Them Callus (Optional but Recommended): This step is crucial for preventing rot, especially in humid conditions. Place your cuttings in a dry, airy spot for a day or two. You’ll see the cut end begin to dry and form a slight scab. This is what we’re after.
- Apply Rooting Hormone: Once the cuttings have callused, dip the cut end into your rooting hormone. Tap off any excess.
- Plant Your Cuttings: Fill your small pots with your well-draining potting mix. Make a small hole with your finger or a pencil in the center of the soil. Gently insert the callused end of your cutting into the hole, ensuring the leaf nodes are below the soil line. Firm the soil gently around the cutting.
- Water Gently: Water lightly after planting, just enough to settle the soil around the cutting. A spray bottle is your best friend here, as it prevents dislodging the delicate cuttings.
The “Secret Sauce” (Pro Tips)
Now, for a couple of things I’ve learned over the years that make a real difference:
- Don’t overcrowd your pots. Give each cutting its own space. This improves air circulation and reduces the risk of fungal diseases spreading from one cutting to another. For a 4-inch pot, I usually plant 2-3 cuttings.
- Bottom heat is a game-changer. If you have a heat mat, place your pots on it. This encourages root development from the bottom up, and it’s amazing how much faster it works. Just keep the ambient air temperature moderate, around 70-75°F (21-24°C).
Aftercare & Troubleshooting
Once your cuttings are planted, find them a spot that gets bright, indirect light. Avoid direct, scorching sun, as it can dehydrate those new cuttings very quickly. Keep the soil lightly moist but never soggy. Overwatering is the quickest way to invite rot, and you’ll see it as the cutting turning mushy and brown.
You’ll know your cuttings have rooted when you see new growth appearing or when you gently tug on the cutting and feel resistance. This usually takes anywhere from 4-8 weeks, depending on the conditions. Once they’ve established a good root system, you can gradually acclimate them to more direct sunlight and begin watering them more regularly, like you would any mature Dicoma tomentosa.
A little patience goes a long way.
So there you have it! Propagating Dicoma tomentosa is a rewarding journey, and with these tips, I’m confident you’ll have success. Remember to be patient, observe your cuttings closely, and don’t be afraid to experiment a little. Happy propagating, and enjoy watching your new plants thrive!
Resource:
https://identify.plantnet.org/k-world-flora/species/Dicoma%20tomentosa%20Cass./data