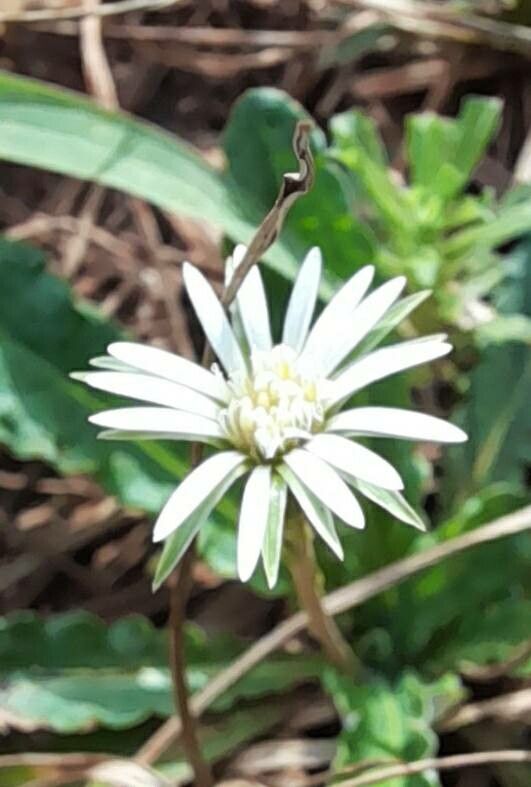
Oh, hello there! It’s wonderful to have you join me for a cozy chat about a plant that’s really captured my heart: Chaptalia piloselloides. You might know it by its common name, Butterfly Weed, or even its more botanical moniker, Liatris spicata variety piloselloides, though let’s keep it simple and call it Chaptalia for our chat. This little gem is just delightful. Its fuzzy, almost ethereal foliage and its pretty, understated blooms bring a touch of wild charm to any garden. And the best part? Propagating it is surprisingly rewarding, and I’d say for most of you, it’s an excellent plant to start with when you’re dipping your toes into propagation.
The Best Time to Start
For Chaptalia, the real sweet spot for propagation is when the plant is in its active growing season. That usually means late spring through summer. You’re looking for healthy, vigorous new growth. If you’re dividing an established plant, doing it in early spring, just as new shoots are appearing, is also fantastic because the plant has the whole growing season ahead of it to recover and establish.
Supplies You’ll Need
Gathering your tools beforehand makes the whole process so much smoother. Here’s what I usually have on hand:
- Sharp Pruning Shears or a Clean Knife: For taking clean cuts.
- Small Pots or Propagation Trays: Whatever you have available will do. Make sure they have drainage holes!
- Well-Draining Potting Mix: I often use a mix of equal parts seed starting mix and perlite to ensure good aeration and prevent sogginess.
- Rooting Hormone (Optional but Recommended): A powdered or liquid rooting hormone can give your cuttings a real boost.
- Watering Can with a Fine Rose: For gentle watering.
- Plant Labels: Trust me, you will forget what you planted where!
Propagation Methods
Chaptalia is quite obliging and can be propagated in a couple of ways with great success. Let’s look at the two most common:
Stem Cuttings
This is my go-to method for making more of these lovely plants.
- Take Your Cuttings: Using your clean shears or knife, take cuttings that are about 4-6 inches long. Look for stems with at least a few leaves. Avoid flowering stems if possible, as the energy is going into bloom production, not root development.
- Prepare the Cuttings: Gently remove the lower leaves from the cutting, leaving just the top two or three sets of leaves. This helps prevent them from rotting in the soil.
- Apply Rooting Hormone (Optional): If you’re using rooting hormone, dip the cut end into the powder or liquid, tapping off any excess.
- Plant the Cuttings: Fill your small pots or trays with your prepared potting mix. Make a small hole in the center with your finger or a pencil. Insert the cut end of the Chaptalia cutting into the hole, pressing the soil gently around it to secure.
- Water Gently: Water thoroughly but gently to settle the soil around the cuttings.
Division of Established Plants
If you have a mature Chaptalia plant, dividing it is a wonderfully simple way to get more plants and also rejuvenate the parent plant.
- Excavate the Plant: In early spring, gently dig up the entire plant from its pot or garden bed. You want to loosen the soil around the root ball.
- Inspect the Roots: Gently shake off excess soil to expose the root system. You should be able to see where the plant naturally wants to separate into smaller sections.
- Separate the Sections: Using your hands or a clean knife if the roots are very dense, carefully pull or cut the root ball into several smaller pieces. Each division should have at least a few healthy roots and some shoots.
- Replant Immediately: Pot up the divisions into their own individual pots filled with your well-draining potting mix. Water them well.
The “Secret Sauce” (Pro Tips)
Here are a couple of things I’ve learned along the way that really seem to make a difference:
- When propagating from cuttings, don’t let the leaves touch the soil. If a leaf dips into the potting mix and stays damp, it’s an invitation for rot. Sometimes I’ll even trim off the very lowest leaf or two if they’re awkwardly positioned.
- For cuttings, a little bottom heat can work wonders. If you have a seedling heat mat, placing your pots on it can significantly speed up root formation. It’s not essential, but it’s a nice little boost.
Aftercare & Troubleshooting
Once your Chaptalia cuttings or divisions are planted, give them some consistent care, and they’ll reward you.
- Light: Place your newly planted cuttings or divisions in a bright spot, but out of direct, harsh sunlight. A sunny windowsill that doesn’t get scorching midday rays is usually perfect.
- Watering: Keep the soil consistently moist, but not waterlogged. This is where that well-draining mix really shines. You want it to feel a bit damp to the touch, like a wrung-out sponge. Avoid letting it dry out completely, but also don’t let it sit in water.
- Checking for Roots: For cuttings, you can gently tug on a stem after a few weeks. If there’s resistance, you have roots! For divisions, you’ll usually see new top growth appearing, indicating they’ve settled in.
Now, what if things don’t go as planned? The most common issue you might encounter is rot. This usually happens if the soil is too wet or the air circulation is poor. If you see a cutting turning black and mushy, sadly, that one is a goner. Don’t beat yourself up! Sometimes it takes a few tries to get it right. The best thing you can do is improve your watering habits and ensure good drainage.
A Encouraging Closing
Watching a tiny cutting or a division sprout new life is one of those simple garden joys that never gets old. Be patient with your Chaptalia piloselloides; like all good things, propagation takes a little time. Enjoy the process, learn from each attempt, and soon you’ll have a whole troop of these delightful plants to share! Happy gardening!
Resource:
https://identify.plantnet.org/k-world-flora/species/Chaptalia%20piloselloides%20(Vahl)%20Baker/data