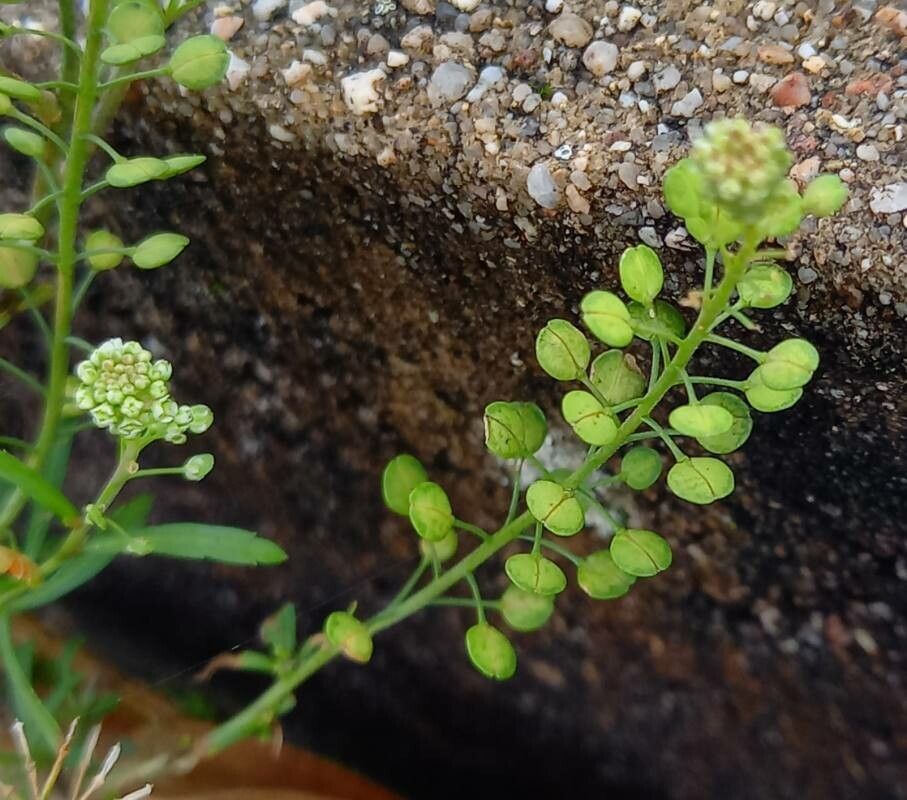
Oh, hello there! Pull up a chair and let’s chat about a little charmer I’ve come to adore: Lepidium virginicum, or as some of us affectionately call it, Virginia pepperweed. It’s a humble, yet delightful native with tiny white flowers that attract a buzz of beneficial insects. Plus, its peppery seed pods add a unique touch to homemade spice blends.
Propagating this resilient beauty is surprisingly easy, making it a fantastic project for beginners and seasoned gardeners alike. It’s incredibly rewarding to watch a tiny piece grow into a thriving plant, and with Lepidium virginicum, you’ll be rewarded with success quite a bit.
The Best Time to Start
For the absolute best results, I always recommend starting your Lepidium virginicum propagation in the late spring or early summer. This is when the plant is actively growing and has plenty of energy to put into developing new roots. You can also have success with cuttings taken in early autumn, but you’ll want to make sure they have ample time to establish before the cold weather sets in.
Supplies You’ll Need
Gathering your tools beforehand just makes the whole process smoother. Here’s what I like to have on hand:
- Sterilized pruning shears or sharp scissors: A clean cut is crucial to prevent disease.
- Well-draining potting mix: A mix formulated for seedlings or a blend of equal parts potting soil, perlite, and sand works wonders.
- Small pots or seed trays: Make sure they have drainage holes!
- Rooting hormone (optional but helpful): This can give your cuttings a little boost.
- A spray bottle: For keeping things gently moist.
- Plastic bags or a propagator: To create a humid environment.
Propagation Methods
Lepidium virginicum is wonderfully versatile, and I find two main methods work exceptionally well.
Stem Cuttings
This is my go-to for multiplying my pepperweed patch quickly.
- Take your cuttings: Look for healthy, non-flowering stems from a mature plant. Using your sterilized shears, cut a section of stem about 4-6 inches long. Make the cut just below a leaf node.
- Prepare the cuttings: Gently remove the lower leaves from the cutting, leaving just a few at the top. If you’re using rooting hormone, dip the cut end into it now, tapping off any excess.
- Plant your cuttings: Fill your small pots with the well-draining potting mix. Make a small hole with your finger or a pencil and insert the cut end of the stem. Gently firm the soil around it.
- Water and cover: Water the soil thoroughly but gently. Then, cover the pot with a plastic bag or place it in a propagator to maintain high humidity. This is key!
Water Propagation
This is a fun, visual way to see your roots grow.
- Select and cut: Choose healthy stems as you would for cuttings, about 4-6 inches long. Remove the lower leaves, ensuring no leaves will be submerged in water.
- Place in water: Put the cuttings in a clean glass or jar filled with fresh water.
- Find a good spot: Place the container in a bright location, but out of direct sunlight. Change the water every few days to keep it fresh.
- Wait for roots: You should start to see small white roots emerge within a couple of weeks. Once the roots are about an inch long, it’s time to plant them.
The “Secret Sauce” (Pro Tips)
Over the years, I’ve picked up a few tricks that seem to make a real difference.
- First, when you’re taking stem cuttings, I always aim for semi-hardwood. This means the stem is neither brand new and floppy nor old and woody. It has a bit of flexibility but also some firmness.
- If you’re doing water propagation, always remember to keep the leaves from touching the water. Submerged leaves tend to rot, which is exactly what we don’t want! It’s better to have fewer leaves at the top than rotting ones in the water.
- And here’s one that’s often overlooked: don’t be afraid to experiment with a bit of bottom heat. If you have a heat mat, placing your pots on it can significantly speed up root development, especially if your home is on the cooler side. Just ensure the soil doesn’t dry out too quickly.
Aftercare & Troubleshooting
Once you see those first tiny roots appearing, hooray!
- For cuttings in soil: Once you notice new leaf growth, that’s a good sign your cutting has rooted. You can then gradually acclimate it to open air over a few days by opening the plastic bag a little more each day. Once it seems happy, you can remove the bag entirely. Continue to keep the soil consistently moist but not soggy.
- For cuttings in water: When the roots are about an inch long, it’s time to transplant them into your well-draining potting mix. Treat them gently, as the new roots are delicate. Water them well after planting and cover them as you would with fresh stem cuttings for a week or so to help them adjust.
The most common issue you’ll encounter is rot. This usually happens if the environment is too wet and air circulation is poor. If you notice a cutting turning black or mushy, unfortunately, it’s likely a goner. Don’t be discouraged, just try again with a fresh cutting, making sure to improve air circulation and avoid overwatering.
A Encouraging Closing
Propagating Lepidium virginicum is a journey, and like any good garden venture, it’s about patience and observation. Don’t be disheartened if not every cutting makes it. Each attempt is a learning experience! Enjoy the process of watching life spring from a tiny fragment, and soon you’ll have a whole new patch of these wonderful little plants to admire. Happy growing!
Resource:
https://identify.plantnet.org/k-world-flora/species/Lepidium%20virginicum%20L./data