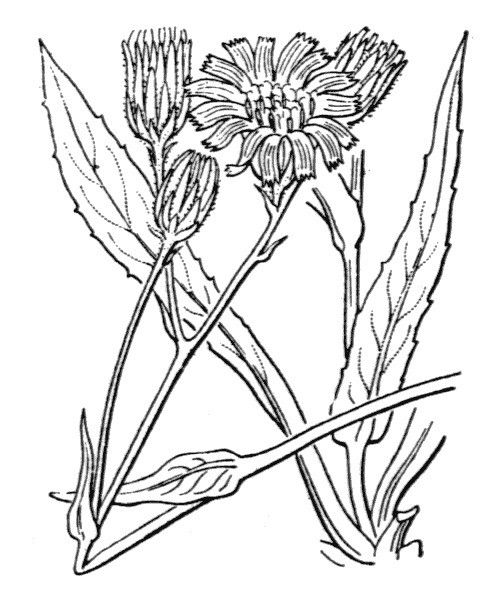
Hello there, fellow garden enthusiasts! I’m thrilled to chat with you today about a delightful plant that often flies a bit under the radar: Hieracium falcatum, or as some growers affectionately call it, “Sickle-Leaf Hawkweed.” If you’re drawn to plants with a unique charm and a bit of flair, you’ll love this one. Its striking, often fuzzy, silvery to grey-green leaves are a real standout, and the delicate yellow daisy-like flowers bring a cheerful pop to any collection. More than that, though, propagating Hieracium falcatum is a wonderfully rewarding endeavor. Watching a tiny cutting or division transform into a new, thriving plant is pure gardening magic. For those of you just dipping your toes into the world of plant propagation, I’d say Hieracium falcatum is moderately easy. It’s not as forgiving as a pothos, but with a little attention, you’ll have great success.
The Best Time to Start
For the most success with Hieracium falcatum, I always recommend working with it during its active growing season. This typically means late spring through early summer. The plant is full of vigor at this time, meaning it has the energy reserves to dedicate to developing those precious new roots. Waiting until after the plant has finished its main flush of growth in the spring, but before the intense heat of mid-summer, is usually your sweet spot.
Supplies You’ll Need
Gathering your tools beforehand makes the whole process so much smoother. Here’s what I like to have on hand:
- Sharp Pruning Shears or a Clean Knife: For making clean cuts.
- Well-Draining Potting Mix: I prefer a mix of equal parts seed starting mix, perlite, and a touch of compost. This provides aeration and just enough nutrients.
- Small Pots or Trays: Clean seedling pots or even repurposed yogurt cups with drainage holes work perfectly.
- Rooting Hormone (Optional but Recommended): A powder or gel can significantly boost your chances of root development.
- Plastic Bag or Humidity Dome: To keep your cuttings from drying out.
- Spray Bottle: For light misting.
- Gloves: To keep your hands clean.
Propagation Methods
Hieracium falcatum is adaptable, and you can have success with a couple of common methods.
Stem Cuttings
This is my go-to for Hieracium falcatum.
- Select your parent plant: Choose a healthy, vigorous specimen.
- Take cuttings: Using your sharp shears, make a cut just below a leaf node. You’re looking for stems that are about 3-4 inches long. Remove any lower leaves that might end up below the soil line. You can take multiple cuttings at once.
- Prepare the cuttings: If you’re using rooting hormone, lightly dip the cut end into the powder or gel.
- Plant the cuttings: Fill your small pots with the prepared potting mix. Make a small hole with a pencil or your finger and gently insert the cutting. Firm the soil gently around the base to ensure good contact.
- Water lightly: Give the soil a gentle watering.
- Create humidity: Place the pots inside a clear plastic bag, sealing it loosely, or cover them with a humidity dome. This is crucial to prevent the cuttings from wilting. Place them in a spot with bright, indirect light.
Division
If your Hieracium falcatum has grown into a nice clump, division is an excellent way to multiply your plants.
- Gently excavate: Carefully dig up the entire plant, trying to disturb the roots as little as possible.
- Examine the root ball: You’ll often see several smaller crowns or sections where the plant has naturally branched out.
- Separate the sections: Using your hands or a clean knife, gently pull or cut apart the plant into smaller divisions. Each division should have a healthy portion of roots and at least one or two growing points (where the leaves emerge).
- Replant immediately: Plant each division into its own pot filled with your well-draining potting mix. Water them in well.
The “Secret Sauce” (Pro Tips)
Here are a couple of things I’ve learned over the years that really help.
- Don’t let the leaves touch the water if you’re trying water propagation or if your cuttings are sitting in a humid environment with condensation. While a bit of moisture is good, leaves sitting in water can quickly lead to rot. Aim for clean, dry leaves above the waterline or condensation level.
- Consider bottom heat. If you can, place your pots on a heat mat designed for seedlings. This gentle warmth from below encourages root development and can make a huge difference, especially if your ambient room temperature isn’t consistently warm.
Aftercare & Troubleshooting
Once you see signs of new growth on your cuttings or divisions, that’s a strong indication that roots are forming!
- Gradually introduce to regular conditions: Slowly acclimate your new plants to normal humidity. This means opening the plastic bag a little more each day over a week or so, or lifting your humidity dome for increasing periods.
- Continue bright, indirect light: Keep them in that lovely bright, indirect light. Avoid direct sun, which can scorch delicate new growth.
- Water when the top inch of soil feels dry: Don’t let them dry out completely, but don’t let them sit in soggy soil either.
The most common sign of failure is rot. If your cuttings turn mushy and black, or if divided plants start to wilt and don’t recover, it’s often due to too much moisture and not enough airflow. If you see this, sadly, it’s usually best to discard them and try again, perhaps with drier soil or better ventilation.
A Encouraging Closing
So there you have it! Propagating Hieracium falcatum is a journey well worth taking. Don’t be discouraged if your first attempt isn’t perfect; gardening is all about learning and observing. Be patient, enjoy the process, and soon you’ll be surrounded by even more of these beautiful, silvery plants. Happy growing!
Resource:
https://identify.plantnet.org/k-world-flora/species/Hieracium%20falcatum%20Arv.-Touv./data