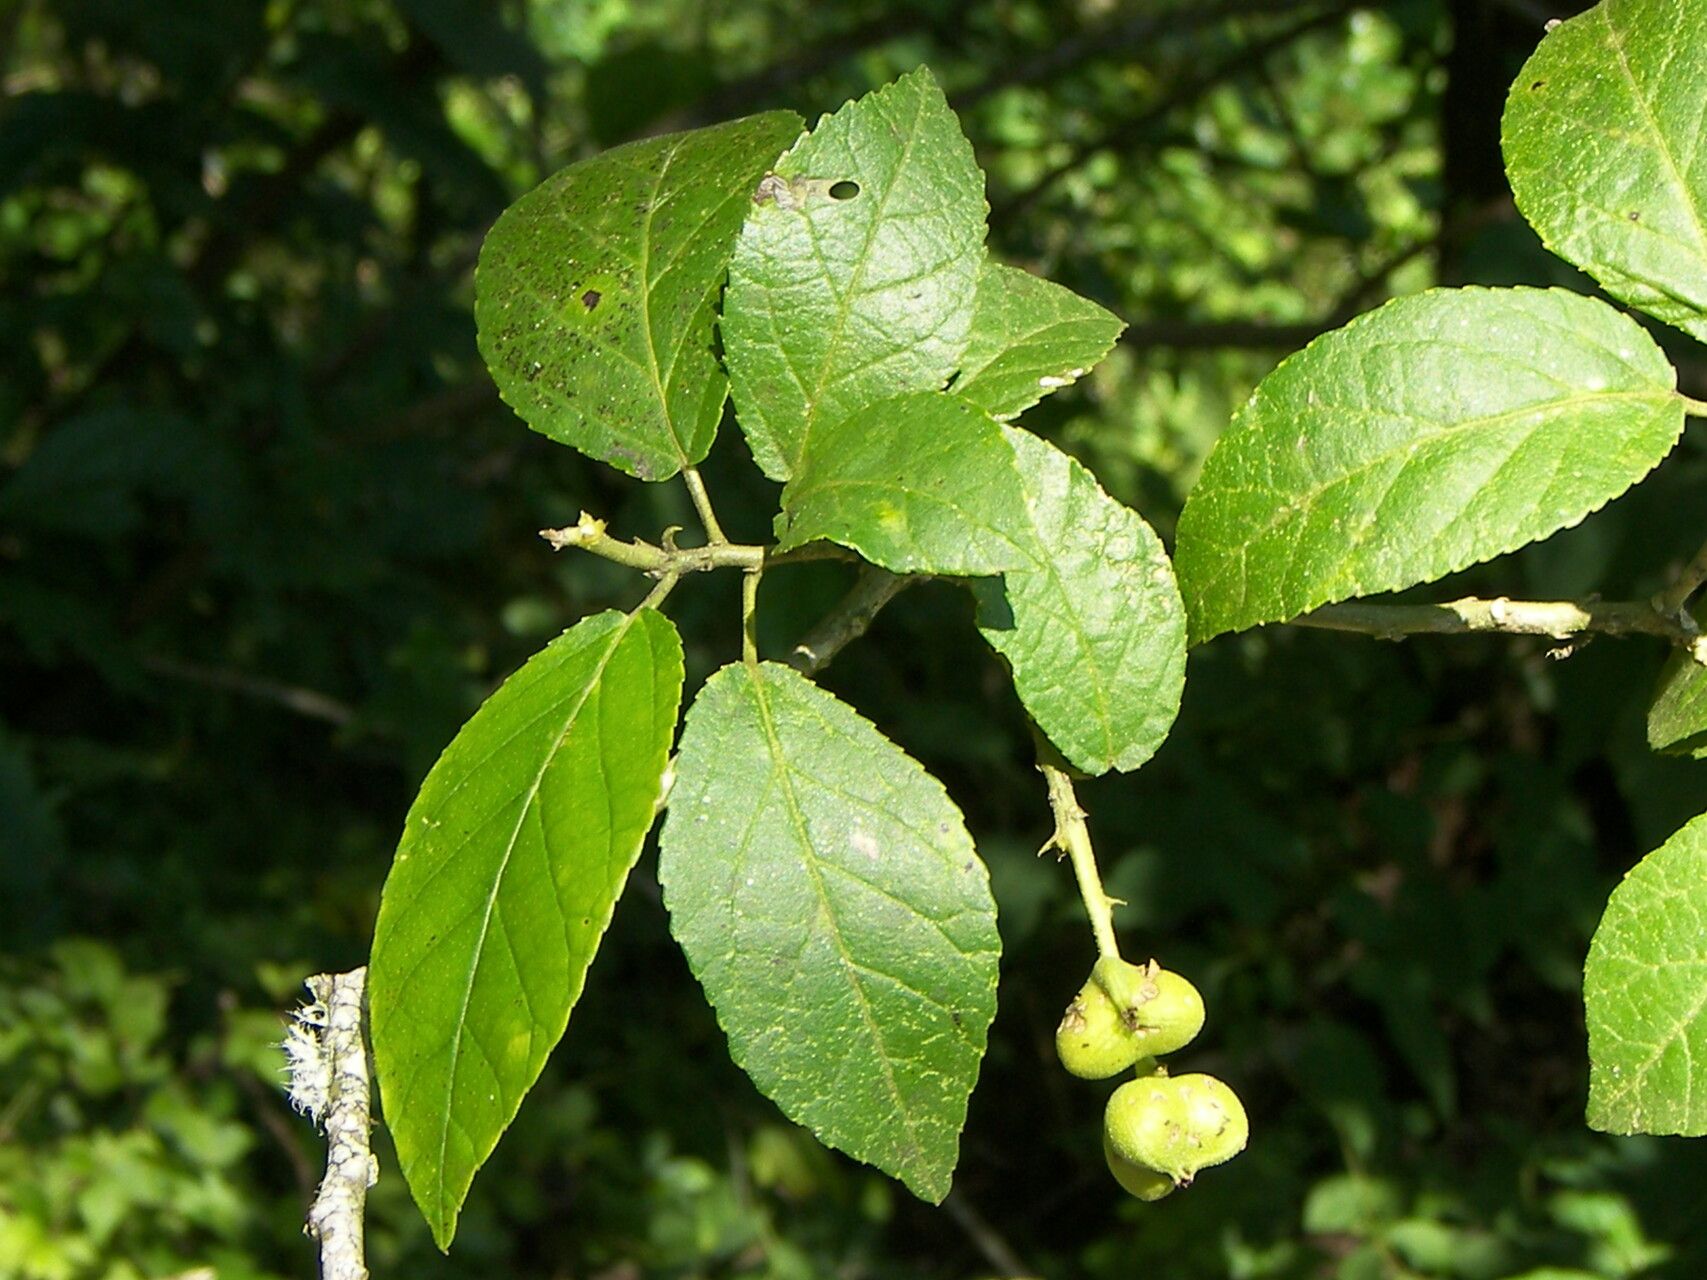
Oh, Bernardia dodecandra! What a gem. If you’re looking for a plant that brings a touch of lush, architectural elegance to your garden, you’ve found it. Those sculptural leaves and that subtle, yet captivating bloom really do make a statement. And the best part? Turning one magnificent specimen into many is incredibly rewarding. It’s like sharing a secret with nature, and I’m here to help you unlock it.
Now, is it a breeze for absolute beginners? Honestly, Bernardia dodecandra can be a little finicky. It demands a bit of attention, but don’t let that deter you! With a few key practices, you’ll be well on your way to success.
The Best Time to Start
For Bernardia dodecandra, I’ve found that late spring to early summer is generally your golden window. This is when the plant is in an active growth phase, and its stems are usually sappy enough to be responsive. You want to take cuttings when the plant is healthy and vigorous, not stressed by heat or cold.
Supplies You’ll Need
Here’s what I always have on hand when I’m propagating Bernardia:
- Sharp, clean pruning shears or a knife: Essential for making clean cuts.
- Small pots or seed trays: For housing your cuttings.
- Well-draining potting mix: A good blend of perlite, peat moss, and a little compost works wonders.
- Rooting hormone (optional but recommended): Especially helpful for this particular plant. Look for a powder or gel.
- Plastic bag or propagation dome: To create a humid environment.
- Water mister: For keeping the humidity up.
- Saucer or tray: To catch excess water.
Propagation Methods
While Bernardia dodecandra can be a bit particular, stem cuttings are your most reliable bet.
- Select Your Cuttings: Gently examine a healthy, mature Bernardia plant. Look for non-flowering, semi-hardwood stems that are about 4-6 inches long. These should be flexible but not floppy. You want to avoid brand-new, soft growth and old, woody stems.
- Make the Cut: Using your clean shears, make a clean cut just below a leaf node. A leaf node is where a leaf attaches to the stem; this is where roots are most likely to form.
- Prepare the Cutting: Remove the lower leaves, leaving only the top 2-3 leaves. If the remaining leaves are very large, you can gently cut them in half to reduce moisture loss.
- Apply Rooting Hormone (If Using): Dip the cut end of the stem into your rooting hormone. Tap off any excess.
- Plant Your Cuttings: Fill your small pots with your well-draining potting mix. Make a small hole in the center with a pencil or your finger. Insert the cutting into the hole, ensuring the nodes are buried. Gently firm the soil around the stem.
- Water Gently: Water the soil thoroughly until it drains from the bottom of the pot.
The “Secret Sauce” (Pro Tips)
Okay, here are a few things I’ve learned over the years that can really make a difference:
- Bottom Heat is Your Friend: Bernardia cuttings often benefit from a gentle warming mat placed underneath their pots. This encourages root development without scorching the leaves. Think of it as a cozy little incubator for your new plants.
- Don’t Drown Them: While humidity is crucial, waterlogged soil is a fast track to rot. Let the top inch of soil dry out slightly between waterings. It’s better to underwater than overwater at this stage.
- Indirect Light is Key: Place your potted cuttings in a bright spot, but out of direct sunlight. Too much sun will scorch those delicate leaves and dry them out too quickly. A north-facing window is often perfect.
Aftercare & Troubleshooting
Once your cuttings are potted, tent a plastic bag over them or close the lid of your propagation dome. This creates that essential humid microclimate. Misting the inside of the bag or dome occasionally will keep things moist.
You’re looking for signs of new growth – tiny leaves or even the tip starting to stretch. This usually takes anywhere from 4-8 weeks. Don’t panic if it takes longer!
The main issue you might encounter is rot. If your cutting turns black and mushy, it’s a sign of too much moisture or a fungal infection. Sadly, these are usually lost causes. Remove any rotting cuttings immediately to prevent it from spreading to others.
Once you see good root development (you might even see roots peeking out of the drainage holes), you can gradually acclimate your new Bernardia to normal room humidity by opening the bag or dome a little more each day over a week. Then, you can transplant them into slightly larger pots and treat them like a young Bernardia.
A Encouraging Closing
Propagating plants is a journey, and Bernardia dodecandra asks for a little extra care, but oh, is it worth it! Be patient with your cuttings, observe them closely, and celebrate every bit of progress. Savor the process, and soon you’ll have a whole collection of your own beautiful Bernardia to enjoy and share. Happy propagating!
Resource: