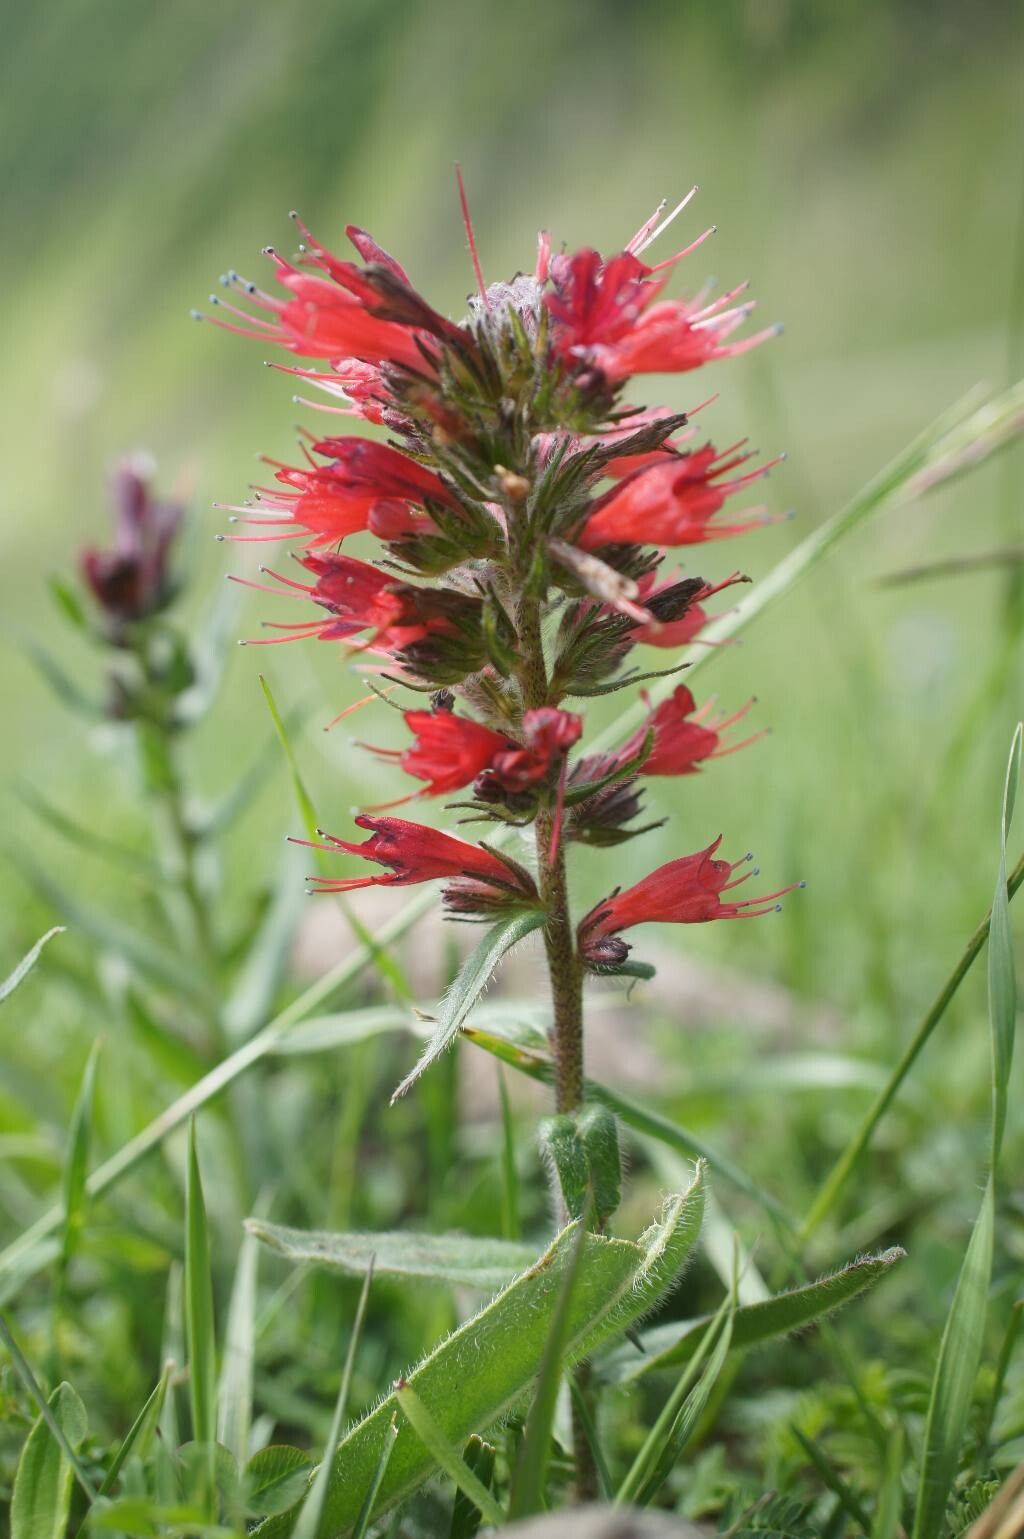
Oh, hello there! It’s so good to have you join me. You know, one of the things I adore about gardening is the magic of creation. Taking a piece of a plant I love and coaxing it into becoming a whole new one. Today, we’re diving into the wonderful world of Pontechium maculatum, also known as the Spreading Frosty or, quite charmingly, the Australian Butterfly Orchid.
Why Propagate Pontechium maculatum?
This Australian native is a real showstopper. Its sprays of delicate, white, star-shaped flowers, often with a lovely speckled throat, have a unique beauty that can’t be replicated. They look almost ethereal. And the best part? Propagating these little wonders is surprisingly rewarding, and honestly, not as daunting as some might think. While it might not be the absolute easiest for a brand-new plant parent, with a little guidance, you’ll find success.
The Best Time to Start
For Pontechium maculatum, the sweet spot for propagation is generally late spring through summer. This is when the plant is actively growing, and cuttings or divisions have the best chance of taking off. You’re looking for stems that are mature but not woody – think of a happy, healthy, vigorous growth spurt.
Supplies You’ll Need
Having your supplies ready makes the whole process smoother. Here’s what I usually gather:
- A sharp, clean pruning shear or utility knife. Sterilize it with rubbing alcohol between cuts.
- Rooting hormone (optional, but very helpful for stem cuttings). Gel or powder works.
- A well-draining potting mix. For Pontechium, I like a mix that includes perlite or pumice. You can also use a specific orchid mix.
- Small pots or seed trays. Make sure they have drainage holes!
- Watering can with a fine rose.
- Labels to mark your cuttings.
- Plastic bags or a propagation dome to create a humid environment for cuttings.
Propagation Methods
Pontechium maculatum can be propagated in a couple of ways, but the most successful are usually stem cuttings and division.
Stem Cuttings
This is my go-to for creating more of these beauties.
- Select Your Cuttings: Look for healthy stems that have at least two or three leaf nodes. A leaf node is where a leaf attaches to the stem.
- Make the Cut: Using your clean shear, make a cut just below a leaf node. This is where roots are most likely to form.
- Prepare the Cutting: Gently remove the lower leaves, leaving just a couple at the top. This prevents them from rotting in the soil. If you’re using rooting hormone, dip the cut end into it now, tapping off any excess.
- Plant the Cutting: Fill your small pot with your well-draining mix. Make a small hole in the center with your finger or a pencil. Insert the cutting, making sure at least one leaf node is buried in the soil. Gently firm the soil around the base.
- Water and Cover: Water the soil lightly until it’s evenly moist but not waterlogged. Cover the pot with a clear plastic bag or place it inside a propagation dome. This creates that essential humid environment.
- Find a Bright Spot: Place the pot in a bright location, but out of direct, harsh sunlight. This can scorch the delicate leaves.
Division
If your Pontechium maculatum has grown into a larger clump, dividing it is a fantastic way to get multiple new plants.
- Remove from Pot: Gently slide the plant out of its pot.
- Assess the Roots: Gently tease away some of the old soil to get a good look at the root system. You’re looking for natural breaks where you can separate sections of the plant.
- Divide Carefully: Using your hands or a clean knife, carefully separate the root ball into smaller sections. Each section should have at least one healthy stem and a good portion of roots.
- Pot Up: Pot each division into its own container using fresh, well-draining potting mix.
- Water Gently: Water each new pot lightly.
The “Secret Sauce” (Pro Tips)
These are a few little tricks I’ve learned that really make a difference:
- Don’t Drench, Just Dampen: This is crucial, especially for cuttings. Overwatering is the quickest way to invite rot. The soil should feel like a wrung-out sponge – moist, but not soggy.
- Bottom Heat is Your Friend: For stem cuttings, placing the pots on a gentle heat mat can significantly speed up root development. It mimics the warmth they’d experience in their natural habitat. Just a low, consistent warmth is all you need.
- Patience with Leaves Touching Water (if water propagating): While I prefer soil propagation for Pontechium, some people try water. If you do this, make sure the leaves do not touch the water. Only the cut stem should be submerged. Leaves sitting in water are prone to rot.
Aftercare & Troubleshooting
Once you see signs of new growth, like tiny leaves emerging or a firm tug on the cutting, you know roots are forming!
- Gradual Acclimation: If you used a plastic bag or dome, slowly begin to acclimate your new plants to normal humidity levels by opening the cover for increasing periods each day.
- Watering: Continue to water when the top inch of soil feels dry. Water thoroughly, allowing excess to drain away.
- Light: Gradually move your new plants into brighter light, but still avoid intense, direct sun.
The most common issue you might encounter is rot. If your cutting wilts, turns black, or looks mushy, it’s likely due to too much moisture. Don’t despair! Sometimes, one or two cuttings might fail, but others will be strong. If you see rot, try to remove the affected part immediately and adjust your watering.
Keep Growing!
Propagating Pontechium maculatum is a beautiful way to multiply your garden’s charm. Be patient, observe your plants, and enjoy the process of watching something new come to life. Happy gardening, my friend!
Resource: