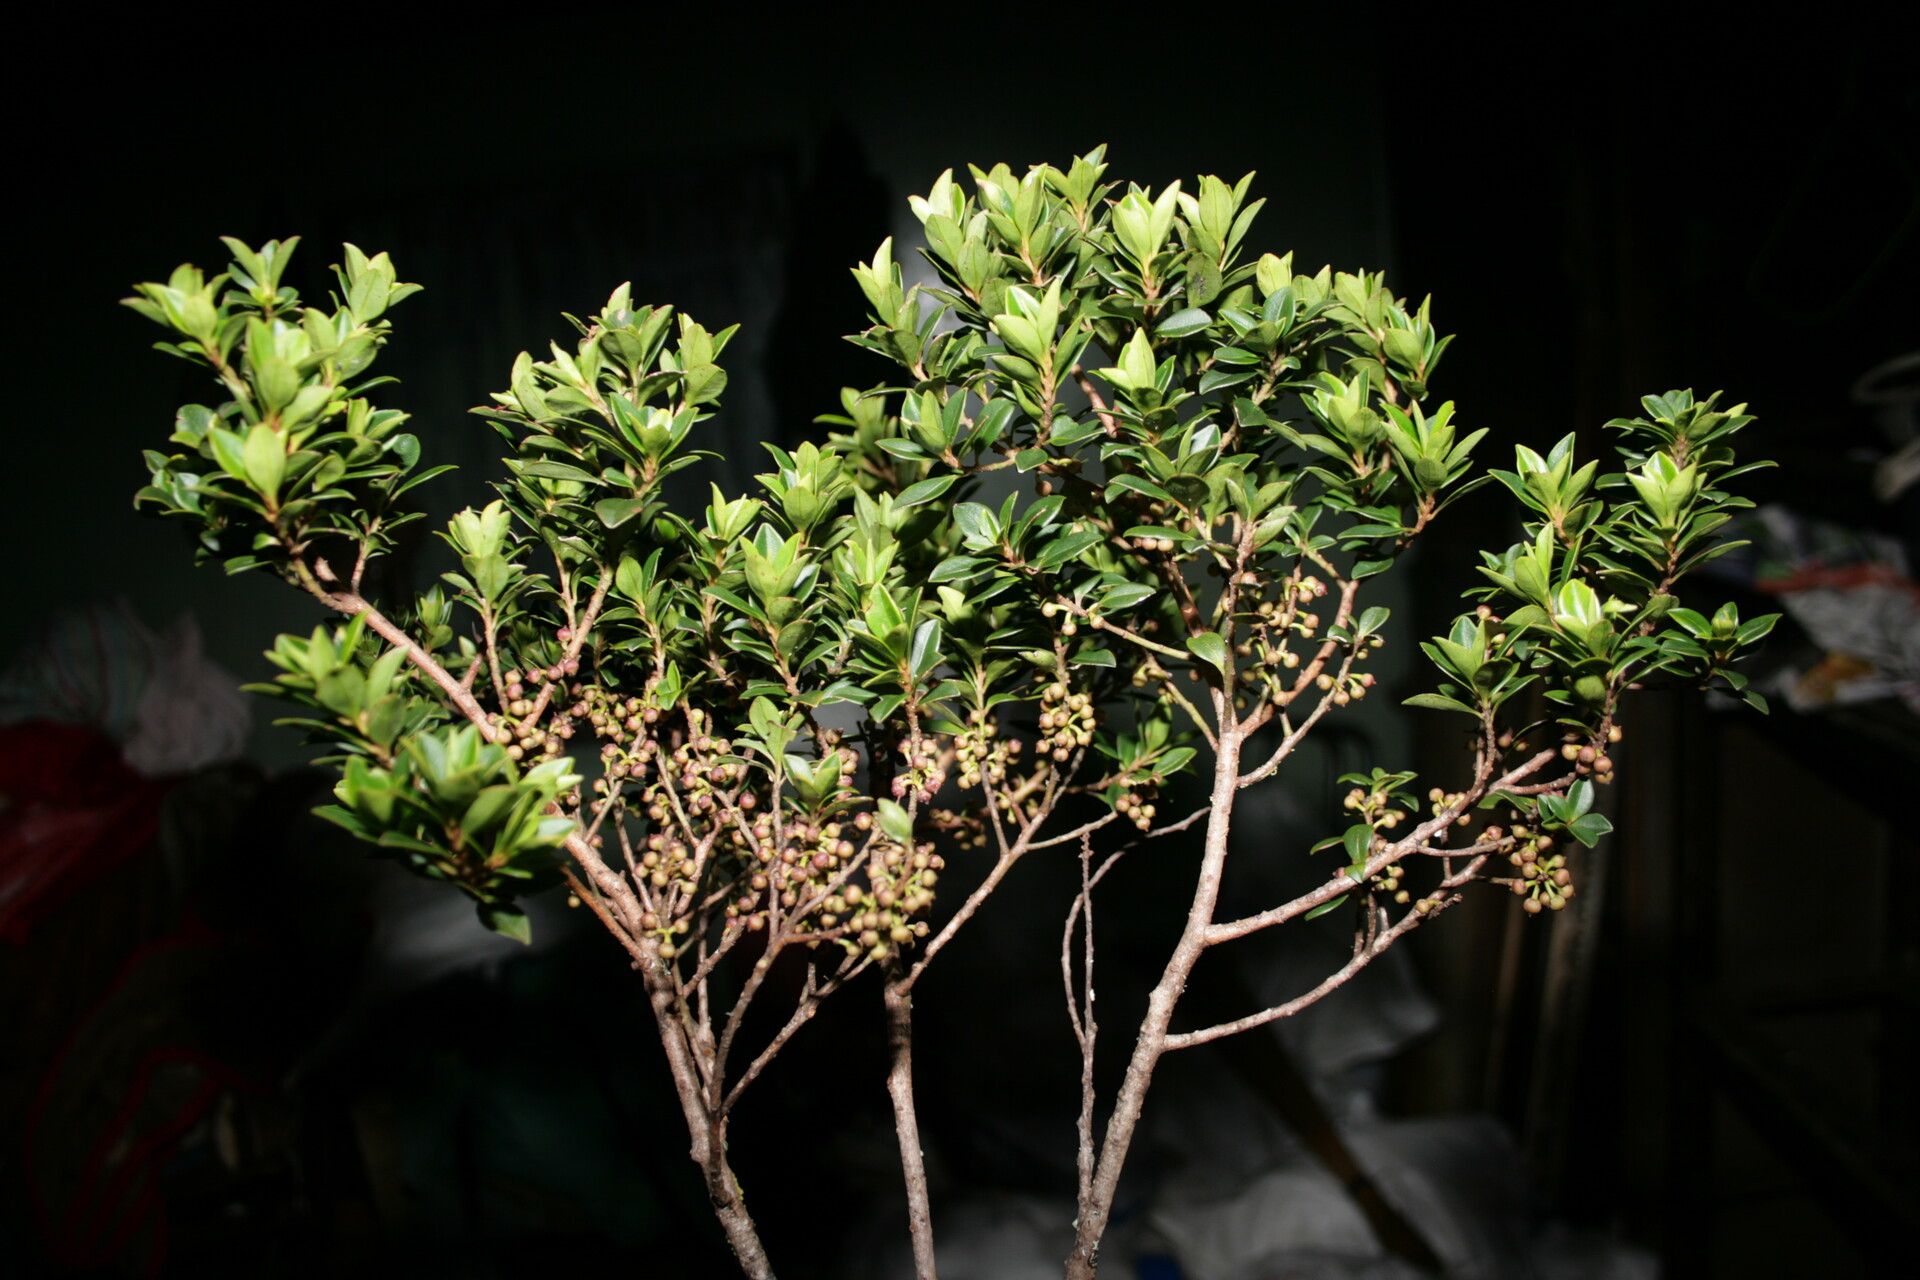
Hello there, fellow plant enthusiasts! Today, I want to talk about a real gem for the garden, Myrsine velutina. If you haven’t met this beauty yet, imagine glossy, dark green leaves with a lovely velvety underside, often with handsome reddish stems. It adds such a touch of sophistication to its surroundings. And the best part? Learning to propagate it is a wonderfully rewarding experience, a chance to multiply that beauty for free! While Myrsine velutina isn’t the absolute easiest plant for a complete beginner, with a little guidance, you’ll find it quite manageable and incredibly satisfying.
The Best Time to Start
For the highest success rates with Myrsine velutina, I always aim for late spring to early summer. This is when the plant is actively growing, and its stems have developed some maturity but are still pliable. You’re looking for semi-hardwood cuttings – not brand new, bright green, flimsy growth, but also not tough, woody old stems. Think of a pencil, but a bit softer.
Supplies You’ll Need
Before we get our hands dirty, let’s gather our tools and ingredients. Having everything ready makes the process so much smoother:
- Sharp Pruning Shears or a Clean Knife: For making clean cuts.
- Rooting Hormone: A powder or liquid that significantly boosts the chances of successful rooting.
- A Small Potting Mix: I love a fine-textured, well-draining mix. A good blend is equal parts perlite and peat moss, or a commercial seedling mix amended with perlite.
- Small Pots or Trays: Clean pots or cell trays work perfectly.
- A Clear Plastic Bag or Dome: To create a humid environment.
- Watering Can with a Fine Rose: For gentle watering.
- Optional: A Heat Mat: To provide gentle warmth from below.
Propagation Methods: Let’s Get Cutting!
I’ve found the most reliable way to multiply Myrsine velutina is through stem cuttings. It’s straightforward and usually yields great results.
- Take Your Cuttings: Select a healthy stem from your Myrsine velutina plant. Using your clean shears, take a cutting that’s about 4-6 inches long. Make a clean, angled cut just below a leaf node (where a leaf attaches to the stem).
- Prepare the Cuttings: Gently remove the lower leaves from the cutting, leaving just a couple of leaves at the top. This prevents them from rotting in the soil. If the remaining leaves are quite large, I sometimes like to cut them in half horizontally to reduce water loss.
- Apply Rooting Hormone: Dip the cut end of the stem into your rooting hormone, making sure it’s coated. Tap off any excess.
- Plant Your Cuttings: Fill your small pots or trays with your prepared potting mix, and gently water it so it’s moist but not soggy. Make a small hole with your finger or a pencil, and insert the cutting. Firm the soil gently around the stem to ensure good contact.
- Create a Humid Environment: Water the soil lightly again. Then, cover the pot with a clear plastic bag or a propagator lid. This traps humidity, which is crucial for cuttings to root before they can take up water through their non-existent roots.
- Place in Bright, Indirect Light: Find a warm spot that receives plenty of bright, indirect light. Avoid direct sun, as it can scorch the delicate cuttings.
The “Secret Sauce” (Pro Tips)
Here are a few little tricks I’ve picked up over the years that can really make a difference:
- Don’t Let Those Top Leaves Touch the Water: If you’re using a very shallow tray and the leaves are touching the potting mix, they’re far more susceptible to fungal issues. Keep them lifted, perhaps by using slightly taller pots or ensuring your mix is mounded well.
- Bottom Heat is Your Friend: Myrsine velutina really appreciates a little warmth at its base. Placing your pots on a gentle heat mat (set to around 70-75°F or 21-24°C) can significantly speed up root development. It mimics the feeling of being near a warm soil surface in nature.
- Hygiene is Key: Always use clean tools and pots. This might sound obvious, but I cannot stress enough how much it prevents damping off – that dreaded fungal disease that can wipe out your cuttings before they even get a chance.
Aftercare & Troubleshooting
Once your cuttings have been in their humid environment for a few weeks, you can start checking for roots. A gentle tug is usually the best indicator. If you feel resistance, you’ve got roots!
At this stage, gradually acclimate your new plant to normal humidity. This means opening the plastic bag a little more each day for a week. Continue to keep the soil consistently moist but not waterlogged.
What if things go wrong? The most common sign of failure is a soft, mushy stem base, which is usually rot. This often happens from overwatering, poor drainage, or lack of airflow. If you see this, unfortunately, that cutting is likely lost. Don’t be disheartened! Just clean your pot thoroughly and try again, paying closer attention to watering and drainage. Sometimes, yellowing leaves can indicate too much or too little water, or even insufficient light. Trust your instincts and observe your plant closely.
Keep Growing!
Propagating Myrsine velutina is a journey, and like any good garden project, it requires a little patience. Don’t be discouraged if your first few attempts aren’t perfect. Each time you try, you learn a little more, and soon enough, you’ll be surrounded by these beautiful plants. So, grab your shears, get those cuttings, and enjoy the magic of creating new life! Happy gardening!
Resource: