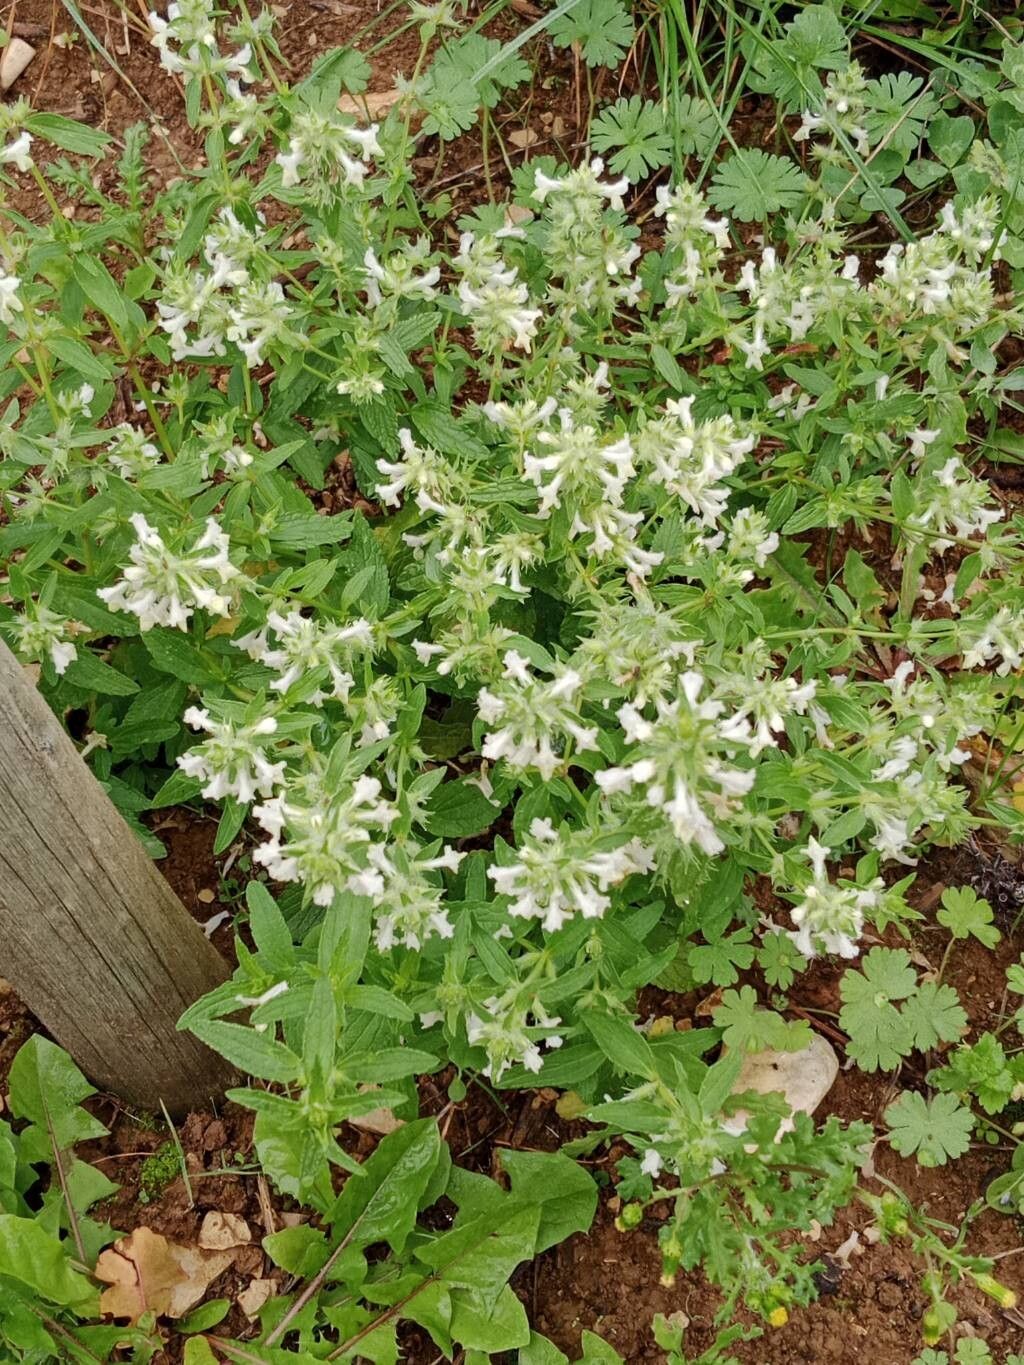
Hello, fellow plant enthusiasts! If you’ve ever admired the soft, fuzzy foliage and charming, daisy-like flowers of Stachys annua, then you’re in for a treat. This lovely plant, also known as Annual Betony or Annual Woundwort, brings a delightful texture and a touch of sunny disposition to any garden. I’ve been growing it for years, and honestly, propagating it is one of those incredibly rewarding gardening moments. It’s quite forgiving, making it a wonderful plant for even those just dipping their toes into the world of plant propagation.
The Best Time to Start
When it comes to getting the most bang for your buck with Stachys annua propagation, late spring to early summer is your golden window. This is when the plant is actively growing and has plenty of verdant energy to spare. You’re looking for healthy, new shoots that haven’t yet started to flower. Think of it as catching the plant at its most vigorous!
Supplies You’ll Need
Gathering your tools ahead of time makes the whole process much smoother. Here’s what I usually have on hand:
- Sharp pruning shears or a clean knife: For making neat cuts.
- A well-draining potting mix: I like a blend of seed starting mix and perlite (about a 3:1 ratio). This ensures good aeration and prevents soggy roots.
- Small pots or seed trays: Clean ones are crucial to avoid disease.
- Rooting hormone (optional but helpful): A powdered or liquid form can give cuttings a nice boost.
- A spray bottle: For misting the cuttings.
- Clear plastic bags or a propagator lid: To create a humid environment.
- Labels: To keep track of what you’ve planted!
Propagation Methods
Stachys annua is a wonderfully cooperative plant when it comes to making more of it. Here are a couple of my favorite, most reliable methods.
Stem Cuttings
This is my go-to method, and it rarely lets me down.
- Take your cuttings: Select healthy stems that are about 4-6 inches long. Use your clean shears to make a cut just below a leaf node (where a leaf grows from the stem).
- Prepare the cuttings: Gently remove the lower leaves, leaving just a couple of leaves at the very top. This prevents rot and encourages rooting. If your cuttings are a bit leggy, you can pinch back the tip to encourage bushier growth later.
- Dip in rooting hormone (optional): If you’re using rooting hormone, dip the cut end of the stem into the powder (tapping off any excess) or liquid.
- Plant them up: Fill your small pots or trays with your prepared potting mix. Make a small hole with your finger or a pencil and insert the cut end of the stem, firming the soil gently around it.
- Create a humid environment: Water the soil thoroughly until it’s evenly moist but not waterlogged. Then, cover the pots loosely with a plastic bag or a propagator lid. This humidity is key to preventing the cuttings from drying out before they can root.
Water Propagation
This is a fun and visual way to see the roots develop!
- Prepare your cuttings: Similar to stem cuttings, take 4-6 inch pieces from healthy stems, removing the lower leaves. You want to ensure no leaves will be submerged in the water.
- Place in water: Put the cuttings in a clean jar or vase filled with fresh, room-temperature water.
- Find a good spot: Place the jar in a bright location, but out of direct, harsh sunlight.
- Change the water regularly: Over the next few weeks, you’ll see tiny white roots begin to emerge. Change the water every few days to keep it fresh and oxygenated.
The “Secret Sauce” (Pro Tips)
Over the years, I’ve learned a few little tricks that seem to give my cuttings an extra edge.
- Bottom Heat is Your Friend: If you can, placing your pots on a heated propagator mat makes a huge difference. Stachys annua cuttings absolutely love a little warmth from below. It encourages root development much faster.
- Don’t Be Afraid to Mist: I like to lightly mist my cuttings every day or two, especially if they aren’t in a very enclosed propagator. This keeps their leaves happy and hydrated while they’re working on establishing roots.
- Rooting Hormone is Not Magic, but it Helps: While Stachys annua roots fairly easily, I find a light dusting of rooting hormone really speeds up the process and increases success rates, especially for those larger or slightly tougher stems.
Aftercare & Troubleshooting
Once you see new growth emerging from your cuttings, that’s a good sign they’ve started to root!
- Acclimatize them slowly: If you’ve used a plastic bag or propagator, gradually remove the cover over a few days to let them adjust to normal humidity.
- Watering: Water them when the top inch of soil feels dry. Don’t overwater!
- Transplanting: Once the roots have filled the small pot (you can gently tip one out to check), you can transplant them into slightly larger pots or their final garden spot.
The most common issue you might encounter is rot. This usually happens when the soil is too wet and there isn’t enough air circulation. If you see a cutting turning black or mushy, sadly, it’s best to discard it and try again, ensuring better drainage and ventilation next time. Don’t be discouraged; it happens to the best of us!
A Encouraging Closing
Propagating Stachys annua is a truly satisfying experience. It’s about patience and observation, watching tiny snippets of a plant transform into sturdy new individuals. So go ahead, get your hands dirty, and enjoy the wonderful journey of creating more of this garden treasure. Happy growing!
Resource:
https://identify.plantnet.org/k-world-flora/species/Stachys%20annua%20(L.)%20L./data