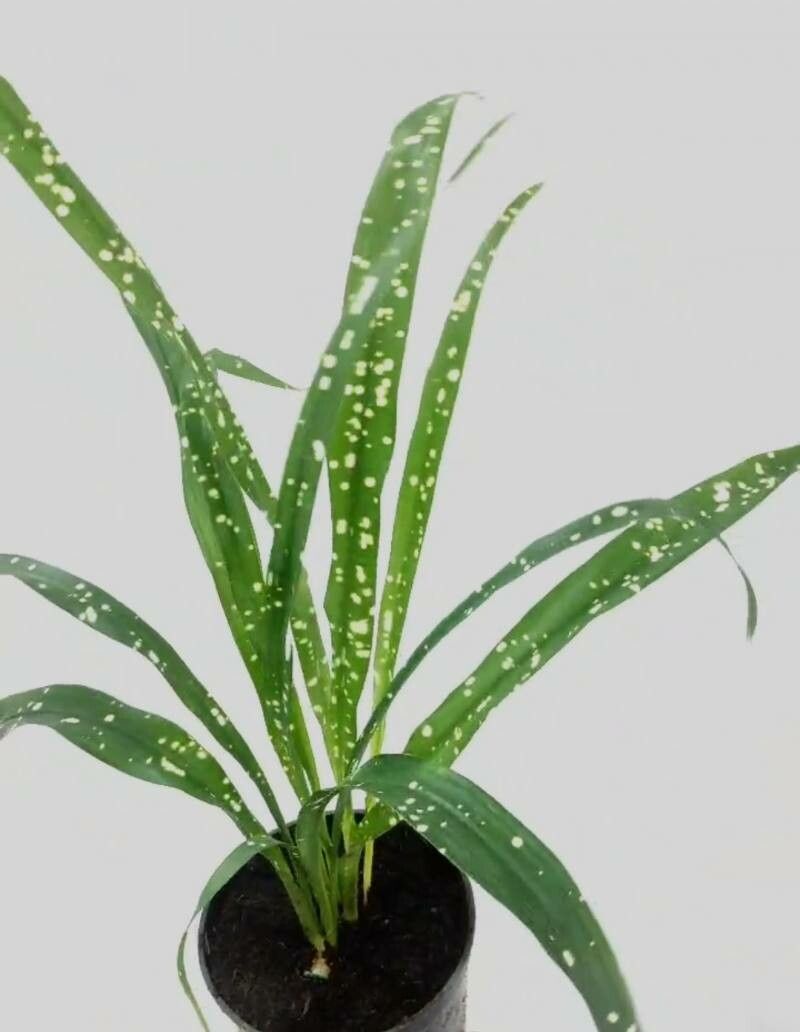
Hello, fellow plant lovers! It’s so good to be chatting with you today about a plant that’s truly a trooper: the Aspidistra, often lovingly called the Cast Iron Plant. If you’re looking for a gorgeous, forgiving houseplant that brings a bit of lush greenery without demanding your constant attention, you’ve found it. And the best part? You can easily make more of these beauties yourself! Propagating your Aspidistra is surprisingly rewarding, and honestly, I think even the most beginner gardener can have success with it.
The Best Time to Start
For Aspidistras, the absolute sweetest spot for propagation is late spring or early summer. This is when the plant is really hitting its stride, actively growing and full of vigor. You’ll find it much easier to get new plants established when everything is warm and sunny. Trying to do it in the dead of winter might be a bit of a struggle.
Supplies You’ll Need
Here’s a little kit to get you going:
- Sharp, clean pruning shears or a knife. Sterilize them with rubbing alcohol!
- A good quality potting mix. I like a blend that drains well – something like a mix of peat moss, perlite, and a little bit of regular potting soil works wonders.
- Small pots or containers for your new plants. Terracotta pots are nice because they breathe.
- Rooting hormone (optional, but can give you a nice boost).
- A watering can with a gentle showerhead.
- A spray bottle for misting.
Propagation Methods
The most common and successful way to propagate Aspidistra lurida is through division. It’s like giving your plant a healthy haircut and getting a bonus plant out of it!
Here’s how you do it:
- Gently remove the plant from its pot. If it’s been in there a while, you might need to coax it a bit. Turn the pot on its side and slide the root ball out.
- Shake off excess soil. You want to be able to see those rhizomes (thick, fleshy underground stems) clearly.
- Identify sections to divide. Look for where the plant naturally wants to split. You’ll see distinct shoots with their own roots.
- Carefully separate the sections. You can often untangle them by hand. If they’re really stuck, use your clean pruning shears or knife to cut through the rhizomes. Make sure each section has at least one or two healthy shoots and a good portion of roots.
- Pot up your new plants. Fill your small pots with your well-draining potting mix. Make a little well in the center for each division.
- Plant the divisions. Place each section into its new pot, ensuring the top of the rhizome is at or just slightly below the soil surface. Firm the soil gently around the roots.
- Water thoroughly. Give them a good drink to settle the soil.
The “Secret Sauce” (Pro Tips)
Here are a couple of things I’ve learned over the years that really make a difference:
- Don’t overwater right away. While you want the soil to be moist, soggy conditions are the enemy of newly divided plants. Let the soil dry out slightly between waterings. If the leaves start to droop a little, that’s your cue to water.
- Think humidity, not soaking. Newly divided Aspidistras can benefit from a humid environment as they establish. You can achieve this by mist the leaves lightly with your spray bottle every few days, or even placing the pots inside a clear plastic bag (loosely closed!) to create a mini-greenhouse effect. Just be sure to open the bag daily for a few minutes to allow for air circulation to prevent mold.
Aftercare & Troubleshooting
Once your little Aspidistra divisions are potted up, place them in a spot with bright, indirect light. Avoid direct sun, which can scorch those lovely leaves. Keep the soil consistently moist but not waterlogged. Within a few weeks, you should start seeing new growth.
The most common issue you might encounter is rot, usually from overwatering. If you notice leaves turning yellow and mushy at the base, or the entire plant seems to be wilting despite moist soil, it’s a sign too much water is the problem. In this case, you might need to pull the plant out, trim away any rotten parts with your clean shears, and repot into fresh, drier soil.
A Encouraging Closing
Watching a new plant emerge from a piece of an older one is one of the most magical parts of gardening. Be patient with your Aspidistra divisions. They’re tough plants, and with a little care and the right conditions, they’ll grow into magnificent, lush specimens. Enjoy the journey of growing more green!
Resource:
https://identify.plantnet.org/k-world-flora/species/Aspidistra%20lurida%20Ker%20Gawl./data