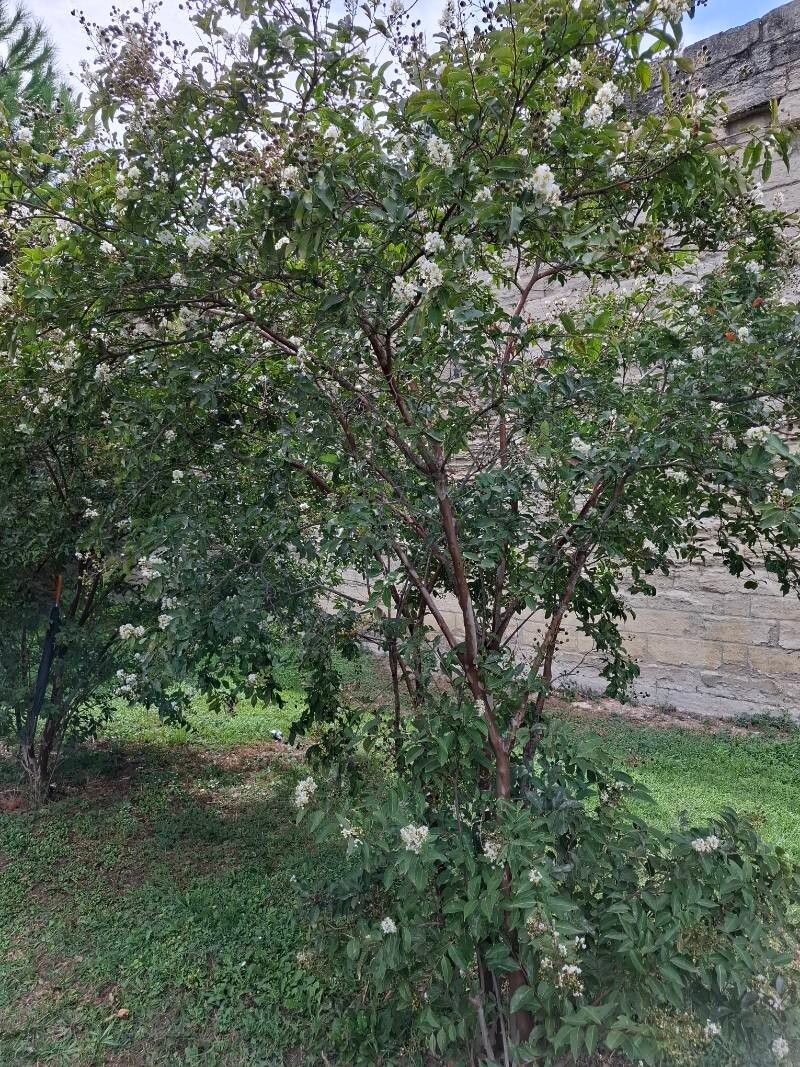
Oh, crepe myrtles! Aren’t they just glorious, especially when they burst into that magnificent summer bloom? I’ve been coaxing them to grow and bloom for two decades now, and I can tell you, there’s a special kind of joy in growing a whole new crepe myrtle from a tiny piece of one you already love. It’s like sharing a secret with nature, and the plant itself.
For beginners, I’d say propagating crepe myrtles can be a little fiddly. It’s not as straightforward as, say, a spider plant, but with a bit of patience and following a few key steps, you’ll be well on your way. I promise, the payoff is so worth it.
The Best Time to Start
When I’m looking to get new crepe myrtles started, my favorite time is late spring to early summer. This is when the plant is actively growing, pushing out those tender new shoots that are perfect for taking cuttings. You want to be looking for stems that are still somewhat flexible but have started to firm up a bit. Think of it as that “just right” stage, not too soft and floppy, but not woody and hard either.
Supplies You’ll Need
Before we get our hands dirty, let’s gather our tools. Having everything ready makes the process so much smoother.
- Sharp Pruning Shears or a Knife: Clean cuts are crucial for preventing disease.
- Rooting Hormone: A good quality rooting hormone powder or gel will significantly boost your success rate.
- Potting Mix: I like to use a well-draining, sterile potting mix. A blend of peat moss, perlite, and a bit of compost works wonderfully. You can also buy specific propagation mixes.
- Small Pots or Seed Trays: Whatever you have on hand that can hold your cuttings and soil. Make sure they have drainage holes!
- Plastic Bag or Bottle Cloche: To create a humid environment around your cuttings. A clear plastic bag you can seal, or the top half of a clear plastic bottle, works great.
- Water: For moistening the soil and for the cuttings you might try in water later.
- Labels and a Pen: To keep track of what you’ve planted and when!
Propagation Methods: Let’s Get Growing!
There are a couple of ways I like to propagate crepe myrtles, and I find stem cuttings to be the most reliable for getting new plants going.
Stem Cuttings: The Classic Approach
- Take Your Cuttings: As I mentioned, look for those semi-hardwood shoots in late spring or early summer. You want cuttings that are about 4-6 inches long. Make a clean cut just below a leaf node (where a leaf attaches to the stem). Remove any lower leaves, as these will just rot in the soil and can invite disease.
- Prepare the Cuttings: Dip the cut end of each cutting into your rooting hormone. Gently tap off any excess. You want a light coating, not a thick clump.
- Plant Your Cuttings: Fill your small pots or trays with your prepared potting mix. Make a small hole with your finger or a pencil, and carefully insert the cuttings. Gently firm the soil around them.
- Water and Cover: Water the soil thoroughly until it’s moist but not waterlogged. Now, here’s where the magic humidity happens. Cover the pots with your plastic bag or bottle cloche. If you’re using a bag, you can inflate it slightly with air before sealing it. This creates a mini greenhouse for your cuttings.
- Find a Cozy Spot: Place your pots in a well-lit spot, but out of direct sunlight. Bright, indirect light is perfect.
Water Propagation: A Peek at Progress
This method is a bit more visual, and I enjoy it for seeing those tiny roots emerge.
- Prepare Your Cuttings: Similar to stem cuttings, take 4-6 inch cuttings from semi-hardwood growth. Remove most of the leaves, leaving just a couple at the top.
- Place in Water: Find a clean jar or vase and fill it with water. Place your cuttings in the water, making sure that the leaves do not touch the water. Any submerged leaves will rot and can spoil the water.
- Change the Water Regularly: Check the water every couple of days and change it out if it looks cloudy. This is important to keep it fresh and prevent bacteria from building up.
- Location, Location, Location: Again, place these in a bright spot out of direct sun.
- Patience is Key: You should start to see tiny roots emerging from the leaf nodes in a few weeks. Once the roots are about an inch long, you can carefully transplant them into pots with potting soil.
The “Secret Sauce” (Pro Tips)
Here are a couple of little tricks I’ve picked up over the years that really seem to give my cuttings an edge:
- Bottom Heat is Your Friend: Especially if you’re trying this early in the season or in a cooler environment, placing your pots on a heat mat can make a world of difference. It encourages root development from the bottom of the cutting, which is where you want those roots to start.
- Don’t Be Afraid to “Wiggle”: Once you think your cuttings have rooted (usually after 4-6 weeks), give them a very gentle tug. If you feel any resistance, that’s a good sign that roots have formed. If they come out easily, they likely haven’t rooted yet, and you can try again.
- Cleanliness is Crucial: I can’t stress this enough – clean your tools! Bacteria and fungi are the enemies of young cuttings. Always use sterilized pruning shears or knives.
Aftercare & Troubleshooting
Once you see those little roots appearing, it’s time for a new phase of care.
- Transitioning to Soil: For water-propagated cuttings, when the roots are about an inch long, carefully transplant them into pots filled with your well-draining potting mix. For soil-propagated cuttings, you’ll know they’ve rooted when you see new leaf growth.
- Gradual Acclimation: Gently remove the plastic bag or cloche for a couple of hours each day for a week before taking it off permanently. This allows the new plant to adjust to the normal humidity levels.
- Keep Them Moist: Continue to water your new plants, keeping the soil consistently moist but never soggy.
- Watch for Rot: The biggest culprit for failure is usually root rot, often caused by overwatering or poor drainage. If your cuttings start to look black and mushy at the base, or if the leaves turn yellow and drop rapidly without any apparent cause, rot is likely the issue. Don’t be discouraged if it happens; it’s part of the learning curve! Just start again with a fresh batch, focusing on that well-draining soil and watering judiciously.
Starting new plants from cuttings is such a rewarding endeavor. It requires a little patience, a bit of observation, and a whole lot of hope. Don’t get discouraged if your first attempts aren’t perfect. Each time you try, you’ll learn something new. Enjoy the process, and soon you’ll have a whole garden of your beloved crepe myrtles! Happy gardening!
Resource:
https://identify.plantnet.org/k-world-flora/species/Lagerstroemia%20indica%20L./data