Let’s Grow More of That Lovely Salpichroa!
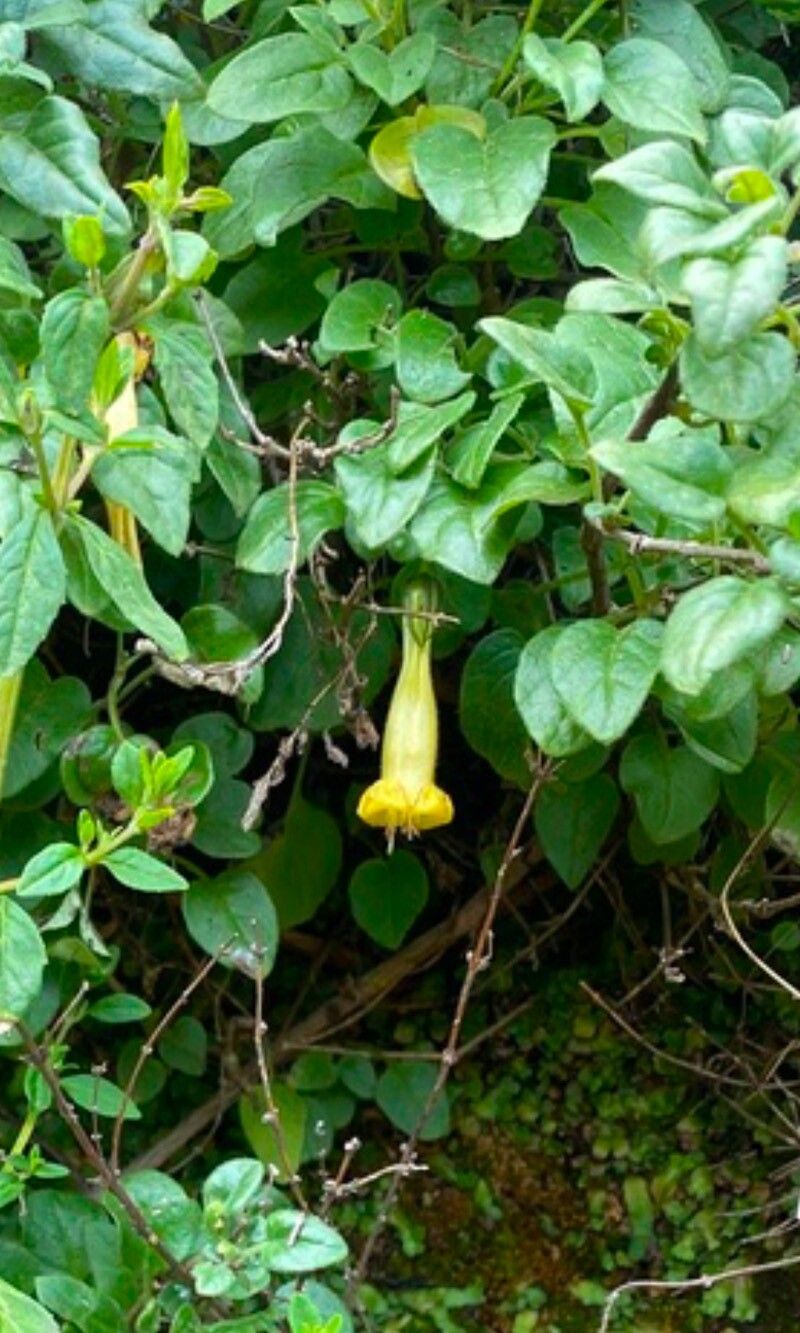
Oh, Salpichroa glandulosa! Isn’t it just a joy? I’ve had it gracing my garden for years, and every time those charming little bell-shaped flowers appear, usually dangling like tiny pearls, I feel a little thrill. They have this wonderful, subtle sweetness to their fragrance too, especially on a warm evening. And the best part? You can easily create more of this delightful plant for your space, or to share with friends. If you’re just starting out in your propagation journey, Salpichroa is wonderfully forgiving. You’ll find it quite a rewarding plant to work with!
When is the Magic Window for Propagation?
For Salpichroa, spring is truly your best bet. Aim to take cuttings just as the plant is waking up from its winter rest and starting to put on new, vigorous growth. This fresh growth has the best energy reserves to get its roots established quickly. You can also have some success with semi-ripe cuttings taken in mid-summer, but spring gives you that initial burst of vigor.
Gearing Up: Your Propagation Toolkit
Before we dive in, let’s make sure you have everything you need. It’s not a long list, but having the right bits and bobs makes all the difference.
- Sharp Pruning Shears or a Craft Knife: For clean cuts, which are key to preventing disease.
- Rooting Hormone (Optional but Recommended): This gives your cuttings a little helping hand to develop roots faster.
- Well-Draining Potting Mix: A mix of equal parts perlite and peat moss or coco coir works beautifully. You can also use a standard seedling mix.
- Small Pots or Seedling Trays: Clean ones, of course!
- Plastic Bags or Cling Film: To create a mini-greenhouse effect.
- Water: For the water propagation method.
- A Spray Bottle: For misting.
Let’s Get Growing: My Favorite Methods
Salpichroa is pretty adaptable, which is why I love it. Here are the two methods I rely on most:
1. Stem Cuttings: The Classic Approach
This is my go-to for Salpichroa. It’s efficient and you get a good success rate.
- Take Your Cuttings: In the spring, select healthy, non-flowering stems from your parent plant. Look for stems that are about 4-6 inches long. Use your sharp shears to make a clean cut just below a leaf node (where a leaf attaches to the stem).
- Prepare the Cuttings: Gently remove the lower leaves from the cutting, leaving just a few at the top. This helps the plant focus its energy on root development rather than leaf maintenance.
- Dip in Rooting Hormone (Optional): If you’re using rooting hormone, dip the cut end of the stem into the powder (follow the product’s instructions carefully).
- Pot Them Up: Fill your small pots with your well-draining potting mix. Make a small hole in the center with your finger or a pencil. Insert the cutting into the hole, ensuring the leaf nodes are below the soil surface. Gently firm the soil around the stem.
- Water and Cover: Water the soil thoroughly but gently, so it’s moist but not soggy. Now, cover the pot with a clear plastic bag or cling film. This creates a humid environment that prevents the cuttings from drying out. You can secure it with a rubber band around the rim of the pot.
2. Water Propagation: Seeing is Believing!
This method is so satisfying because you can literally watch the roots grow.
- Prepare Your Cuttings: Similar to stem cuttings, take healthy cuttings from your parent plant, about 4-6 inches long. Remove all the lower leaves, leaving only a couple at the top.
- Find a Container: Use a clean glass jar or vase.
- Add Water: Fill the container with fresh water.
- Place Cuttings: Submerge the cut end of the cuttings in the water. Crucially, make sure no leaves are touching the water. Leaves submerged will rot and can spoil the whole batch.
- Find a Spot: Place the container in a bright spot with indirect light.
The “Secret Sauce”: My Insider Tips
Over the years, I’ve learned a few little tricks that really boost my propagation success rates.
- The Bottom Heat Trick: For stem cuttings, I find that placing the pots on a gentle heating mat made for seedlings can significantly speed up root formation. It mimics the warmth of spring soil, encouraging those roots to emerge with enthusiasm!
- Don’t Rush the Transplant: When propagating in soil, I resist the urge to peek too early. I usually wait about 3-4 weeks before giving a gentle tug on the cutting. If there’s resistance, you’ve got roots! If it feels loose, give it more time. Patience is a gardener’s superpower.
- Mist, Mist, Mist (Gently): If you’re not using a full plastic bag cover for your stem cuttings, or if you notice the leaves starting to look a bit sad and wilted, give them a light misting with your spray bottle every day or two. This keeps their tiny leaves hydrated while they’re busy growing roots.
Aftercare and What to Look Out For
Once you see signs of roots – either the cuttings feel firm in the soil or you see them emerging from the cut end in water – it’s time to transition them.
- For Soil Cuttings: Once roots have formed, you can slowly acclimate them to normal room conditions by gradually opening the plastic bag over a few days. Then, you can transplant them into slightly larger pots with a good quality potting mix. Water them well and keep them in a bright, well-lit spot.
- For Water Cuttings: When the roots are about an inch long, carefully transfer them into pots with well-draining potting mix. Water thoroughly and treat them as you would established young plants.
Troubleshooting: The most common issue you’ll encounter is rot. This usually happens if the cuttings are kept too wet, or if leaves are left submerged in water. If a cutting turns black and mushy, unfortunately, it’s best to discard it to prevent it from affecting others. Don’t get discouraged if a few don’t make it; it’s all part of the learning process!
Happy Growing!
There you have it! Propagating Salpichroa glandulosa is a truly accessible and wonderfully rewarding endeavor. It’s a chance to connect with nature, to nurture new life, and to fill your garden with even more of those delightful blooms. Be patient with your new little plant babies, give them a little TLC, and enjoy the incredible satisfaction of watching them grow. Happy gardening!
Resource:
https://identify.plantnet.org/k-world-flora/species/Salpichroa%20glandulosa%20(Hook.)%20Miers/data