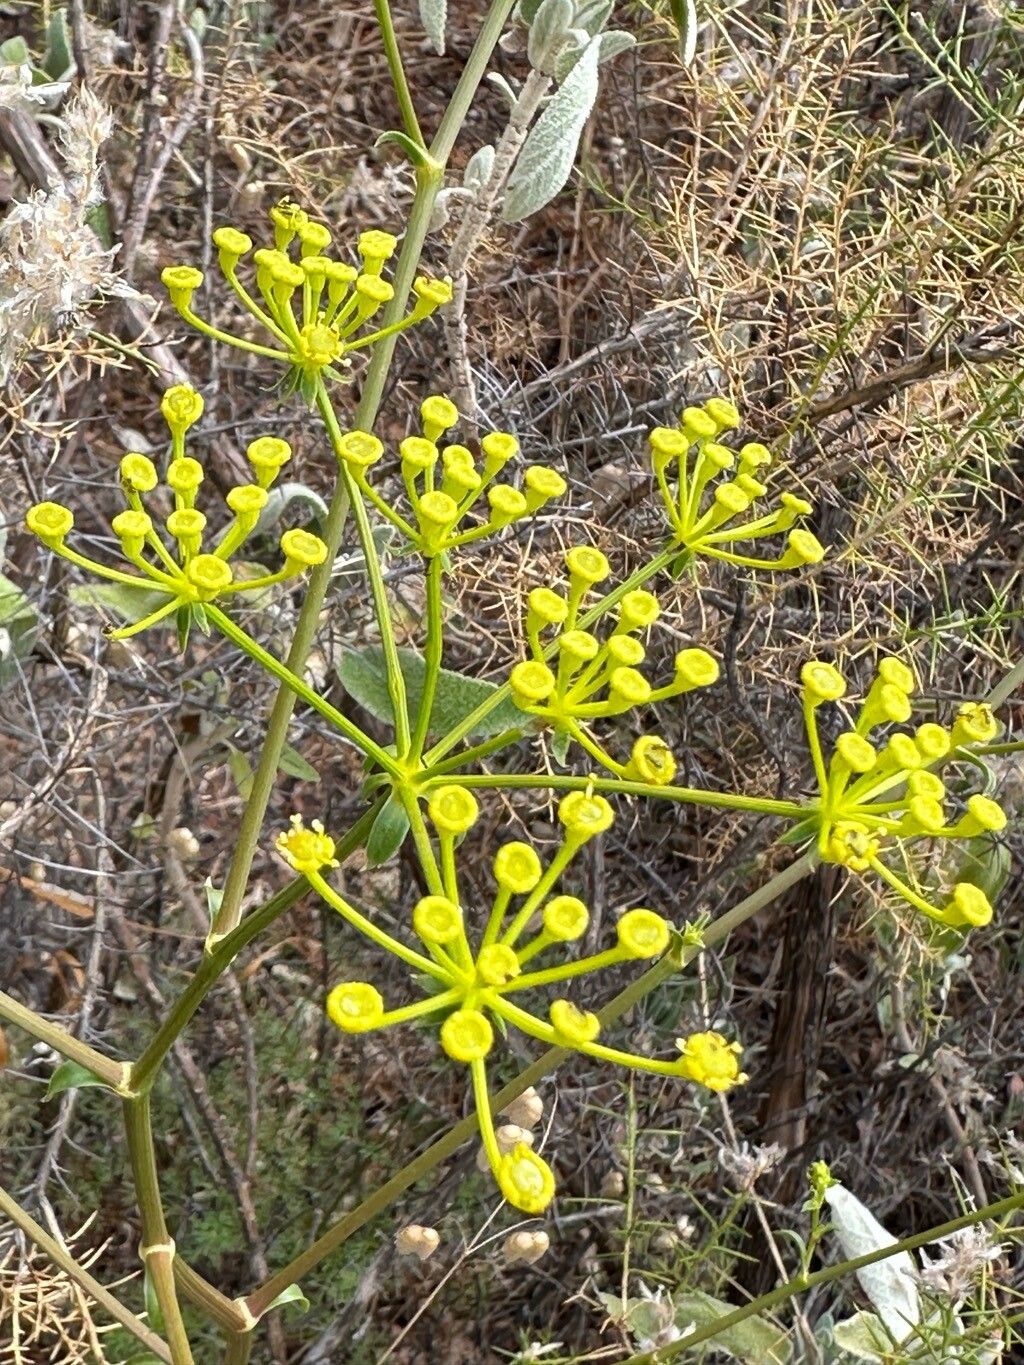
Oh, hello there! Pull up a chair and let’s chat about Thapsia minor. It’s one of those plants that just brightens up a corner, isn’t it? With its delicate, umbrella-like flower heads, it has this wonderful airy quality. And the scent! It’s subtly sweet, a real treat in the garden. For me, bringing new plants into being is one of the most satisfying parts of gardening. It’s like watching a tiny miracle unfold. If you’re new to propagating, Thapsia minor can be a bit of a journey, but stick with me, and we’ll get there together!
The Best Time to Start
Honestly, the sweet spot for propagating Thapsia minor is usually late spring or early summer. This is when the plant is actively growing and has plenty of energy to put into developing roots. You’re looking for stems that are a good length, but not overly woody and tough. Think of a vigorous new shoot – that’s your target.
Supplies You’ll Need
Gathering your materials beforehand makes the process so much smoother. Here’s what I always have on hand:
- Sharp Pruning Shears or a Clean Knife: For making clean cuts.
- Potting Mix: A well-draining mix is crucial. I often use a blend of perlite, peat moss, and compost.
- Small Pots or Seed Trays: With drainage holes, of course!
- Rooting Hormone (Optional but Recommended): A powdery or gel form can give your cuttings a helpful boost.
- Plastic Bags or a Propagation Dome: To create a humid environment.
- Watering Can with a Fine Rose: For gentle watering.
- Labels: Don’t forget to mark what you planted!
Propagation Methods: Stem Cuttings
This is my go-to method for Thapsia minor. It’s reliable and you can get a good number of new plants from a healthy parent.
- Select Your Stems: Gently examine your Thapsia minor. Look for healthy, non-flowering shoots that are about 4-6 inches long.
- Make the Cut: Using your sharp pruning shears or knife, make a clean cut just below a leaf node (where a leaf attaches to the stem). This is where roots are most likely to form.
- Prepare the Cutting: Remove the lower leaves from the stem, leaving just a few at the top. If your cuttings are very long, you can take a second cut about halfway down the stem to shorten them slightly. This reduces water loss.
- Apply Rooting Hormone (If Using): Dip the cut end of the stem into your rooting hormone, tapping off any excess. This step isn’t always essential, but I find it really helps speed things up.
- Pot Them Up: Fill your small pots with your prepared well-draining potting mix. Make a small hole in the center with your finger or a dibber.
- Insert the Cutting: Carefully place the cut end of the stem into the hole, ensuring the leaf nodes are below the surface of the soil. Gently firm the soil around the stem to hold it in place.
- Water Gently: Water the pot thoroughly, allowing excess water to drain away.
- Create Humidity: Cover the pot with a plastic bag or place it under a propagation dome. You want to create a mini-greenhouse effect. Just make sure the leaves aren’t touching the sides of the bag, if possible.
- Find a Cozy Spot: Place the pots in a bright location but out of direct, harsh sunlight. A warm spot will encourage rooting.
The “Secret Sauce” (Pro Tips)
Here are a few things I’ve learned over the years that can make a big difference:
- Don’t Drown Your Roots: This is a big one. While humidity is essential, standing water around the base of the cutting is a recipe for rot. Ensure your soil drains exceptionally well and that your pots have good drainage holes. If you’re using a plastic bag, prop it up slightly so it doesn’t cling to the soil surface.
- Gentle Irritation: Sometimes, a very gentle scrape along one side of the stem (about an inch long) just above the cut can expose more of the cambium layer, which encourages root development. Don’t overdo this – just a light rub is enough.
- Warmth is Your Friend: If your home is a bit on the cooler side, placing your pots on a heat mat designed for propagation can significantly speed up rooting. It’s like giving your cuttings a cozy little spa day!
Aftercare & Troubleshooting
Once you start to see signs of new growth – tiny leaves unfurling or a bit of upward vigor – that’s a good indication that roots are forming. You can gently tug on the cutting; if there’s resistance, roots have taken hold.
Once roots are established, slowly acclimate your new plants to normal humidity. You can do this by gradually opening the plastic bag or prop dome over a few days. Continue to keep them in bright, indirect light. Water when the top inch of soil feels dry.
The most common issue you’ll encounter is rot. If your cutting turns black and mushy, the moisture levels were likely too high, or the cutting wasn’t healthy to begin with. Don’t be discouraged; it happens to all of us! Sometimes, a cutting might just fail to root. Again, this is part of the process. Try again with a fresh stem from a healthy plant.
A Little Patience Goes a Long Way
Propagating plants is a dance with nature, and it often requires a bit of patience. Don’t rush the process. Celebrate the small victories, learn from any setbacks, and most importantly, enjoy the magic of watching new life emerge from a simple cutting. Happy propagating!
Resource:
https://identify.plantnet.org/k-world-flora/species/Thapsia%20minor%20Hoffmanns.%20&%20Link/data