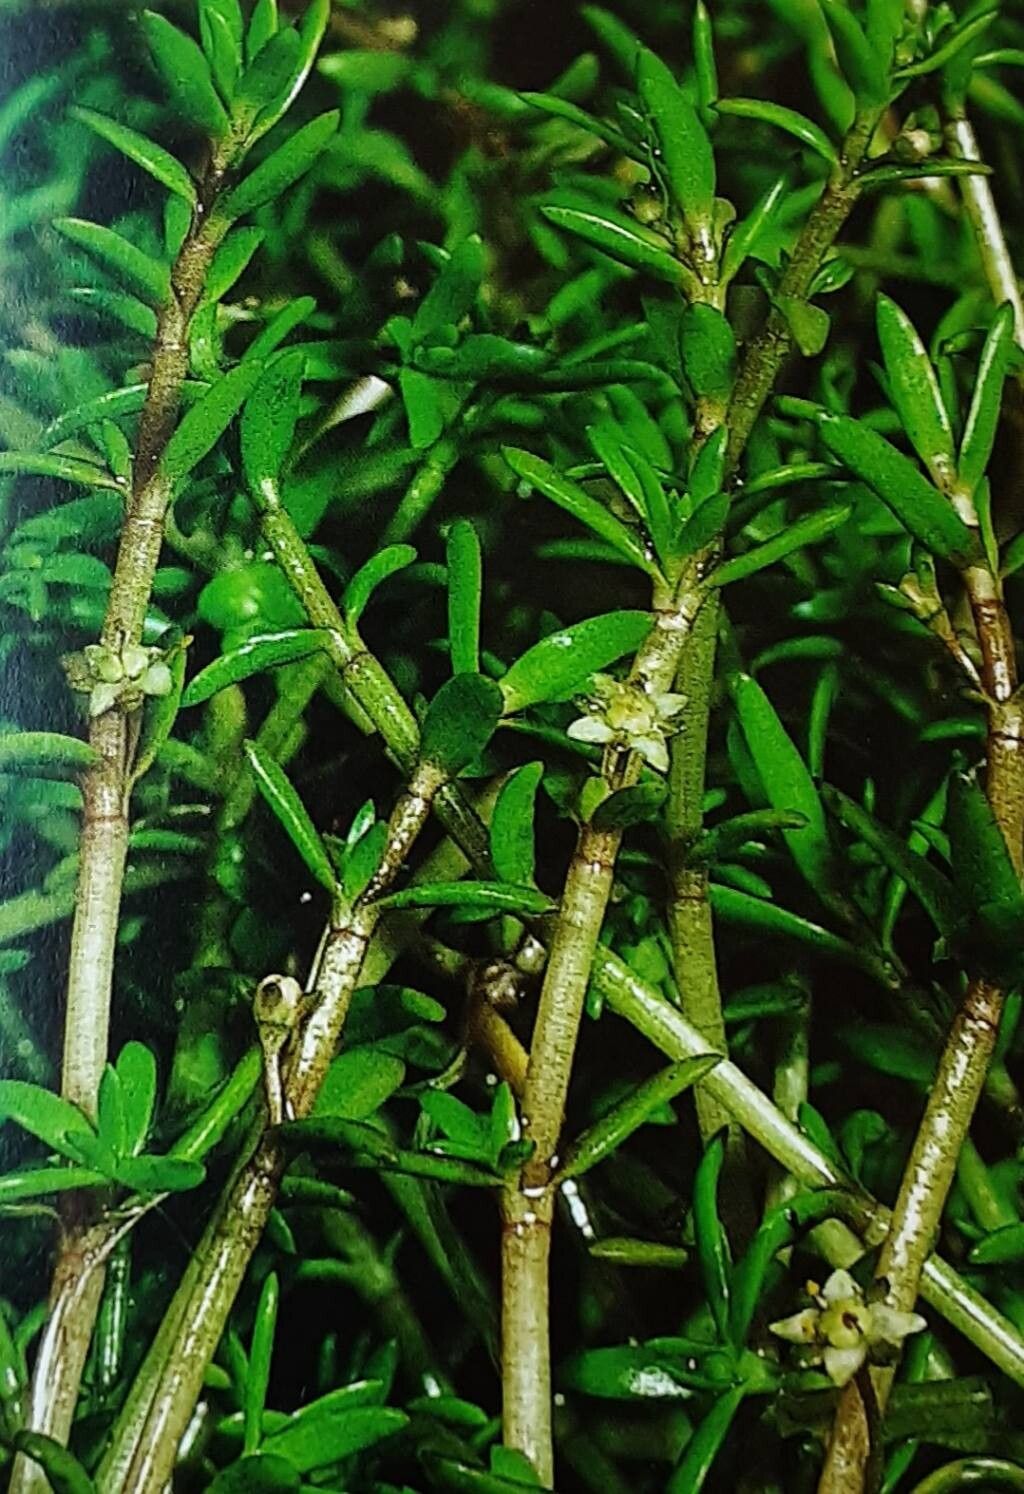
Ah, Crassula helmsii! It’s one of those little succulents that just keeps on giving, isn’t it? I remember the first time I saw a really well-established specimen, cascading over a pot like a tiny green waterfall. It’s no wonder so many of us are drawn to them. And the best part? They’re incredibly easy to propagate. If you’re looking for a beginner-friendly project that yields almost instant gratification, you’ve found your match. Let’s get those cuttings rooting!
The Best Time to Start
Honestly, Crassula helmsii is pretty forgiving, but you’ll get the best results if you propagate during its active growing season. This typically means spring and early summer. You’ll notice the plant is sending out lots of new growth and looks plump and healthy. Trying to propagate when it’s stressed or dormant (like in the dead of winter) can sometimes lead to less success.
Supplies You’ll Need
Gathering your tools beforehand makes the whole process so much smoother. Here’s what I usually have on hand:
- Sharp Pruning Shears or a Clean Knife: For making clean cuts.
- Well-Draining Potting Mix: A cactus or succulent mix is perfect. You can also make your own by mixing potting soil with perlite or pumice.
- Small Pots or Trays: For your new cuttings. I like terracotta pots because they breathe well.
- A Spray Bottle: For gentle watering.
- Optional: Rooting Hormone: While not strictly necessary for Crassula helmsii, it can give your cuttings a little boost.
- Optional: Clear Plastic Bag or Dome: To create a humid environment while roots are forming.
Propagation Methods
There are a couple of wonderfully simple ways to multiply your Crassula helmsii. I usually reach for stem cuttings first, as they’re incredibly reliable.
1. Stem Cuttings:
This is my go-to method. It’s quick and often gives you roots in just a few weeks.
- Severing the Stem: Using your sharp shears or knife, carefully cut a section of stem that is at least 2-3 inches long. Look for healthy, non-flowering stems if possible. Make the cut just above a leaf node (where a leaf joins the stem).
- Letting it Callous: This is a crucial step! Allow the cut end of the stem cutting to dry out and form a callus for a day or two in a bright, airy spot, out of direct sun. This prevents rot when you plant it.
- Planting: Once it’s calloused, gently press the calloused end into your prepared potting mix. You don’t need to bury it deeply, just enough so it stands up on its own. You can plant several cuttings in the same pot, as long as they have a little space.
- Watering: Lightly mist the soil surface with your spray bottle. Don’t drench it; the goal is just to keep the soil slightly moist.
2. Water Propagation (with a twist!):
Some people love water propagation for succulents, and Crassula helmsii can do well, but I have a specific way I like to do it to avoid common pitfalls.
- Prepare the Cutting: Similar to stem cuttings, take a healthy stem section and let the cut end callous over for a day or two.
- The Water Bath: Get a clean jar or glass. Fill it with water, but don’t let the leaves touch the water. You want only the calloused stem end submerged. I often use a toothpick or two to prop the cutting up if needed.
- Placement: Place the jar in a bright spot, out of direct sunlight.
- Water Changes: Change the water every few days to keep it fresh and prevent bacterial growth.
The “Secret Sauce” (Pro Tips)
After years of getting my hands dirty, I’ve picked up a few tricks that seem to make a big difference.
- Bottom Heat is Your Friend: If you have a heating mat designed for plants, placing your pots on it can significantly speed up root formation. It replicates the warmth of spring soil and encourages those roots to get going.
- Don’t Be Afraid to Pinch: If you’re propagating from a longer stem, you can pinch off the lowest leaves. This not only gives you more stem to insert into the soil but also exposes more surface area for roots to emerge from the stem itself.
- Consistency is Key (But Don’t Overdo It): The trick with watering is to keep the soil consistently slightly moist, not wet. Overwatering is the fastest way to lose a succulent cutting. Checking the soil moisture with your fingertip is the best way to gauge when it needs a light misting.
Aftercare & Troubleshooting
Once you start to see signs of new growth – maybe tiny leaves emerging from the top or a gentle tug reveals resistance, indicating roots have formed – congratulations! It’s time for a bit more TLC.
- Transitioning: If you propagated in water, wait until you have a good network of roots (at least an inch long) before planting. When you do plant them, use your well-draining succulent mix.
- Acclimation: New roots are delicate. Keep the newly potted cuttings in bright, indirect light for the first week or two. Gradually introduce them to more sun.
- Watering Slowly: Continue to water sparingly. Water thoroughly when the soil is dry to the touch, then let it dry out again.
- Common Woes (and How to Fix Them):
- Rot: This is the big one. If your cutting looks mushy, black, or smells off, it’s likely rot. This is usually due to overwatering and lack of callousing. If caught early, you can try to cut away the rotted section and let the healthy part callous again, but often, it’s a lost cause. Prevention is key!
- Shriveling: If your cutting shrivels, it might be drying out too much. Ensure the soil is kept lightly moist during the rooting phase.
A Little Encouragement
Watching a plant from a tiny cutting grow into a robust specimen is one of the most rewarding aspects of gardening. Be patient with your Crassula helmsii propagations. Sometimes they take a little longer than others, but the vast majority will root successfully. Enjoy the process, the little victories, and soon you’ll have more of these beautiful cascading succulents than you know what to do with! Happy propagating!
Resource:
https://identify.plantnet.org/k-world-flora/species/Crassula%20helmsii%20(Kirk)%20Cockayne/data