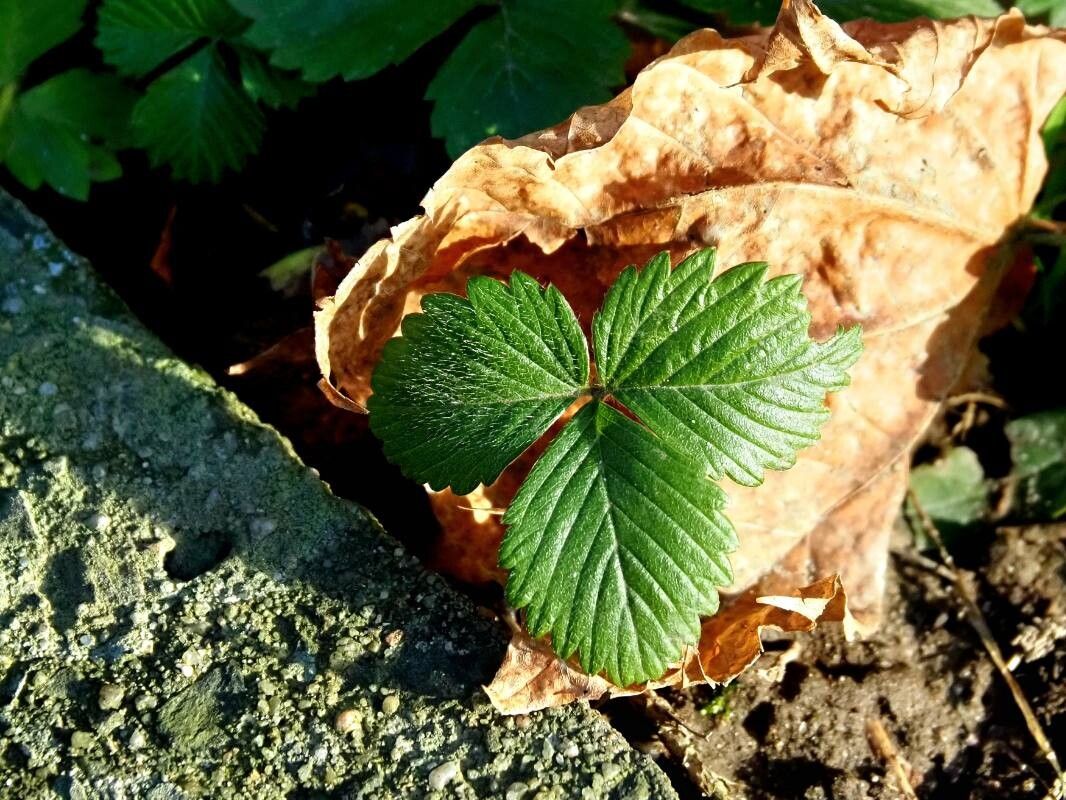
Hello fellow garden lovers! Let’s chat about something truly delightful: Fragaria viridis, also known as the wild strawberry or woodland strawberry. If you’ve ever tasted one of these tiny, intensely flavored berries, you know what I’m talking about. They’re like little bursts of pure sunshine, a far cry from the sometimes-watery taste of their cultivated cousins. And the best part? They’re surprisingly easy to grow and even easier to share. Propagating these beauties is incredibly rewarding, and I’m here to guide you through it.
For beginners, I’d say Fragaria viridis is a wonderfully approachable plant to start with. You’ll get a good sense of accomplishment without too much fuss.
The Best Time to Start
My favorite time to get propagating is in late spring or early summer, right around when the plant is really hitting its stride. You’ll notice it sending out lots of those lovely little runners. This is when it’s naturally producing new growth, making it the perfect moment to gently nudge it into creating more plants for us.
Supplies You’ll Need
Here’s a little collection of things that will make your propagating journey smoother:
- Sharp, clean pruning shears or a sharp knife: For making clean cuts.
- Small pots or trays: Something to house your new plants.
- Well-draining potting mix: I like a blend of peat moss, perlite, and a bit of compost. Or a good quality seedling mix.
- Rooting hormone (optional but helpful): Especially for stem cuttings to give them a boost.
- Spray bottle: For gentle misting.
- Labels: So you don’t forget what’s what!
Propagation Methods
Fragaria viridis is a generous plant and offers a few easy ways to multiply.
Runners (Stolon Cuttings)
This is by far the easiest and most common method for Fragaria viridis. The plant sends out long, trailing stems called runners. At the end of these runners, a new plantlet will form.
- Identify Runners: Look for those long, thin stems extending from your mother plant, usually with tiny baby plants forming at their tips.
- Encourage Rooting: You can lay a runner across the surface of some potting mix in a separate pot or tray. Gently pin the runner down with a piece of wire or a small stone, ensuring the plantlet is nestled into the soil.
- Wait for Roots: Over a few weeks, the plantlet will start to develop its own roots in the soil. You can gently tug on it to see if it feels secure.
- Separate the New Plant: Once you’re confident the new plant has established a good root system, carefully cut the runner connecting it to the mother plant. You’ve now got a brand-new strawberry!
Division
If your Fragaria viridis plant has become a nice, dense clump, you can also propagate it by division.
- Gently Excavate: Carefully dig up the entire plant.
- Inspect the Roots: You’ll notice a central crown where the leaves emerge and a network of roots below. Look for sections that have their own crowns and a decent amount of roots.
- Divide: Using your clean hands or a sharp knife, gently pull or cut the clump apart. Aim to create sections, each with at least one healthy crown and several roots.
- Replant: Pot up the divisions into their own pots with fresh potting mix.
The “Secret Sauce” (Pro Tips)
Here are a couple of things I’ve learned over the years that can really help your success:
- Don’t Let the Leaves Touch the Water (for runners): If you’re laying a runner across soil and some leaves are dipping into moisture, they can rot. Gently tuck them up or ensure they’re elevated on the soil surface.
- Patience with the Runners: Sometimes, a runner will send out a plantlet, but it’s still quite small. Don’t rush to separate it. Let it grow and develop a strong root system on the runner first. It’ll have a much better chance of survival.
- A Little Bit of Bottom Heat: If you’re propagating in a cooler environment, placing your pots or trays on a seedling heat mat can really speed up root development for both methods.
Aftercare & Troubleshooting
Once your new strawberry plants are separated, they’ll need a little TLC.
- Keep Them Moist, Not Soaked: Water them gently but regularly. The soil should feel like a wrung-out sponge.
- Bright, Indirect Light: They don’t want scorching sun right away. A bright windowsill or a spot with dappled shade is perfect.
- Gradual Acclimation: As they grow stronger, you can gradually introduce them to more sunlight.
The most common sign something isn’t quite right is mushy, brown stems or leaves, often accompanied by a foul smell. This usually means rot. It’s often a sign of too much moisture and not enough air circulation. If you see this, it’s best to discard the affected cutting and check your watering and drainage.
A Encouraging Closing
Growing these little gems from cuttings or divisions is so satisfying. Remember to be patient, enjoy the process of nurturing a new life, and soon you’ll be enjoying your own delicious, home-grown wild strawberries! Happy gardening!
Resource:
https://identify.plantnet.org/k-world-flora/species/Fragaria%20viridis%20Weston/data