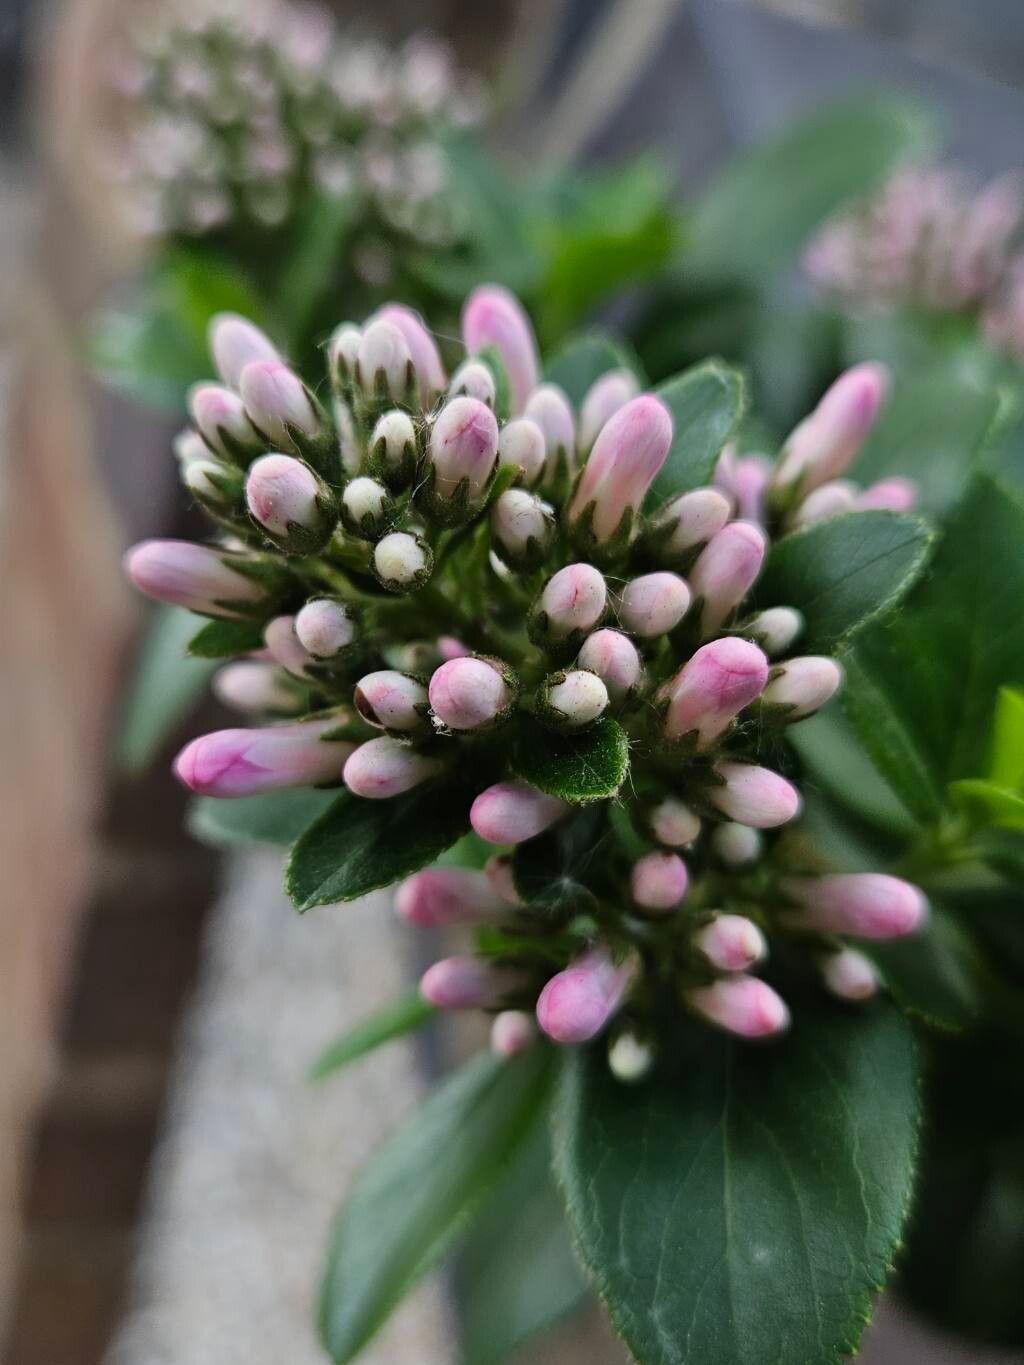
Hello, fellow garden enthusiasts! Today, I want to chat about a plant that’s become a bit of a favorite of mine: Escallonia laevis. If you’re looking for a shrub that offers beautiful evergreen foliage and lovely, often fragrant, blooms in shades of pink and white, you’ve found a winner. Growing and propagating them is incredibly rewarding, and I’m happy to say, it’s a process that’s quite accessible for beginners too. Getting that next generation of this beauty started is a joy, and I can’t wait to share how I do it.
The Best Time to Start
For Escallonia laevis, the sweet spot for propagation is during the late spring and early summer. This is when the plant is actively growing, and you’ll find plenty of semi-hardwood cuttings – stems that have started to firm up but are still flexible. Trying to take cuttings too early in the spring, when everything is still very soft, or too late in the fall, when growth is slowing, can lead to lower success rates. We want those vibrant, energetic bits of stem that are just eager to root!
Supplies You’ll Need
Before we get our hands dirty, let’s gather our tools:
- Sharp pruning shears or a clean knife: For making clean cuts and avoiding stem damage.
- Rooting hormone: This is a product that encourages root development. I usually opt for a powder, but liquid works great too.
- A gritty, well-draining potting mix: A good blend for me is half perlite and half peat moss, or a specialized cutting mix.
- Small pots or propagation trays: Clean, small containers are perfect.
- A watering can with a fine rose: For gentle watering.
- Plastic bags or a propagator lid: To create a humid environment.
- Labels and a marker: To keep track of what you’ve planted and when.
Propagation Methods
I find that stem cuttings are the most reliable and straightforward way to propagate Escallonia laevis.
- Take Your Cuttings: Select healthy, vigorous stems. Look for ones that are about 4-6 inches long and have several sets of leaves. Using your clean shears, make a clean cut just below a leaf node (the point where a leaf attaches to the stem). Remove the leaves from the bottom half of the cutting, leaving just a few at the top. This prevents them from rotting when they’re in the soil.
- Apply Rooting Hormone: Dip the cut end of each stem into your rooting hormone, ensuring it’s coated. Tap off any excess.
- Pot Them Up: Fill your small pots or trays with your prepared potting mix. Make a hole in the center of the mix with your finger or a pencil. Gently insert the cutting into the hole, making sure the hormone-coated end is well within the soil. Firm the soil gently around the base of the stem.
- Create Humidity: Water the mix gently until it’s thoroughly moist. Then, cover the pot with a plastic bag, forming a little tent, or place it inside a propagator with a lid. This traps moisture and creates the humid microclimate that cuttings love.
- Find the Right Spot: Place your pots in a location that receives bright, indirect light. Avoid direct sunlight, as it can scorch the delicate cuttings and dry out the potting mix too quickly.
The “Secret Sauce” (Pro Tips)
Here are a couple of little tricks I’ve learned that can really boost your success rate with Escallonia:
- Bottom Heat is Your Friend: If you have a heated propagator or a seedling heat mat, placing your pots on it can make a world of difference. Bottom heat encourages root formation much faster by mimicking the warmth of spring soil. It’s not strictly necessary, but it’s definitely a game-changer.
- Don’t Let Those Leaves Touch: When you’re preparing your cuttings, make absolutely sure that no leaves are touching the soil surface. If they sit in moist soil, they’re much more prone to fungal infections and rot, which is the last thing we want for our potential new plants.
Aftercare & Troubleshooting
Once your cuttings are potted, the goal is to keep them consistently moist but not waterlogged. Mist them occasionally if you’re not using a propagator lid, and check the soil moisture every few days. You’ll know they’re starting to root when you see new leaf growth or feel a gentle resistance when you give a stem a very light tug.
The most common sign of trouble is rot. If you see your cuttings turning black and mushy, or if leaves are rapidly wilting and yellowing despite consistent moisture, it’s likely rot. This often happens from too much moisture and not enough ventilation. If you spot it, remove the affected cuttings immediately to prevent it from spreading. Sometimes, it’s just a matter of trying again with a fresh cutting and adjusting your watering or humidity levels.
A Encouraging Closing
Propagating plants is a journey, and it’s okay if not every single cutting takes. The most important thing is to be patient and enjoy the process. Watching that tiny stem unfurl new leaves and eventually develop a robust root system is one of the most satisfying feelings in gardening. So, grab your shears, get planting, and I wish you the very best of luck with your new Escallonia babies! Happy gardening!
Resource:
https://identify.plantnet.org/k-world-flora/species/Escallonia%20laevis%20(Vell.)%20Sleumer/data