Oh, hello there! Pull up a chair and let’s chat about one of my absolute favorites: Commiphora dulcis. You know, the one with those wonderful, fragrant leaves that just smell like a spring morning after a rain? It’s a delightful addition to any garden, and honestly, watching a little cutting transform into a thriving plant is one of the most satisfying parts of gardening for me. If you’re new to this, don’t worry too much; Commiphora dulcis is generally quite forgiving. You’ll likely have success with a little patience and the right approach.
The Best Time to Start
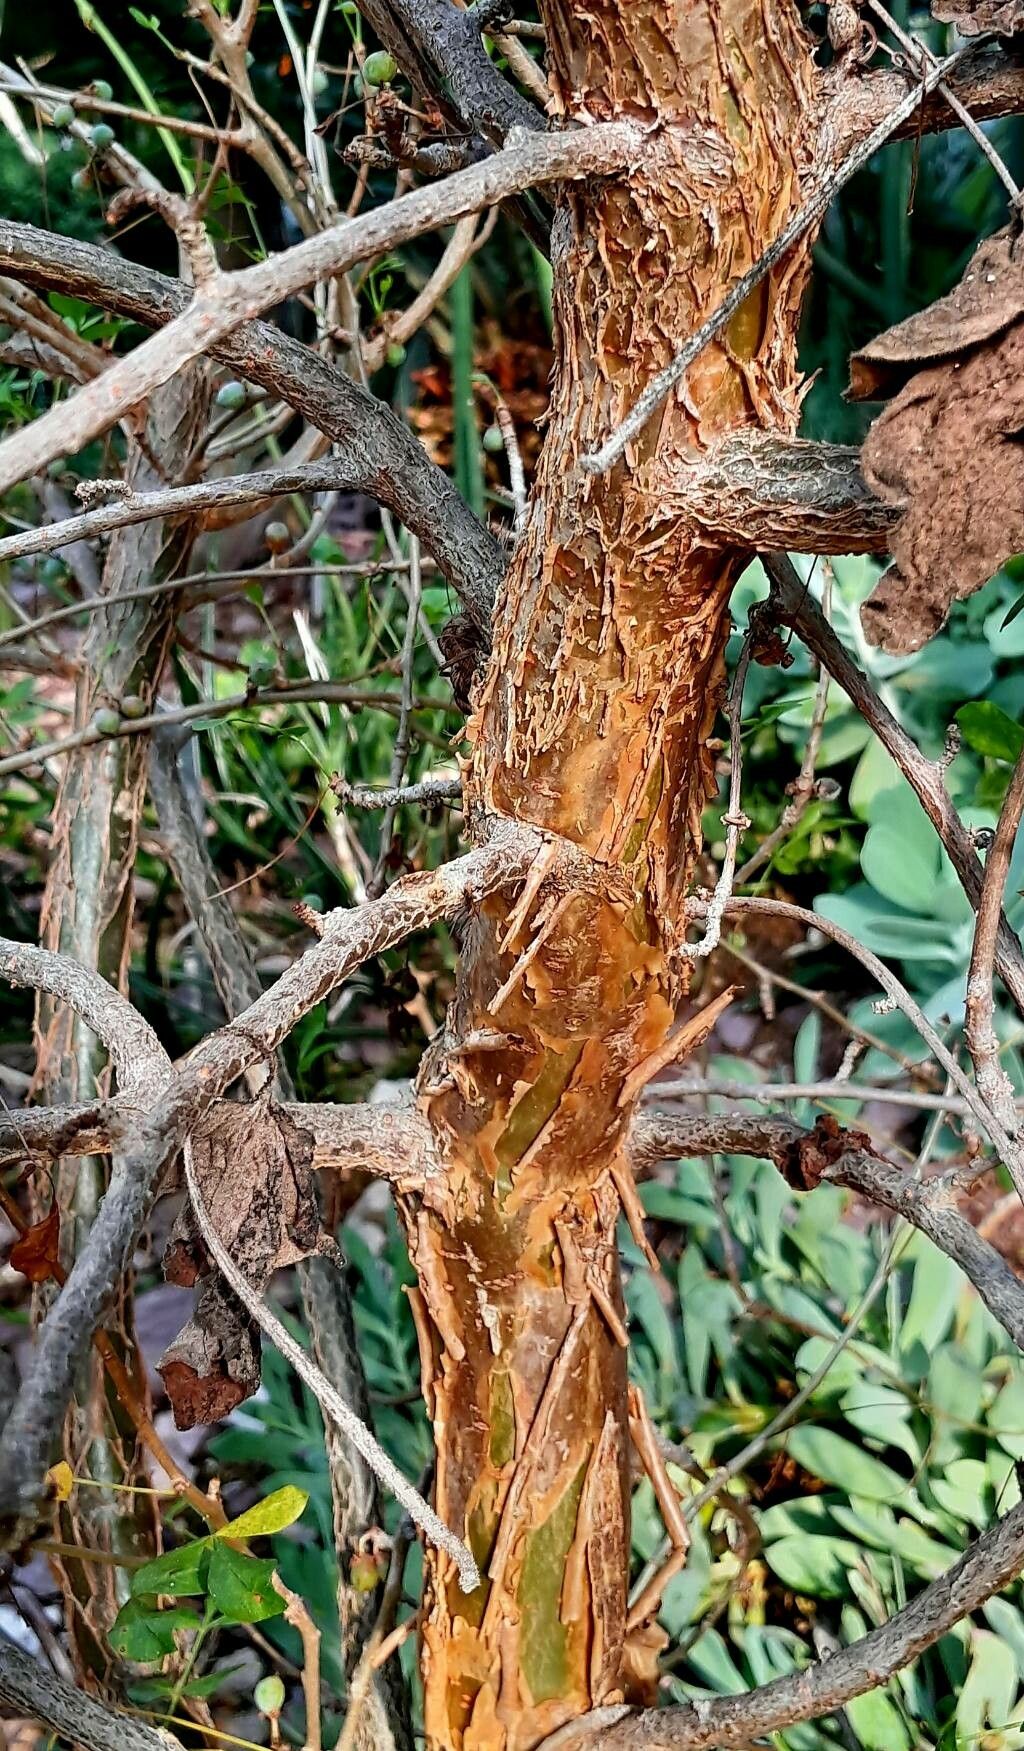
For the highest chance of success, I always recommend taking cuttings in late spring or early summer. This is when the plant is in its most vigorous growth phase. The new, semi-hardwood stems have enough substance to hold their own but are still flexible and eager to form roots. You want pieces that have started to firm up a bit, not bright green, floppy new shoots.
Supplies You’ll Need
Here’s everything you’ll want to have on hand before you start:
- Sharp pruning shears or a clean, sharp knife: For making clean cuts.
- Rooting hormone (optional but recommended): A powder or gel that encourages root development.
- A well-draining potting mix: I like a blend of perlite, peat moss, and a little coarse sand. You can also buy a commercially available succulent or cactus mix, which works beautifully.
- Small pots or seedling trays: Make sure they have drainage holes!
- Plastic bags or a propagator: To create a humid environment.
- Watering can with a fine rose: For gentle watering.
- Labels: To keep track of what you’ve planted.
Propagation Methods
I’ve found the most reliable method for Commiphora dulcis is stem cuttings. It’s straightforward and gives great results.
- Take Your Cuttings: Select healthy, mature stems. Using your sharp shears, cut sections about 4-6 inches long. Make your cut just below a leaf node (where a leaf attaches to the stem). This is where the magic of root formation often happens.
- Prepare the Cuttings: Gently remove the lower leaves from your cuttings. You want to expose at least one or two leaf nodes. If the cutting has any flowers or developing buds, pinch those off; we want all the plant’s energy focused on roots, not reproduction.
- Apply Rooting Hormone (Optional): If you’re using rooting hormone, dip the cut end of each stem into the powder or gel. Tap off any excess – you just need a light coating.
- Plant Your Cuttings: Fill your small pots or trays with your well-draining potting mix. Make a shallow hole in the center of each pot with a pencil or your finger. Gently insert the cut end of your Commiphora cutting into the hole, ensuring at least one node is buried in the soil. Firm the soil gently around the cutting.
- Water Gently: Water each pot thoroughly but gently, using your fine-rose watering can. You want the soil to be moist, not waterlogged.
- Create Humidity: This is key! Cover each pot loosely with a clear plastic bag or place them in a propagator. This traps humidity around the cuttings, which is crucial for root development. You can prop the bag up with a skewer or a couple of twigs so it doesn’t touch the leaves.
- Provide Light and Warmth: Place your cuttings in a bright, but indirect light location. A sunny windowsill that doesn’t get harsh direct sun is perfect. They also appreciate a bit of warmth, so if you can, place them on a heat mat.
The “Secret Sauce” (Pro Tips)
Now, for a couple of little tricks I’ve picked up over the years:
- Don’t let those leaves touch the water! Seriously, if you’re doing water propagation (which you can try, but I find cuttings in soil are more foolproof for this one), make sure the leaves are well above the water line. Any submerged foliage will just rot and bring down the whole cutting.
- The “Bend Test”: After about 4-6 weeks, you can gently tug on a cutting. If you feel resistance, it means roots are forming! If it pulls out easily, it hasn’t rooted yet. Don’t be tempted to disturb them too often, though; give them time.
- Bottom Heat is Your Friend: Seriously, if you invest in one thing for propagation, make it a small seedling heat mat. It provides a consistent, gentle warmth that cuttings absolutely adore. They’ll root faster and with more vigor.
Aftercare & Troubleshooting
Once you start seeing new growth on your cuttings – little leaves unfurling, maybe a tiny shoot – that’s a good sign roots are developing! You can gradually acclimate them to lower humidity by slowly opening the plastic bag over a few days. Once they seem quite established, you can remove the bag entirely.
Keep the soil consistently moist but not soggy. Overwatering is the biggest culprit for young cuttings. Signs of distress include yellowing leaves, wilting despite being watered, or a black, mushy base. This usually points to overwatering and potential rot. If you see rot, unfortunately, that cutting is likely lost, and you’ll need to start again. Sometimes, even with the best care, a cutting just doesn’t take. Don’t get discouraged; it’s all part of the learning process!
A Encouraging Closing
Remember, gardening is a journey! Propagation takes a bit of patience, a dash of trial and error, and a whole lot of love. Enjoy the process of nurturing these tiny beginnings. Watching your Commiphora dulcis cuttings grow into their own beautiful plants is a truly rewarding experience. Happy propagating!
Resource:
https://identify.plantnet.org/k-world-flora/species/Commiphora%20dulcis%20Engl./data