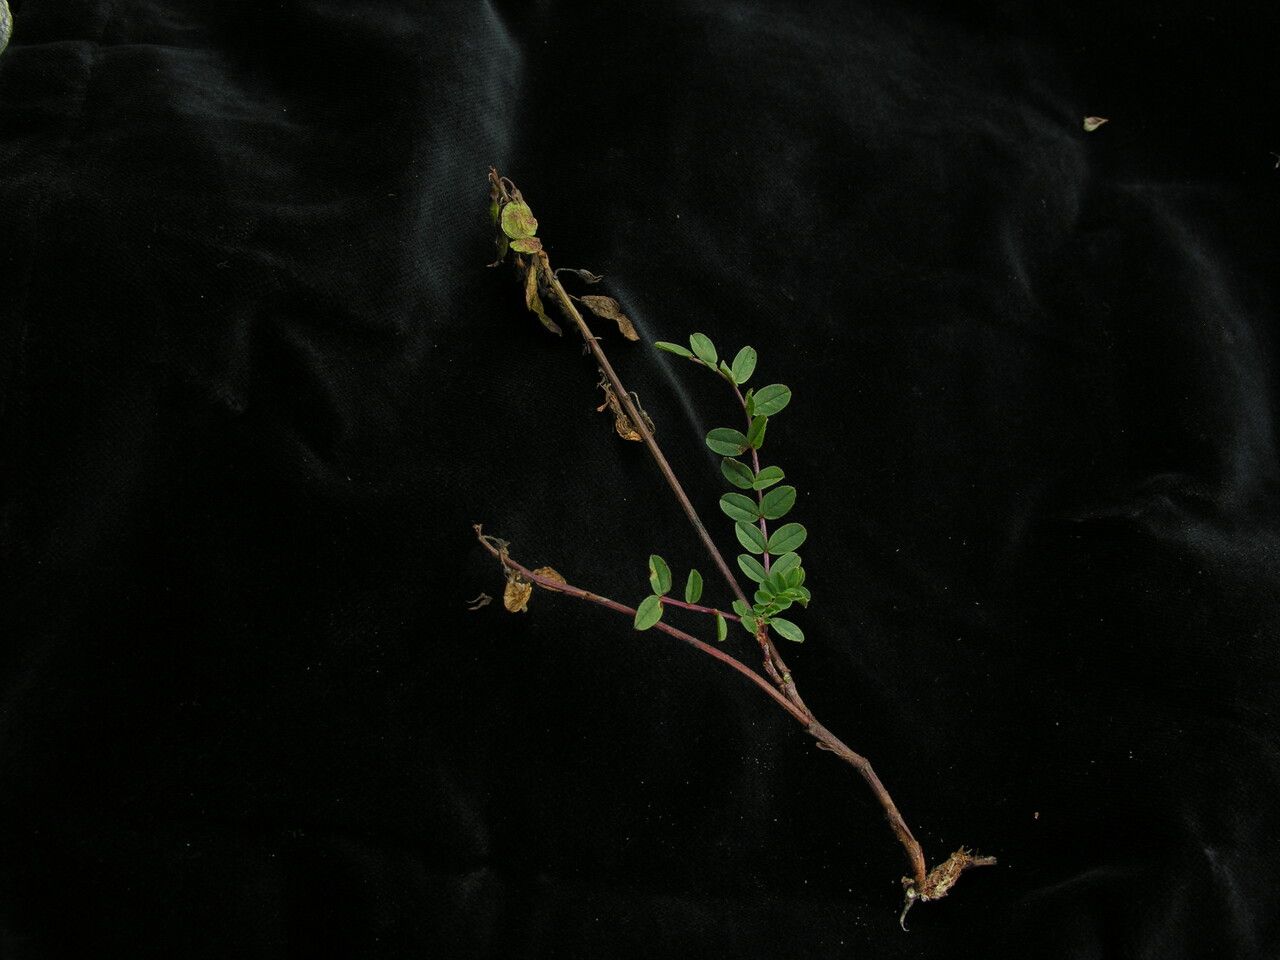
Oh, hello there! Come on in, pull up a chair. Let’s chat about Hedysarum sikkimense, shall we? If you’ve ever seen this beauty gracing a garden, you’ll know exactly why I’m so smitten. Its delicate, pea-like flowers, often a lovely shade of soft pink or purple, cascade so gracefully, attracting bees and bringing a touch of airy elegance to any space. And the leaves! They’re a lovely fern-like green, adding texture all season long.
Growing this plant is one thing, but successfully coaxing new life from it? That’s where the real magic happens. For those just dipping their toes into the world of plant propagation, Hedysarum sikkimense can be a moderately rewarding challenge. It’s not the super-tough one that bounces back from anything, but with a little care and attention, you’ll be rewarded with a whole new plant (or several!) to share or to fill another sunny spot in your garden.
The Best Time to Start
Timing is everything, as they say in the garden. For Hedysarum sikkimense, I find the late spring to early summer is the absolute sweet spot. This is when the plant is actively growing, full of vigor, and has plenty of fresh, healthy stems to work with. You want to grab those new, non-woody shoots that are pliable and full of life. Starting earlier in spring might mean the stems aren’t quite ready, and by late summer, the plant might be starting to wind down its energetic growth phase.
Supplies You’ll Need
Before we get our hands dirty, let’s gather our toolkit. Having everything ready makes the process so much smoother!
- Sharp Pruning Shears or a Clean Knife: For making clean cuts.
- Rooting Hormone Powder or Gel: This isn’t always strictly necessary, but it can give your cuttings a significant boost.
- Small Pots or Trays with Drainage Holes: About 3-4 inches are perfect.
- A Well-Draining Potting Mix: I like a blend of equal parts perlite, peat moss (or coco coir), and good quality potting soil. This ensures good aeration and prevents waterlogging.
- Clear Plastic Bags or a Propagation Dome: To create a humid microclimate.
- Watering Can or Spray Bottle: For gentle watering.
Propagation Methods
While Hedysarum sikkimense can also be grown from seed (though that’s a whole different adventure!), the most straightforward and reliable method for increasing your stock is through stem cuttings.
Stem Cuttings:
- Select Your Cuttings: In late spring or early summer, look for healthy, semi-hardwood stems. These are stems that have started to firm up but are still flexible. You’re aiming for cuttings that are about 4-6 inches long. Avoid the very tip-top tender shoots and the older, woody growth from last year.
- Make the Cut: Using your sharp pruning shears or knife, make a clean cut just below a leaf node (where a leaf attaches to the stem). This is where roots are most likely to form.
- Prepare the Cutting: Gently remove the lower leaves, leaving just a couple at the top. This prevents them from rotting in the soil and reduces moisture loss. If the remaining leaves are quite large, you can even cut them in half horizontally to further reduce transpiration.
- Apply Rooting Hormone: Dip the cut end of the stem into rooting hormone, tapping off any excess. This little step can make a big difference in encouraging root development.
- Plant Your Cuttings: Fill your small pots with your prepared, moistened potting mix. Make a small hole in the center with your finger or a pencil. Carefully insert the cut end of the stem, ensuring the nodes where you removed the leaves are buried. Gently firm the soil around the stem.
- Create a Humid Environment: Water the soil gently after planting. Then, cover the pot with a clear plastic bag, securing it around the rim with a rubber band or placing it over the pot like a mini-greenhouse lid. Alternatively, use a propagation dome. This will help maintain high humidity, which is crucial for preventing the cuttings from drying out before they can root.
- Provide Good Light: Place the pots in a bright location but out of direct, harsh sunlight. A north-facing window or a bright spot that receives dappled light is ideal.
- Be Patient: Now, the waiting game begins! Check the soil moisture every few days and mist the inside of the bag if it looks dry. You’re looking for signs of new growth and, eventually, resistance when you give the cutting a gentle tug. This usually takes anywhere from 4 to 8 weeks, sometimes a bit longer.
The “Secret Sauce” (Pro Tips)
Here are a couple of things I’ve learned over the years that can really tip the scales in your favor:
- Don’t let the leaves touch the water in the pot: If you’re doing water propagation (which can work for some Hedysarum species, though cuttings in soil are generally more successful for sikkimense), make sure the leaves are above the waterline. Any submerged foliage will rot and can infect the rest of the cutting. For soil cuttings, this translates to ensuring no leaves are buried in the soil.
- Bottom Heat is Your Friend: If you have the means, placing your pots on a gentle heat mat can significantly speed up root formation. The warmth encourages the plant hormones to kick into gear and roots to emerge faster. Just ensure the heat isn’t too intense – think “warm bath” not “hot oven.”
Aftercare & Troubleshooting
Once you see new leaf growth appearing on your cuttings – a fantastic sign! – it’s time to start adjusting their environment. Gradually acclimate them to normal room humidity by opening the plastic bag or propagation dome for increasingly longer periods over a week or two. Don’t remove it completely all at once, or you risk shocking the tender new growth.
When the new plant has established a good bit of top growth and feels firmly rooted (give a gentle tug – it shouldn’t pull out easily), you can transplant it into its own small pot with fresh potting mix. Continue to water regularly, ensuring the soil stays evenly moist but not soggy.
The most common culprit when propagation goes wrong is rot. If your cuttings turn black and mushy, or their leaves wilt and die back without any signs of new growth, it’s likely due to too much moisture and not enough air circulation. This is precisely why that well-draining mix and the humidity control are so important! Always err on the side of slightly drier rather than soggy.
A Encouraging Closing
Growing plants is an exercise in patience and observation. That’s the beauty of it, really. Don’t be discouraged if your first few attempts aren’t perfect. Nature has its own rhythm, and sometimes it takes a few tries to get it just right. Savor the process of nurturing these new little lives. It’s incredibly rewarding to see a tiny stem transform into a new, vibrant plant. Happy propagating!
Resource: