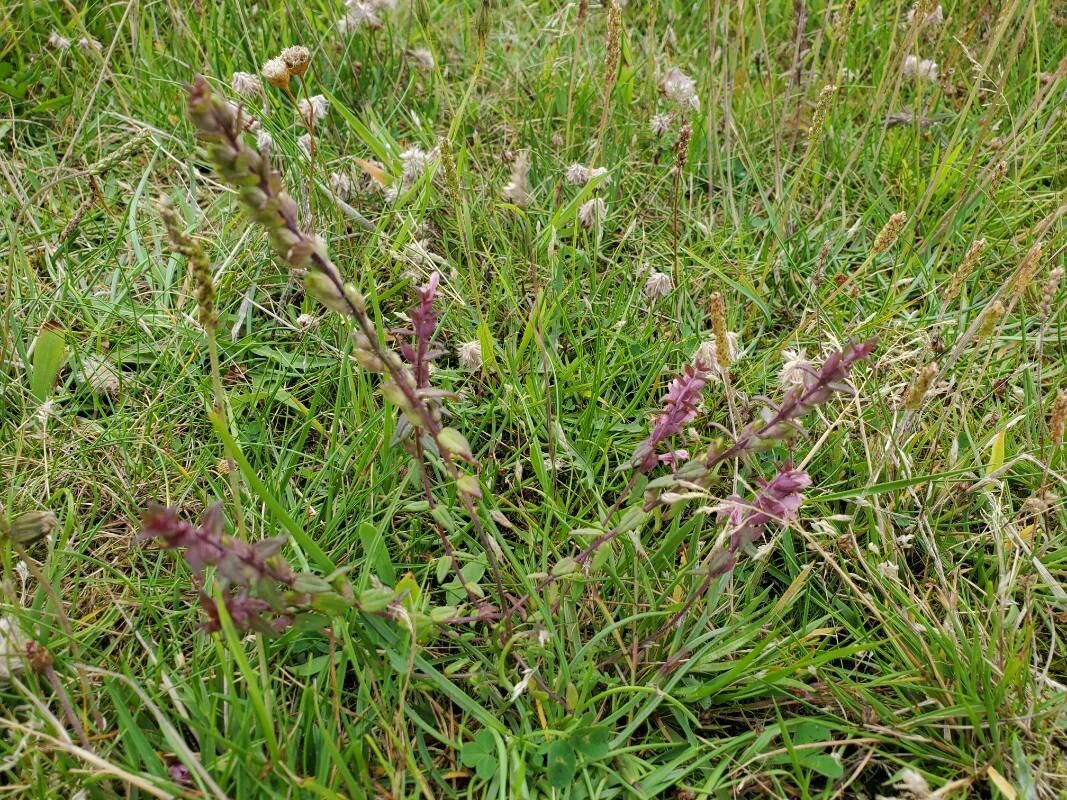
Oh, hello there! Pull up a chair and let’s chat about a little gem that’s captured my heart over the years: Odontites litoralis. If you haven’t met this delicate beauty before, imagine a cascade of soft, often pink or lavender, tiny flowers that seem to dance in the breeze. It’s a plant that brings a touch of wild, almost ethereal charm to any garden space.
Propagating Odontites litoralis is a really rewarding endeavor. It’s how I’ve managed to spread its joy throughout my own garden and share it with dear friends. For beginners? I’d say it’s moderately easy, much easier if you pay attention to a few key details. Think of it as a gentle lesson in plant patience.
The Best Time to Start
From my experience, the absolute sweet spot for propagating Odontites litoralis is in late spring to early summer. This is when the plant is really pushing new growth and has plenty of energy reserves. You’re looking for young, healthy stems that are just starting to firm up a little – not the soft, floppy new shoots, but not the woody old growth either. Think of it as that perfect, slightly bendy pencil stage.
Supplies You’ll Need
Gathering your tools beforehand makes the whole process so much smoother. Here’s what I usually have on hand:
- Sharp pruning shears or a clean, sharp knife: For making precise cuts.
- Small propagation pots or trays: Clean ones are essential to prevent disease.
- A good quality, well-draining potting mix: I often use a blend of peat moss, perlite, and a little compost. For Odontites, I like to keep it light and airy.
- Rooting hormone (optional, but helpful): A powder or gel can give those cuttings a little boost.
- Plastic bags or a propagation dome: To create a humid environment.
- Watering can with a fine rose: For gentle watering.
Propagation Methods
I’ve found the most reliable way to propagate Odontites litoralis is through stem cuttings. It’s straightforward and gives you a great chance of success.
Here’s how I do it:
- Take Your Cuttings: On a bright morning, select healthy, non-flowering stems from your mature plant. Make a clean cut just below a leaf node (where a leaf attaches to the stem). Aim for cuttings about 3-4 inches long.
- Prepare the Cuttings: Gently remove the lower leaves from your cuttings. You want to expose at least two leaf nodes, as this is where roots will typically form.
- Apply Rooting Hormone (Optional): If you’re using rooting hormone, dip the cut end into the powder or gel. Tap off any excess.
- Plant Your Cuttings: Fill your small pots or trays with your moistened potting mix. Make a small hole with your finger or a pencil.
- Insert and Firm: Gently insert the prepared cuttings into the holes, making sure the leaf nodes you bared are below the soil surface. Lightly firm the soil around the base of each cutting to ensure good contact.
- Create Humidity: Water gently to settle the soil. Then, either cover the pots with a clear plastic bag (propping it up so it doesn’t touch the leaves) or place them under a propagation dome.
- Placement: Place your cuttings in a bright spot out of direct sunlight. A windowsill that gets indirect light is usually perfect.
The “Secret Sauce” (Pro Tips)
Over the years, I’ve learned a few little tricks that seem to make all the difference.
- Think “Bottom Heat”: If you have any sensitive cuttings, a heated propagation mat can be a game-changer. It encourages root development by keeping the soil temperature a little warmer than the air around it. Don’t go too hot, though – just a gentle warmth.
- Don’t Let Leaves Touch Water: This is crucial, especially if you decide to try water propagation (which is a bit trickier for Odontites litoralis). If the leaves sit in water, they’ll just rot. Always ensure only the stem is submerged.
- Patience with the Potting Mix: For Odontites litoralis, I find a mix that’s a little sandier than usual really helps prevent waterlogging. A bit more perlite and maybe even a small amount of horticultural sand can make a big difference.
Aftercare & Troubleshooting
Once your cuttings have rooted – you’ll know this is happening when you see new leaf growth or feel a gentle resistance when you tug lightly on a stem – it’s time for them to start their independent lives.
Gradually acclimatize them to your garden’s conditions. This means slowly opening the plastic bag or dome over a few days, and then gradually introducing them to more light. Water them regularly, but always allow the top inch of soil to dry out before watering again.
The most common issue you might encounter is rot. If a cutting looks mushy, dark, or just wilts dramatically without any signs of drying out, it’s likely rot. This is often caused by too much moisture and poor air circulation. If you see it, remove the affected cutting immediately to prevent it from spreading.
A Encouraging Closing
Watching those tiny roots emerge and then new leaves unfurl is one of the most satisfying moments in gardening. Be patient with your little Odontites litoralis cuttings. They have their own rhythm, and with a little care and attention, you’ll soon have a whole patch of these beauties to enjoy. Happy propagating!
Resource:
https://identify.plantnet.org/k-world-flora/species/Odontites%20litoralis%20(Fr.)%20Fr./data