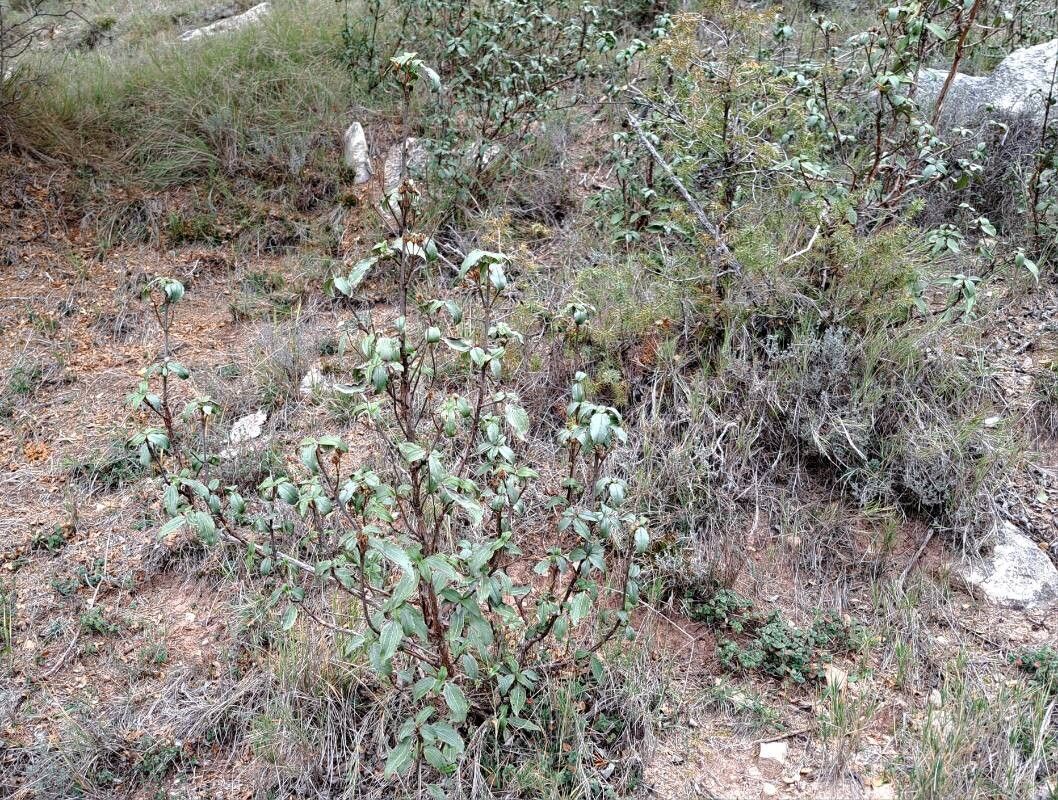
Hello fellow garden enthusiasts! Today, we’re diving into the delightful world of propagating Cistus laurifolius, also known as the Laurel-leaved Cistus or Rock Rose. If you’re drawn to plants that bring a touch of the Mediterranean, with their leathery, glossy leaves and beautiful, fleeting blooms, then you’re in for a treat. Cistus laurifolius is a fantastic shrub that rewards us with resilience and charm. Propagating it is a wonderfully satisfying way to expand your collection or share these beauties with friends. For beginners, I’d say it’s moderately easy, which makes it a great plant to try your hand at!
The Best Time to Start
The sweet spot for taking cuttings of Cistus laurifolius is generally late spring to early summer. When the new growth has started to mature but is still somewhat flexible is ideal. You’re looking for stems that are no longer bright green and sappy but haven’t hardened off completely. This stage offers the best balance of available energy for root development without being too woody.
Supplies You’ll Need
Here’s what you’ll want to have on hand to give your cuttings the best start:
- Sharp pruning shears or a clean knife: For making precise cuts.
- Rooting hormone (optional but recommended): A powder or gel specifically for stimulating root growth.
- Well-draining potting mix: A mix of perlite, coarse sand, and peat moss or coco coir is perfect. Avoid heavy, moisture-retentive soils.
- Small pots or seed trays: With drainage holes, of course!
- A plastic bag or propagation dome: To maintain humidity around the cuttings.
- A spray bottle: For misting.
- Gravel or perlite (for water propagation): To support the cuttings.
Propagation Methods
We’ll focus on the most reliable method for Cistus laurifolius: stem cuttings.
Stem Cuttings:
- Select your parent plant: Choose a healthy, vigorous Cistus laurifolius that isn’t stressed.
- Take your cuttings: Using your clean shears or knife, take cuttings that are about 4 to 6 inches long. Make the cut just below a leaf node (where a leaf attaches to the stem). This is where rooting hormones are most effective.
- Prepare your cuttings: Gently remove the leaves from the bottom half of the cutting. If the remaining leaves are very large, you can tip them in half to reduce water loss through transpiration.
- Apply rooting hormone (optional): Dip the cut end of the stem into your rooting hormone, tapping off any excess.
- Pot them up: Fill your small pots with your well-draining potting mix. Make a small hole in the center of the soil with a pencil or your finger.
- Insert the cuttings: Gently place the hormone-coated end of the cutting into the hole, ensuring at least one leaf node is below the soil surface. Firm the soil gently around the base of the cutting.
- Water and cover: Water the soil thoroughly until it drains from the bottom. Then, place the pot inside a clear plastic bag, sealing it loosely, or cover it with a propagation dome to create a humid environment.
The “Secret Sauce” (Pro Tips)
Here are a few things I’ve learned over the years that can really boost your success rate:
- Don’t let the leaves touch the water (when using water propagation): If you decide to try a water cutting method, which is less common for Cistus but possible, always ensure the leaves stay above the water level. Submerged leaves will rot quickly. A bit of gravel or perlite can help support the stem.
- Consider bottom heat: While not strictly necessary, placing your pots on a gentle heat mat can significantly speed up the rooting process, especially if your home tends to be a bit on the cooler side. It mimics the warmth of spring.
- Humidity is key, but ventilation prevents problems: While you want that humid microclimate created by the bag or dome, open it up for a brief period each day to allow for air circulation. This is crucial for preventing fungal diseases, which can be the downfall of many cuttings.
Aftercare & Troubleshooting
Once your cuttings have developed a good root system – you’ll usually see roots peeking out of the drainage holes or resistance when you gently tug on the cutting – it’s time for a little more attention.
Slowly acclimate your young plants to normal humidity by gradually opening the plastic bag or dome over a week. Continue to keep the soil consistently moist but not waterlogged. Once they are well-established, you can transplant them into slightly larger pots.
The most common sign of failure is rot, where the cutting turns mushy and black. This is usually due to too much moisture and poor drainage, or lack of air circulation. If you see this, sadly, it’s time to discard the cutting and try again, paying closer attention to your watering and ventilation. Yellowing leaves without new growth can sometimes mean they need a bit more light, but be careful not to scorch them.
A Encouraging Closing
Propagating plants is an act of hope and patience. You’re nurturing tiny beginnings into future beauties. Don’t be discouraged if every cutting doesn’t make it. With a little practice and these tips, you’ll soon be enjoying more of the wonderful Cistus laurifolius in your garden. Happy planting!
Resource:
https://identify.plantnet.org/k-world-flora/species/Cistus%20laurifolius%20L./data