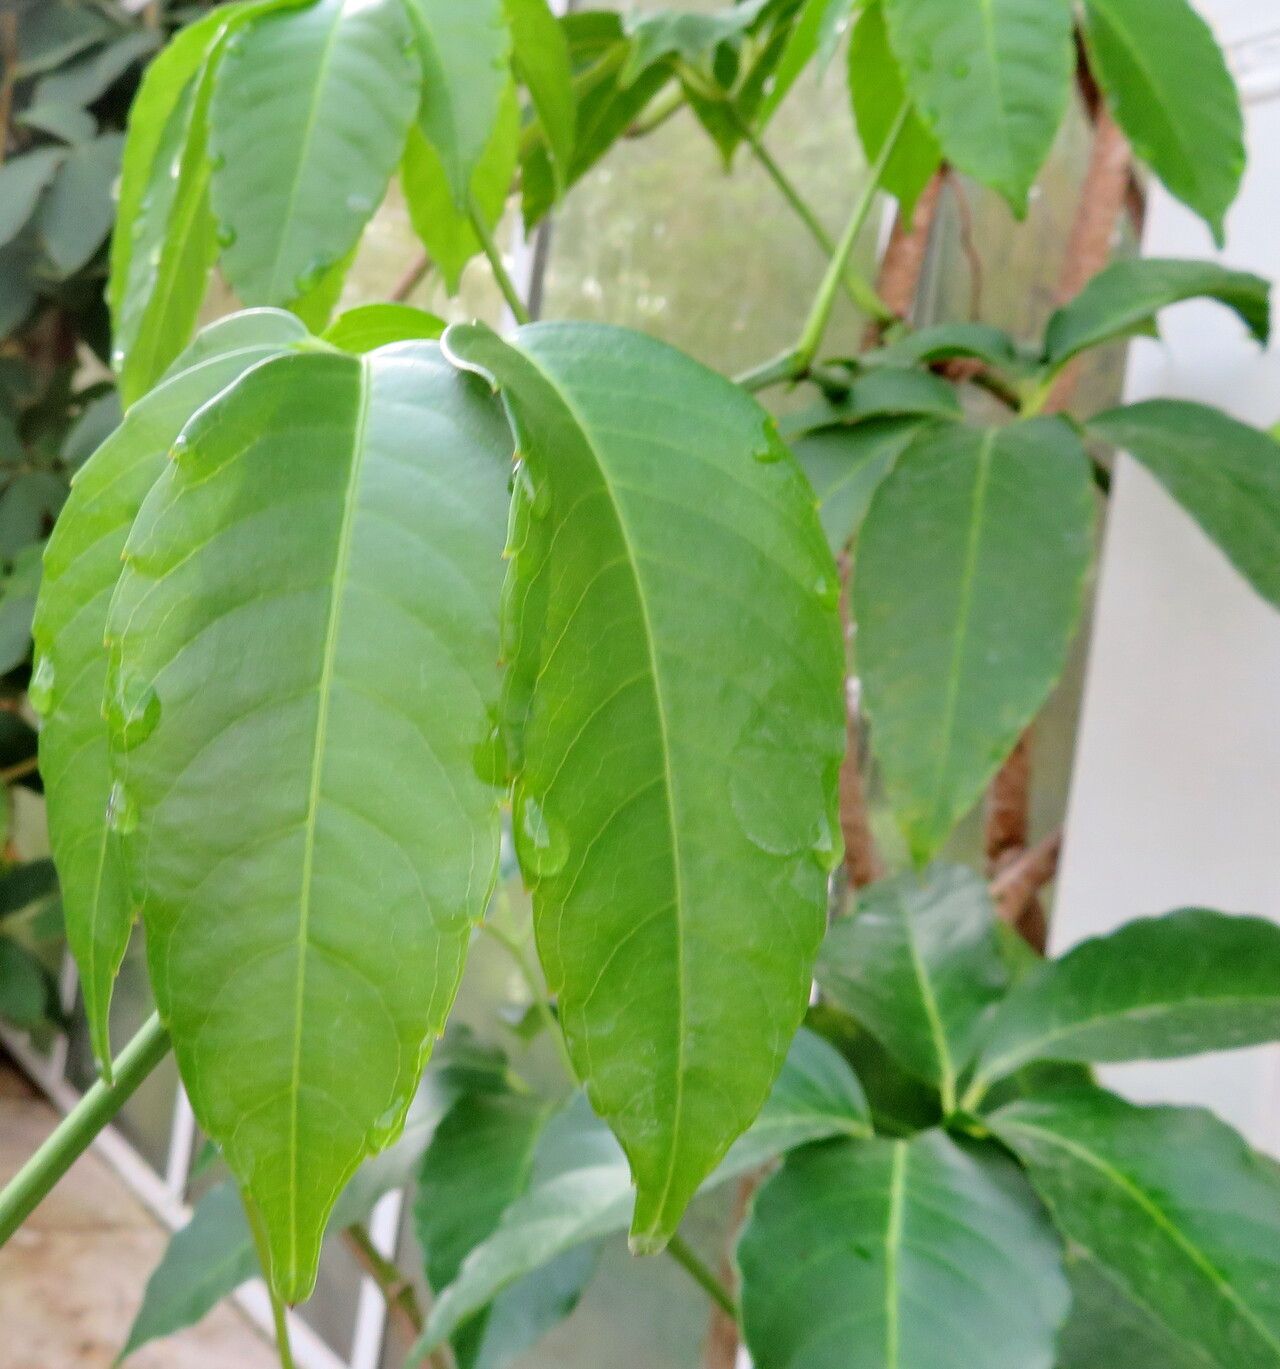
Oh, hello there! Pull up a chair and let’s chat about one of my favorite vine-y treasures: Tetrastigma rumicispermum. If you’ve ever seen this beauty gracing a trellis or cascading from a hanging basket, you know why I’m so smitten. Those heart-shaped leaves, often with an intriguing speckled pattern, add such a lush, tropical vibe to any space. And the best part? Sharing that beauty by propagating it yourself is incredibly satisfying.
Now, for a bit of honesty: Tetrastigma rumicispermum isn’t necessarily a beginner’s first foray into plant propagation. It can be a touch delicate, but don’t let that deter you! With a little care and attention, you’ll absolutely be successful. Think of it as a gentle challenge, a chance to really learn your plant’s needs.
When the Green Light Turns On: The Best Time to Start
For Tetrastigma rumicispermum, the absolute sweet spot for propagation is during its active growing season. This usually means late spring through summer. You’ll want to take cuttings from healthy, vigorous stems that are neither brand-new, soft growth nor old, woody material. Look for stems that are firm but still pliable, often referred to as “semi-hardwood” cuttings. This is when the plant has the most energy to invest in new root development.
Your Propagation Toolkit
Gathering your supplies beforehand makes the whole process smoother. Here’s what you’ll want on hand:
- Sharp Pruning Shears or a Clean Knife: For making clean cuts, which really help prevent disease.
- Rooting Hormone: This isn’t strictly essential for all plants, but it can significantly boost your success rate with trickier ones like this. I prefer a powder or gel.
- Potting Mix: A well-draining, sterile potting mix is key. I often use a blend of equal parts peat moss (or coco coir), perlite, and a bit of coarse sand. Or, look for a good quality “seed starting mix.”
- Small Pots or Propagation Tray: Clean, small pots (2-4 inches) or a propagation tray with good drainage holes work wonderfully.
- Clear Plastic Bag or Humidity Dome: To create a mini-greenhouse effect.
- Watering Can with a Fine Rose: For gentle watering.
Bringing New Life: Propagation Methods
I’ve found the most reliable method for Tetrastigma rumicispermum is stem cuttings. It’s straightforward and typically yields great results.
Stem Cuttings:
- Select Your Stem: Find a healthy, non-flowering stem on your mature plant and take a cutting about 4-6 inches long. Make your cut just below a leaf node – that little bump where a leaf emerges from the stem. This is where the magic of root development happens!
- Prepare the Cutting: Gently remove any lower leaves from the cutting, leaving just a couple of leaves at the top. If the remaining leaves are very large, you can carefully cut them in half to reduce water loss through transpiration.
- Apply Rooting Hormone (Optional but Recommended): Dip the cut end of the stem into your rooting hormone, coating about an inch or so. Tap off any excess.
- Potting Up: Fill your small pots or propagation tray with your prepared potting mix. Make a hole in the center of the mix with your finger or a pencil.
- Plant the Cutting: Insert the prepared end of the cutting into the hole, ensuring at least one leaf node is below the surface of the soil. Gently firm the soil around the cutting to ensure good contact.
- Water Gently: Water the soil thoroughly but gently, making sure not to dislodge the cutting.
- Create Humidity: Place the pot or tray into a clear plastic bag, securing it loosely around the pot, or cover it with a humidity dome. This traps moisture and creates a humid environment that encourages rooting.
- Find a Cozy Spot: Place your propagation setup in a bright, indirect light location. Avoid direct sunlight, which can scorch the tiny cuttings. A spot on a windowsill that doesn’t get hot afternoon sun is perfect.
The “Secret Sauce”: My Insider Tips
Here are a few things I’ve learned over the years that make a difference with these lovely vines:
- Don’t Let the Leaves Touch the Water (If Water Propagating): While I prefer soil propagation for Tetrastigma, if you ever decide to try water propagation, make sure absolutely no leaves are submerged. Any foliage in water will quickly rot and can take your cutting down with it.
- Bottom Heat is Your Friend: Especially if your propagation spot tends to be a bit cooler, a gentle bottom heat mat can work wonders. It encourages root growth from below and significantly speeds up the process. You can find these at most garden centers.
- Mist, But Don’t Drench: The plastic bag or dome will help, but occasionally, especially in drier homes, you can lightly mist the leaves of your cuttings. Just a light spritz is all they need to stay hydrated. You don’t want water pooling on the leaves or in the pot.
Welcoming New Roots & What to Watch For
This is the exciting part! After about 4-8 weeks, you should start seeing signs of new growth. You might see tiny new leaves unfurling, or if you gently tug on the cutting, you’ll feel resistance, indicating roots have formed.
Once you see good root development, it’s time to slowly acclimate your new plant to life outside the humidity dome. Gradually lift the bag or dome for longer periods over a week or so. Water when the top inch of soil feels dry. Keep it in that bright, indirect light. You can then pot it up into a slightly larger container when it’s outgrown its starter pot.
Now, what if things don’t go as planned? The most common issue is rot. This usually happens from overwatering or poor drainage, or if cuttings are allowed to sit in stagnant water. If your cutting turns mushy, black, or just generally slimy, sadly, it’s probably beyond saving. Don’t be disheartened! Sometimes, it takes a few tries. Simply discard the rotted cutting and start fresh with a new one.
Enjoy the Journey!
Propagating plants is a wonderfully rewarding process, a chance to connect with nature and expand your plant family. Be patient with your Tetrastigma rumicispermum cuttings. Some take their time, but when those first roots appear, and your new plant begins to thrive, the satisfaction is immense. Happy propagating, and may your collection bloom!
Resource: