Oh, hello there! Come on in, let’s grab a cuppa and chat about creating more of those lovely Launaea intybacea plants. I’ve been growing and teaching about plants for two decades now, and there’s just something so joyful about coaxing new life from an existing one.
Why Grow Launaea Intybacea?
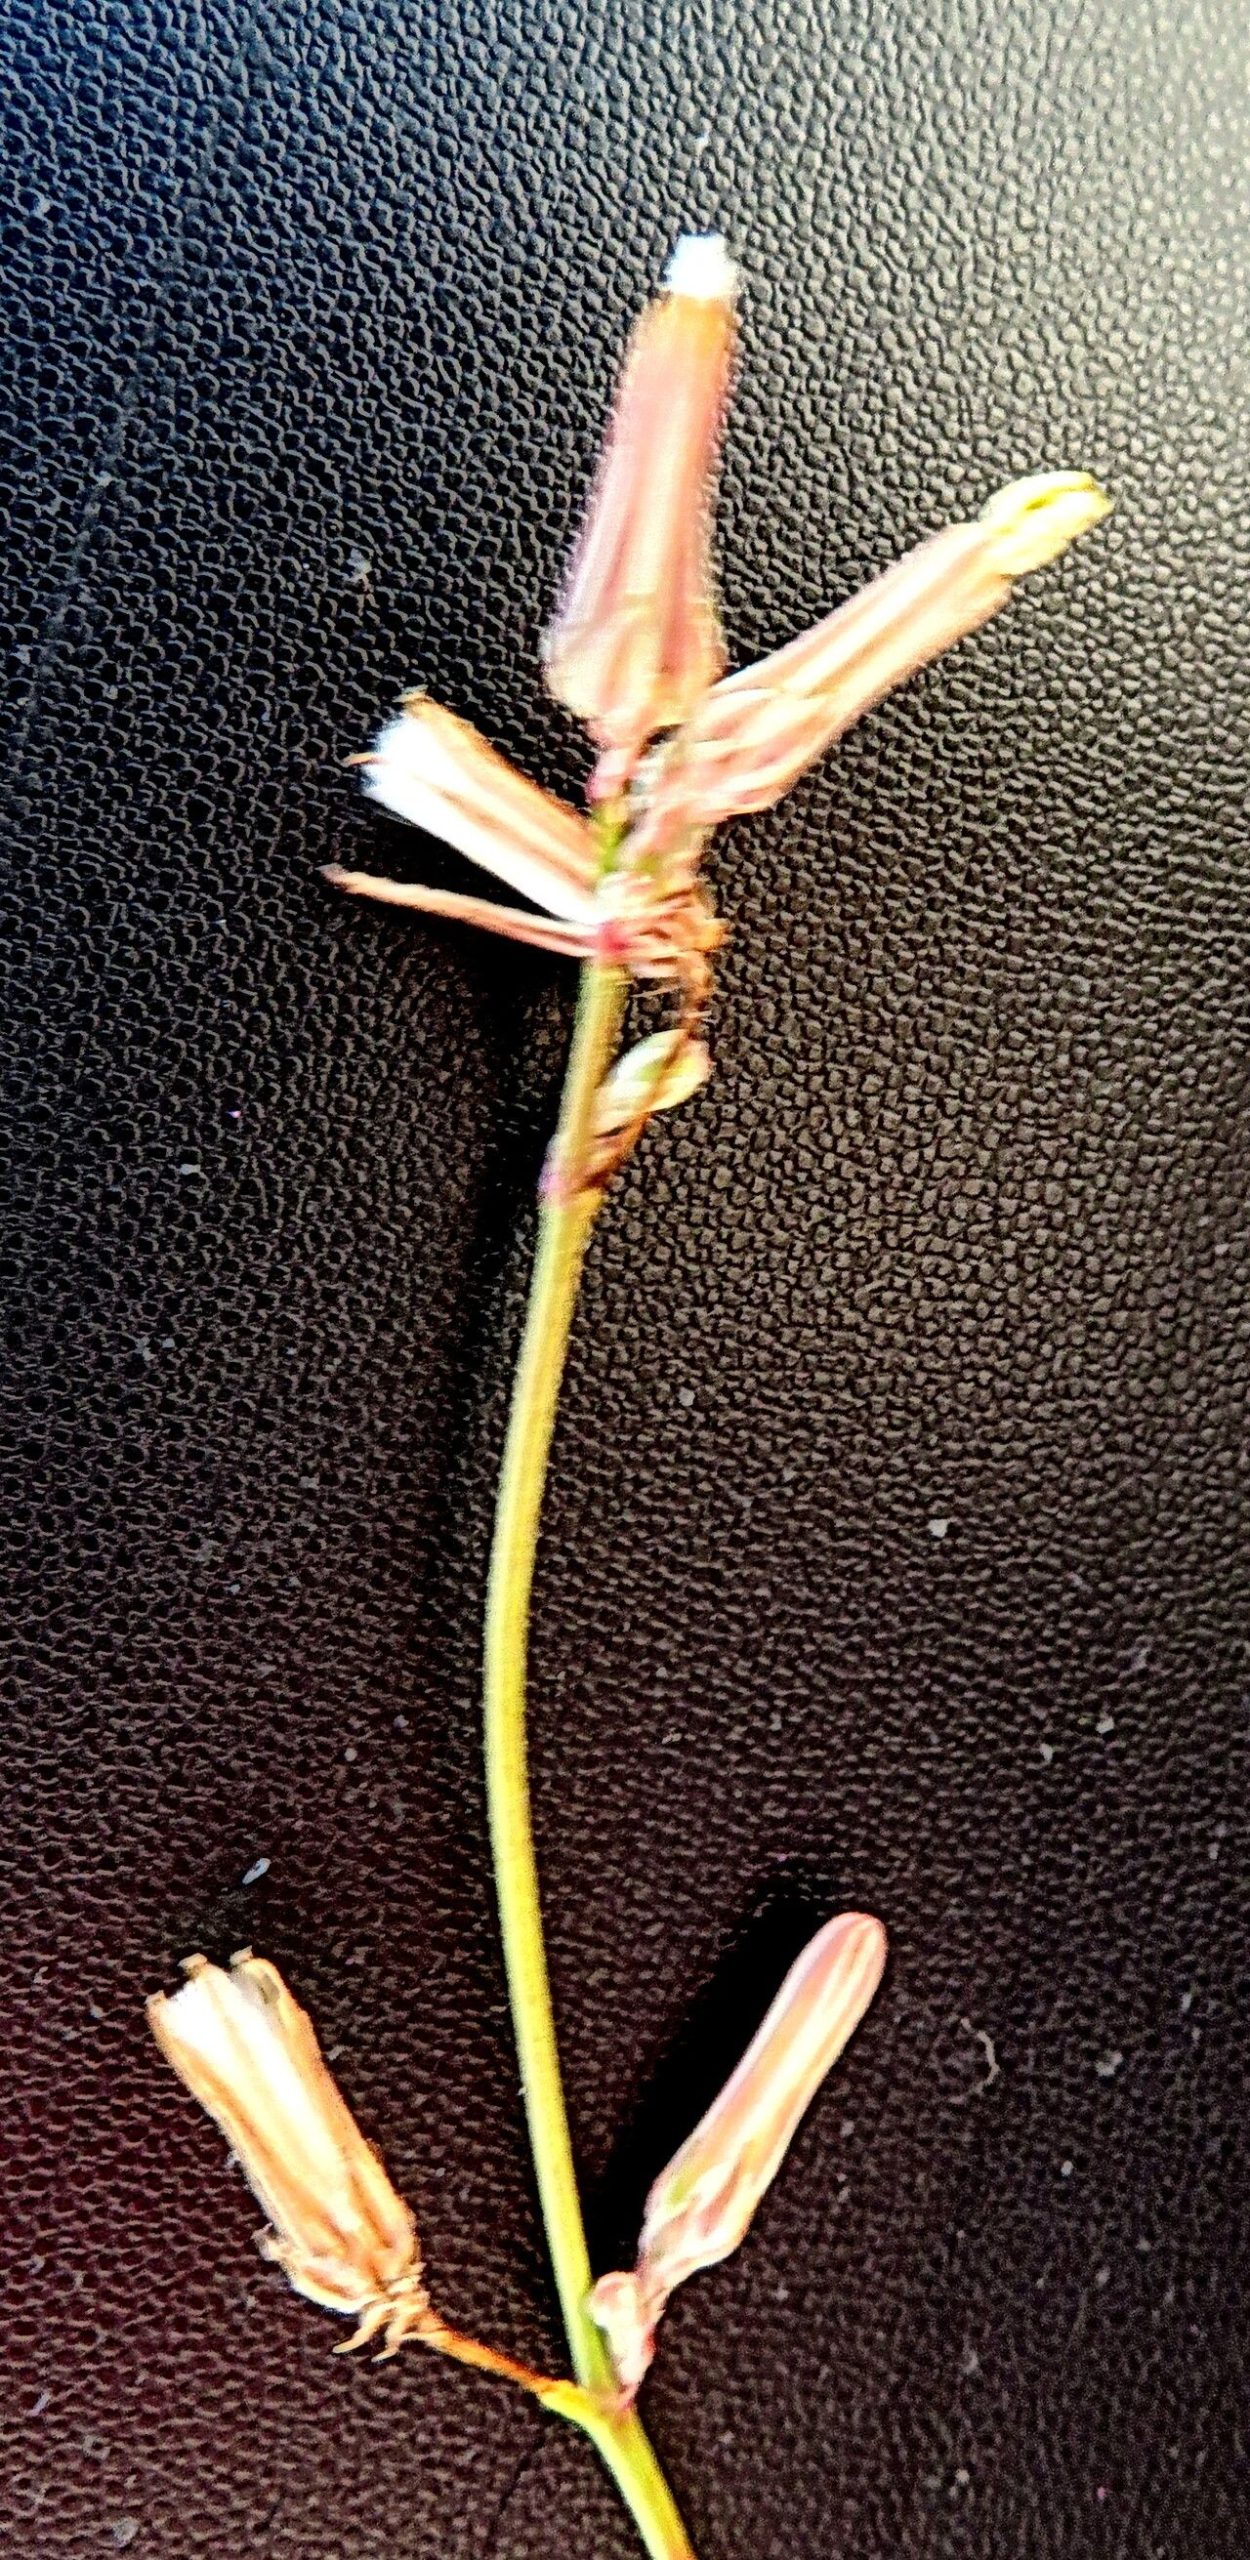
You know, Launaea intybacea, often called Wild Lettuce, is such an interesting plant. It’s got this wild, untamed beauty that brings a bit of natural charm to any garden or even a sunny windowsill. Plus, it’s not just pretty; it’s quite hardy too, which is always a bonus in my book! Propagating it yourself? That’s a deeply satisfying way to fill your garden or share with friends. For beginners, I wouldn’t call it super challenging, but it definitely rewards a little bit of attention and understanding.
The Best Time to Start
When it comes to getting the best results, I find springtime is absolutely your best bet. Think of it as the plant waking up after its winter nap. Early spring, when the days are getting longer and the temperatures are steadily warming up but before the intense heat of summer, is when Launaea intybacea is putting on its best growth spurt. This vigorous energy translates into successful propagation.
Supplies You’ll Need
Before we dive in, let’s get our tools ready. Think of this as packing for a little adventure!
- Sharp Pruning Shears or a Knife: Cleanliness is key here to prevent disease.
- Rooting Hormone (Optional but Recommended): A little boost can make a big difference. Look for one formulated for stem cuttings.
- Well-Draining Potting Mix: A good blend is crucial. I like to use a mix of peat moss or coco coir, perlite, and a bit of compost.
- Small Pots or Seed Starting Trays: Whatever you have on hand will work, just make sure they have drainage holes.
- Watering Can or Spray Bottle: For gentle watering.
- Plastic Bag or Cling Film: To create a humid environment for cuttings.
- Labels and a Pen: To keep track of what you’ve planted and when.
Propagation Methods: Simple Steps to Success
I find Launaea intybacea is quite amenable to a few different methods. Let’s focus on the most reliable ones:
Stem Cuttings: The Classic Approach
This is my go-to for Launaea intybacea.
- Choose Your Mother Plant: Select a healthy, vigorous plant. Look for stems that are not flowering, as these tend to root better.
- Take Your Cuttings: Using your clean pruning shears or knife, cut sections of stem that are about 4-6 inches long. Make your cut just below a leaf node (where a leaf attaches to the stem).
- Prepare the Cuttings: Gently remove the lower leaves from each cutting, leaving just a couple of leaves at the very top. This prevents them from rotting in the soil and encourages root development. If the leaves at the top are very large, you can even snip them in half.
- Apply Rooting Hormone (if using): Dip the cut end of each stem into the rooting hormone powder. Tap off any excess.
- Plant Your Cuttings: Fill your small pots or trays with your prepared, damp potting mix. Make a hole with your finger or a pencil and insert the cutting, ensuring the bottom leaf nodes are buried. Gently firm the soil around the stem.
- Create a Humid Environment: Water the soil gently. Then, cover the pot or tray with a plastic bag or cling film, making sure it doesn’t touch the leaves too much. You can use sticks to prop it up if needed. This traps humidity, which is vital for rooting.
- Provide Light and Warmth: Place your cuttings in a bright location, but out of direct sunlight. A warm spot is also beneficial.
Water Propagation: Watching Roots Grow
This method is almost magical to watch!
- Select and Cut: Follow steps 1 and 2 from the stem cutting method.
- Remove Lower Leaves: Just like before, strip off the lower leaves.
- Place in Water: Find a clean jar or vase and fill it with fresh, room-temperature water. Place your cuttings in the water, ensuring that no leaves are submerged.
- Change Water Regularly: This is crucial! Change the water every 2-3 days to keep it fresh and prevent bacterial growth.
- Find a Good Spot: Place the jar in a bright, indirect light location.
The “Secret Sauce”: Insider Tips
Now, for a couple of tricks I’ve picked up over the years that can really help your Launaea intybacea cuttings thrive:
- Don’t Let Leaves Touch the Water (in water propagation): I cannot stress this enough. Any leaves that dip below the waterline are a direct invitation for rot. They’ll break down, foul the water, and can infect your cutting. Be ruthless with those lower leaves!
- Bottom Heat is Your Friend (for stem cuttings): If you have a heat mat designed for seedlings or propagation, use it! Placing your pots on a gentle heat source encourages root development much faster. It mimics the warmth of spring soil and really gives your cuttings a head start. You don’t want it too hot, just a gentle warmth.
Aftercare & Troubleshooting
Once you start seeing signs of life – tiny roots emerging from the bottom of the pot or new growth on the cutting – it’s time for a little gentle transition.
- For Cuttings in Soil: When the roots have developed sufficiently (you might see them peeking through the drainage holes or feel a gentle resistance when you tug lightly), it’s time to gradually decrease the humidity. Start by opening the plastic bag for a few hours each day. Once they’re looking robust, you can remove the cover completely. Continue watering as needed, keeping the soil consistently moist but not waterlogged. Move them to a larger pot when they’ve outgrown their starter ones.
- For Cuttings in Water: Once you have a nice cluster of roots, about an inch or two long, it’s time to transplant them into soil. Gently pot them up in your well-draining mix, water them in, and give them a few weeks to acclimate before treating them like a mature plant.
- Troubleshooting: The most common issue is rot. If your stem cutting turns mushy, black, or just plain sad, it’s likely rotted. This often happens due to too much moisture, poor air circulation, or not changing the water frequently enough for water propagation. If you catch it early, you might be able to cut away the rotted part and try again with a fresh cutting. Wilting can also happen if the cutting is too dry or if it’s in direct, harsh sunlight. Adjust your watering and light conditions accordingly.
Keep Growing!
Propagating plants is a journey, and like any good adventure, it has its moments. Don’t get discouraged if a cutting doesn’t take. Every attempt is a learning experience. Be patient, be observant, and most importantly, enjoy the process of bringing new Launaea intybacea into your world. Happy gardening!
Resource:
https://identify.plantnet.org/k-world-flora/species/Launaea%20intybacea%20(Jacq.)%20Beauverd/data