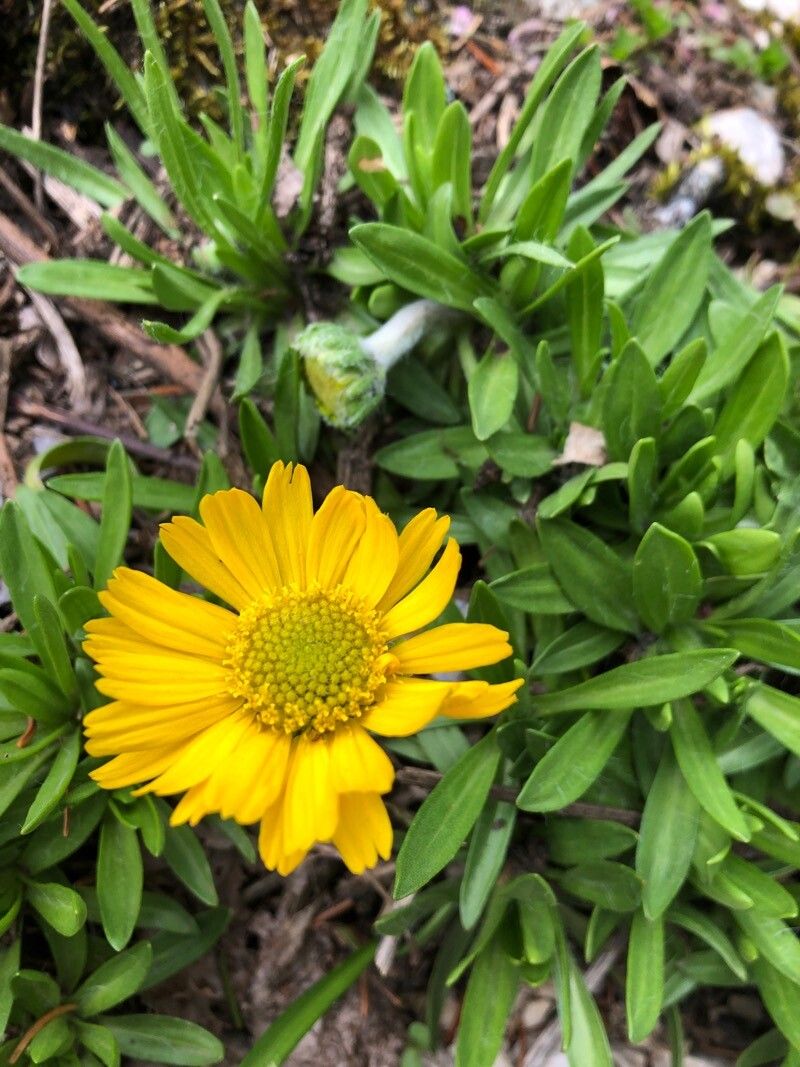
Hey there, fellow garden enthusiasts! I’m so excited to talk to you today about a little marvel I’ve been nurturing for years: Tetraneuris herbacea, or what many of us affectionately call Snow-in-Summer. If you’re looking for a plant that brings delicate, airy beauty to your garden beds, with those charming white, daisy-like flowers that seem to carpet the ground, you’ve found it. And guess what? Propagating it is a deeply satisfying way to fill your space with even more of this delightful bloom. For beginners, I’d say Tetraneuris is moderately easy to propagate, but with a few pointers, you’ll be a pro in no time!
The Best Time to Start
I’ve found the sweet spot for propagating Tetraneuris herbacea is in late spring to early summer. This is when the plant is actively growing and has plenty of energy stored up. You’re looking for new, non-woody growth – those bright green, flexible stems are your ticket to success. Avoid taking cuttings from old, woody stems or when the plant is stressed, like during a heatwave.
Supplies You’ll Need
Before we get our hands dirty, let’s gather our trusty tools:
- Sharp Pruning Shears or a Craft Knife: Clean cuts are key!
- Rooting Hormone (Optional but Recommended): A dab can give your cuttings a significant boost.
- Well-Draining Potting Mix: I like a mix of equal parts peat moss, perlite, and horticultural sand. Some gardeners swear by a specific succulent mix too.
- Small Pots or Seedling Trays: Clean ones are a must.
- Plastic Bags or a Propagator Lid: To create a humid environment.
- Watering Can or Spray Bottle: For gentle watering.
- Labels and a Marker: Don’t forget to label your creations!
Propagation Methods
Tetraneuris herbacea is wonderfully versatile, but I find stem cuttings to be the most reliable and straightforward method.
Stem Cuttings:
- Select Your Cuttings: Wander out to your Tetraneuris and look for those vibrant, healthy stems. You want pieces that are about 4-6 inches long.
- Make the Cut: Using your clean pruning shears or craft knife, make a clean, angled cut just below a leaf node. A leaf node is where a leaf attaches to the stem; this is where roots are most likely to form.
- Prepare the Cutting: Gently remove the lower leaves from your cutting. You want about 2-3 inches of bare stem at the bottom. This prevents leaves from rotting in the soil. If your cutting is very leafy, you can pinch off some of the upper leaves too, just to reduce water loss.
- Apply Rooting Hormone (Optional): If you’re using rooting hormone, dip the cut end of the stem into the powder or gel, tapping off any excess. This step isn’t strictly essential for Tetraneuris, but it does seem to speed things up for me.
- Plant Your Cuttings: Fill your pots or trays with your well-draining potting mix. Make a small hole in the center with your finger or a pencil. Insert the cut end of your Tetraneuris cutting into the hole, making sure the leaf nodes are buried. Gently firm the soil around the stem.
- Water Gently: Give your newly potted cuttings a light watering. You want the soil to be moist, but definitely not soggy. A spray bottle is great for this initial watering.
- Create Humidity: Cover the pots with a clear plastic bag or place them under a propagator lid. This creates a mini-greenhouse effect, keeping the humidity high, which is crucial for cuttings as they haven’t developed roots to take up water yet. Make sure the leaves aren’t touching the plastic if possible.
The “Secret Sauce” (Pro Tips)
Now for a few little tricks I’ve learned along the way:
- Don’t Overwater! This is probably the most common mistake. I check the soil by gently poking my finger into it. If it feels dry an inch down, it’s time for a careful watering. Soggy soil is a fast track to rot for cuttings.
- Bottom Heat is Your Friend: If you have a seedling heat mat, place your pots on it. This gentle warmth encourages root development from below, even if your room temperature is a little cooler. It makes a noticeable difference!
- Watch for Signs of Stress: If the leaves on your cuttings start to look yellow or limp, don’t panic immediately. If the soil is moist, it might just be settling in. But if they turn mushy or brown, you might have a rot issue, and it’s best to discard that cutting and try again with drier conditions.
Aftercare & Troubleshooting
Be patient! It can take 3-6 weeks for your Tetraneuris cuttings to develop a good root system. You’ll know they’re ready when you gently tug on them and feel a bit of resistance. You might also start to see new growth appearing at the tip.
Once rooted, you can gradually acclimate them to lower humidity by opening the plastic bag a little bit each day over a week. Then, transplant them into their own individual pots with fresh potting mix. Keep them consistently moist but not waterlogged.
The biggest troubleshooting issue you’ll encounter is rot. If you see mushy, dark stems, or the whole cutting has dissolved into goo, it’s a sign of too much moisture and not enough air circulation. Make sure your soil is airy and your watering is judicious.
Happy Propagating!
Don’t be discouraged if your first few attempts aren’t perfect. Gardening is all about learning and adapting. Take joy in the process, the feel of the soil, and the anticipation of new life. Soon, you’ll have a whole army of Tetraneuris herbacea to share with friends or simply to enjoy in your own garden. Happy planting!
Resource:
https://identify.plantnet.org/k-world-flora/species/Tetraneuris%20herbacea%20Greene/data