Oh, hello there! Come on in, grab a mug. It’s lovely to chat about plants with you. Today, we’re diving into the delightful world of Elatostema rugosum.
Welcome to the Wonderful World of Elatostema rugosum!
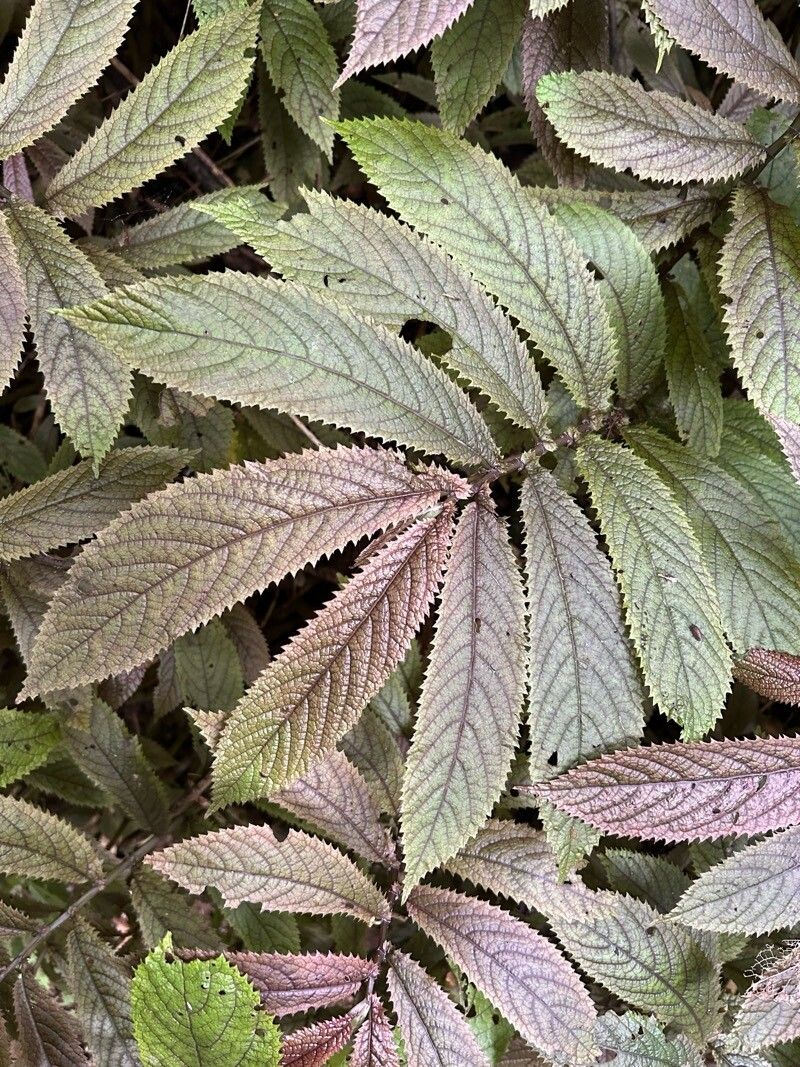
You know those plants that just have a certain je ne sais quoi? That’s Elatostema rugosum for me. Its crinkled, almost metallic-looking leaves and its lush, cascading habit make it a real showstopper. It’s the kind of plant that makes you pause and just admire its texture. And the best part? It’s surprisingly rewarding to propagate! If you’re a beginner looking to dip your toes into plant propagation, I think you’ll find Elatostema rugosum to be a friendly and generous teacher.
When to Get Your Hands Dirty
For the highest success rates, I always recommend propagating Elatostema rugosum during its active growing season. This typically means late spring through summer. During this time, the plant is full of energy, and cuttings will have the best chance of rooting before the cooler days arrive. You can also take cuttings in early autumn, but the process might be a little slower.
Your Propagation Toolkit
Before we get started, let’s gather our supplies. Having everything ready makes the whole process so much smoother.
- Sharp Pruning Shears or a Clean Knife: For taking clean cuts.
- Rooting Hormone (Optional but Recommended): A powder or gel formulated for stem cuttings.
- Well-Draining Potting Mix: A good blend for us is usually 1 part peat moss, 1 part perlite, and 1 part vermiculite. Some growers use a lighter mix with more perlite.
- Small Pots or Seedling Trays: Clean ones are crucial!
- Watering Can with a Gentle Rose or Spray Bottle: To avoid disturbing your new cuttings.
- Plastic Bag or Cling Film: To create a mini-greenhouse for your cuttings.
- Chopstick or Pencil: For making holes to insert your cuttings.
Bringing New Life: Propagation Methods
Elatostema rugosum is quite obliging when it comes to propagation. I find two methods work wonders for this plant.
1. Stem Cuttings: The Most Reliable Way
This is my go-to method for Elatostema rugosum. It’s straightforward and yields excellent results.
- Take Your Cuttings: Using your sharp shears, select healthy, non-flowering stems. Look for stems that are actively growing. Cut a piece that’s about 4-6 inches long, just below a leaf node (where a leaf emerges from the stem).
- Prepare the Cuttings: Gently remove the lower leaves from the cutting, leaving 2-3 leaves at the top. This will help prevent them from rotting in the soil.
- Apply Rooting Hormone (Optional): Dip the cut end of the stem into rooting hormone, tapping off any excess.
- Plant Your Cuttings: Fill your small pots or trays with your prepared potting mix and lightly moisten it. Using a chopstick or pencil, make a hole deep enough for the cutting to sit comfortably. Insert the cutting into the hole and gently firm the soil around it.
- Create a Humid Environment: Water the soil gently and then cover the pot or tray with a plastic bag or cling film. You can use stakes to keep the plastic from touching the leaves directly. Place it in a bright spot, but out of direct sunlight.
2. Water Propagation: A Visible Journey
If you love watching roots develop, water propagation is your friend. It’s a bit more visual and can be quite satisfying.
- Take and Prepare Cuttings: Follow steps 1 and 2 from the stem cutting method.
- Place in Water: Put your prepared cuttings into a clean glass or jar filled with clean water. Make sure you only submerge the portion of the stem, not the leaves.
- Find the Right Spot: Place the container in a bright location out of direct sun.
- Change the Water Regularly: Change the water every few days to keep it fresh and prevent bacterial growth.
- Watch for Roots: You’ll start to see tiny white roots emerge from the nodes. Once the roots are about an inch long, it’s time to transplant them into soil.
- Pot Them Up: Gently pot your rooted cuttings into their own small pots with well-draining soil, treating them as you would a newly transplanted seedling.
The “Secret Sauce” – My Insider Tips
Over the years, I’ve learned a few little tricks that can make a big difference.
- Friction is Your Friend (with care!): When you take stem cuttings, don’t be afraid to gently scrape away a sliver of the outer bark at the very bottom of the stem. This exposes the cambium layer, which can actually encourage faster rooting. Just a tiny bit, mind you!
- Bottom Heat is a Game Changer: If you have the option, placing your pots on a heat mat designed for seedlings can dramatically speed up the rooting process. It mimics the warmth of spring soil and gives those developing roots a cozy place to grow.
- Cleanliness is Next to Godliness: I can’t stress this enough. Sterilize your tools and pots before you start. This prevents any diseases or fungal issues from taking hold and sabotaging your efforts. A little bleach solution or rubbing alcohol goes a long way.
Aftercare and Troubleshooting
Once you see signs of new growth or roots poking out the bottom of the pot, congratulations! You’ve successfully propagated!
- Gradual Acclimation: If you used a plastic bag, gradually remove it over a few days to help the new plant acclimatize to normal humidity levels.
- Watering: Water your new plants when the top inch of soil feels dry. Avoid overwatering, as this is a common pitfall.
- Light: Keep them in bright, indirect light while they establish.
Now, what if things don’t go as planned? The most common issue you might encounter is rot. If you see your cutting turning mushy or black, unfortunately, it’s probably beyond saving. This usually happens from too much moisture, poor air circulation, or using unsterilized tools. The best course of action is to discard the rotted cutting and try again, perhaps adjusting your watering schedule or ensuring better air flow. Another sign of distress is wilting. If a cutting wilts and doesn’t perk up when watered, it might not have rooted yet or the conditions aren’t quite right.
Keep Growing!
Propagating Elatostema rugosum is such a rewarding experience. It’s a wonderful way to multiply your collection and share these beautiful plants with friends. Remember to be patient, observe your cuttings, and don’t be discouraged if you have a few failures along the way. Every gardener, myself included, has had plants that didn’t make it. Just keep trying, learn from each attempt, and most importantly, enjoy the journey of nurturing new life. Happy propagating!
Resource:
https://identify.plantnet.org/k-world-flora/species/Elatostema%20rugosum%20A.Cunn./data