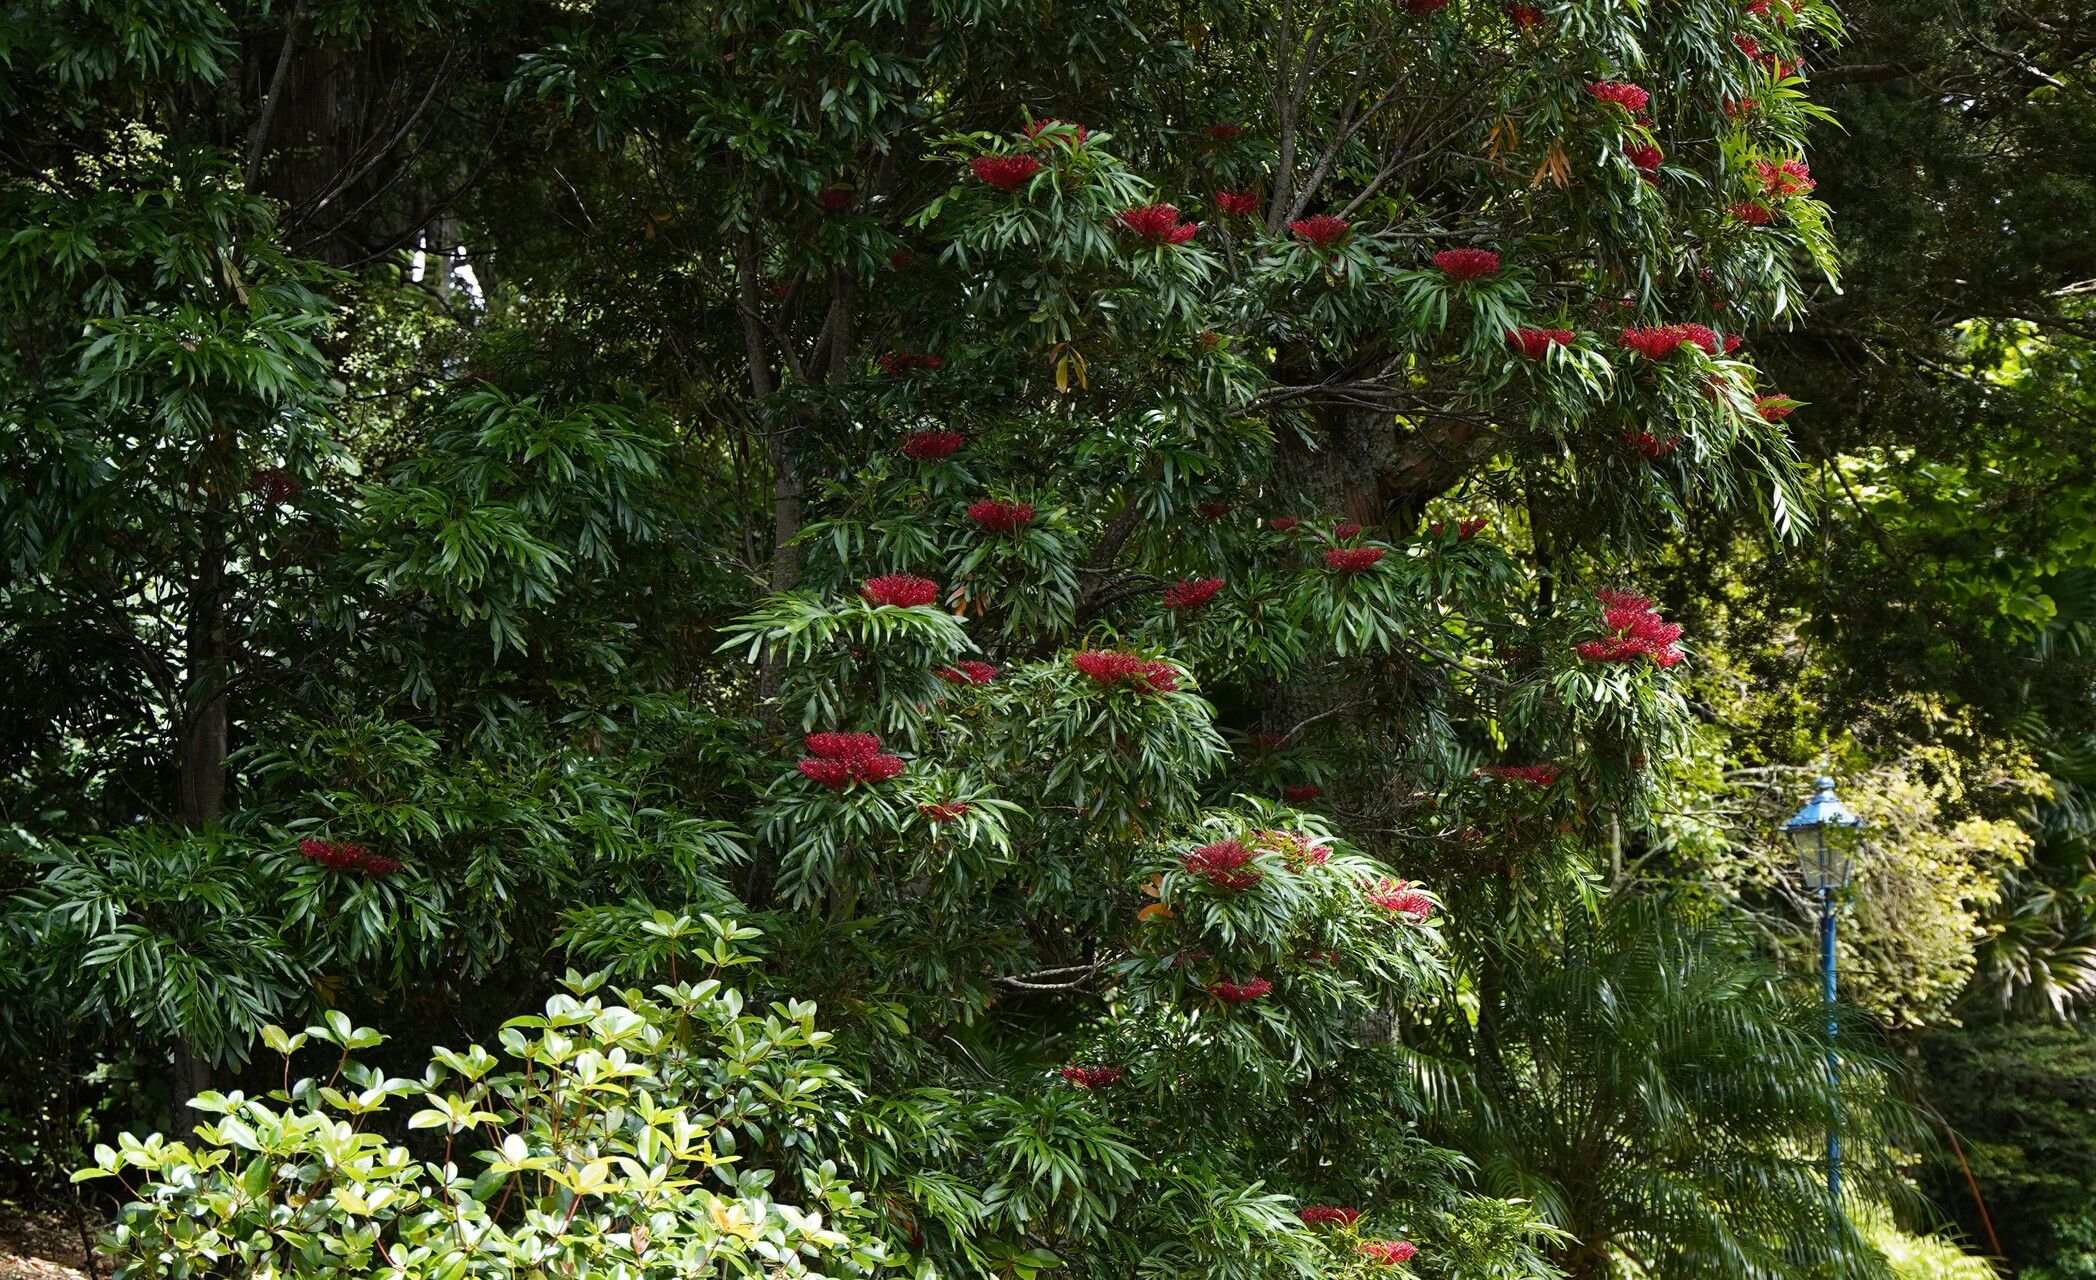
Hello fellow plant lovers! I’m so excited to chat with you today about a truly spectacular plant: the Alloxylon flammeum, or as many of us affectionately call it, the Dwarf Firewheel Tree. If you’ve ever seen photos, you know why. Those brilliant, fiery red bottlebrush flowers are simply breathtaking, attracting all sorts of delightful pollinators.
There’s a special kind of joy in creating a new plant from an existing one, isn’t there? It’s like holding a little piece of hope in your hands. Propagating the Dwarf Firewheel Tree is incredibly rewarding, allowing you to share its beauty or simply expand your own collection. Now, for the good news: while it might sound a bit exotic, propagating Alloxylon flammeum is quite achievable, even for those who are newer to the plant parent world. You’ve got this!
The Best Time to Start
Generally, the spring and early summer months are your best bet. This is when your Alloxylon flammeum is actively growing and has plenty of energy to throw into developing new roots. Look for semi-hardwood cuttings – that is, stems that are no longer bright green and soft, but not yet woody and hard. They’ll typically snap cleanly when bent, rather than just bending limply.
Supplies You’ll Need
Before we get our hands dirty, let’s gather our toolkit:
- Sharp Pruning Shears or a Clean Knife: For making clean cuts.
- Rooting Hormone: A powder or gel to give your cuttings a little boost.
- A Well-Draining Potting Mix: I like a blend of equal parts peat moss or coco coir and perlite. You can also use a commercial seed-starting or propagation mix.
- Small Pots or Propagation Trays: Clean ones are key!
- Plastic Bags or a Humidome: To create a humid environment for your cuttings.
- Water: For watering your cuttings and washing your tools.
- Labels: Trust me, you’ll want to label your endeavors!
Propagation Methods
The most reliable way to propagate Alloxylon flammeum at home is through stem cuttings. It’s straightforward and has a great success rate.
Stem Cuttings:
- Take your cuttings: On a pleasant spring morning, select a healthy, non-flowering stem. Using your clean shears or knife, take a cutting about 4-6 inches long. Make the cut just below a leaf node – that’s where the leaves attach to the stem.
- Prepare the cutting: Gently remove the leaves from the bottom half of the cutting. You want to expose the nodes, as this is where the roots will emerge. Leave a couple of leaves at the top to help with photosynthesis. If the remaining leaves are very large, you can carefully trim them in half to reduce water loss.
- Dip in rooting hormone: Lightly moisten the cut end of the stem with water, and then dip it into your rooting hormone, tapping off any excess.
- Plant your cuttings: Fill your small pots or trays with your prepared potting mix. Make a hole in the center with your finger or a pencil. Insert the cutting into the hole, ensuring the nodes are buried in the soil. Gently firm the soil around the base of the cutting.
- Water and cover: Water thoroughly until you see water drain from the bottom of the pot. Now, carefully cover the pot with a plastic bag or place it inside a clear plastic propagator. This will create a mini-greenhouse effect, keeping the humidity high, which is crucial for root development.
The “Secret Sauce” (Pro Tips)
Here are a few little tricks I’ve learned over the years that can really make a difference:
- Bottom Heat is Your Friend: Alloxylon flammeum loves a bit of warmth at its roots. Placing your pots on a gentle heating mat designed for seedlings can significantly speed up root formation. Just a slight warmth, not hot!
- Don’t Let Water Sit: If you’re doing a very basic water propagation (though I find soil is more reliable for this plant), change the water every few days and absolutely don’t let the leaves touch the water. This prevents rot.
- Cleanliness is Next to Rootiness: I can’t stress this enough: sterilize your tools and pots before you start. Fungus and bacteria are the enemies of baby plants. A quick dip in diluted bleach or even just a good scrub with hot, soapy water can make all the difference.
Aftercare & Troubleshooting
Once your cuttings have successfully rooted – and you’ll know because they’ll resist a gentle tug and you might even see new leaf growth – it’s time for a little extra care.
Transplanting: Carefully transplant your rooted cuttings into slightly larger pots with a good quality potting mix. Continue to keep them in a bright, but indirect light.
Watering: Water when the top inch of soil feels dry. Avoid waterlogging.
Troubleshooting: The most common culprit for failure is rot. If your cutting turns mushy, blackens, or simply wilts away, it’s likely due to too much moisture and not enough air circulation, or a fungal infection. Overwatering is almost always the cause. If you see signs of rot, it’s usually best to discard the affected cutting to prevent it from spreading. Don’t be discouraged if your first few attempts don’t work out. Gardening is a journey of learning!
And there you have it! Propagating your own Alloxylon flammeum is a deeply satisfying experience. Be patient with your new little ones. They take their time, but the reward of seeing them grow and flourish is absolutely worth the wait. Happy propagating!
Resource: