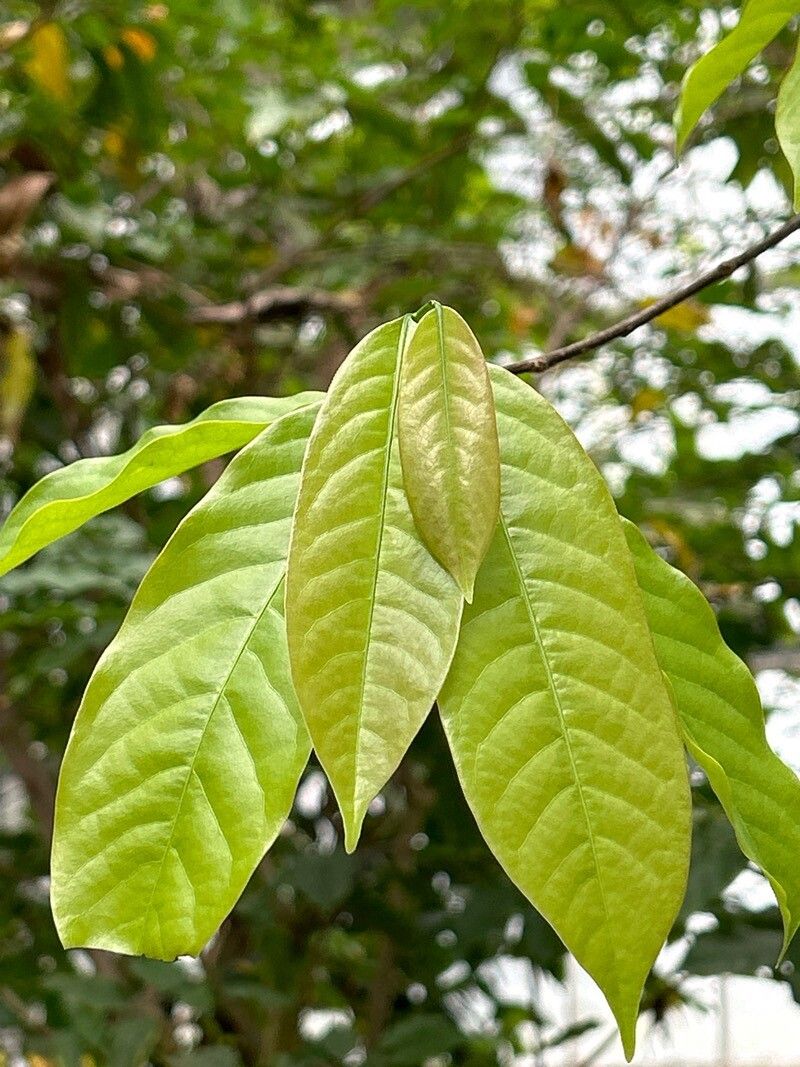
Hello fellow plant enthusiasts! Today, I want to chat about a plant that truly captures my heart: Monodora tenuifolia. You might know it by its common name, the “African Nutmeg” or “False Nutmeg,” and let me tell you, it’s a marvel. The delicate, almost orchid-like flowers are just breathtaking, and the subtle, spicy fragrance it emits is utterly enchanting. Growing a Monodora from scratch is such a rewarding journey, a true testament to nature’s magic. Now, I’ll be honest, for absolute beginners, Monodora tenuifolia can be a bit of a challenge. It’s not quite as straightforward as a pothos, but with a little patience and the right guidance, I promise you, it’s entirely achievable!
The Best Time to Start
My experience shows that the absolute best time to attempt propagation for Monodora tenuifolia is during its active growing season. For most of us, this means late spring through early summer. This is when the plant is brimming with energy, pushing out new growth, and is therefore more receptive to taking root. You’ll want to select stems that are neither brand new and tender nor old and woody. Look for that sweet spot – a slightly mature stem that has hardened off a bit but still shows vigor.
Supplies You’ll Need
To give your Monodora cuttings the best chance, make sure you have these on hand:
- Sharp, clean pruning shears or a craft knife: Essential for making clean cuts that heal well.
- Rooting hormone powder or gel: While not always strictly necessary, it can significantly boost your success rate.
- A well-draining potting mix: I recommend a blend of equal parts perlite, peat moss (or coco coir), and orchid bark. This mimics its natural habitat and prevents soggy roots.
- Small pots or propagation trays: Clean, small containers are perfect. Drainage holes are a must!
- Clear plastic bags or humidity domes: To create a humid microclimate.
- Watering can with a fine rose or a spray bottle: For gentle watering.
- Optional: A heat mat: For optimal bottom warmth.
Propagation Methods
While Monodora tenuifolia can also be propagated by division, stem cuttings have been my most successful and reliable method for increasing my collection.
Stem Cuttings
- Select Your Cuttings: Find a healthy, mature stem on your Monodora plant. Aim for cuttings that are about 4-6 inches long.
- Make the Cut: Using your sterilized sharp shears or knife, make a clean cut just below a leaf node. Nodes are those little bumps where leaves emerge; roots love to form here! Gently remove the lower leaves from the cutting, leaving just a few at the top.
- Apply Rooting Hormone (Optional but Recommended): Dip the cut end of the stem into your rooting hormone, tapping off any excess.
- Plant Your Cuttings: Fill your small pots with your prepared, moistened potting mix. Make a small hole in the center with your finger or a pencil. Insert the cut end of the Monodora cutting into the hole and gently firm the soil around it.
- Create Humidity: Water the soil gently. Then, cover the pot with a clear plastic bag or place it under a humidity dome. This traps moisture and creates the humid environment your cutting craves. You can also poke a few small air holes in the bag to prevent excessive condensation.
- Provide Light and Warmth: Place the pots in a bright, indirect light location. If you have a heat mat, placing the pots on it can work wonders for root development.
The “Secret Sauce” (Pro Tips)
Over the years, I’ve learned a few tricks that give Monodora cuttings that extra edge:
- Don’t Be Afraid of a Little Pruning: Sometimes, I’ll even take a slightly longer cutting and then reduce the number of leaves at the top. Fewer leaves mean less water loss through transpiration, giving the cutting more time to form roots. It can feel counterintuitive, but trust me on this!
- Bottom Heat is Your Best Friend: I cannot stress this enough! Using a gentle heat mat under your propagation pots provides consistent warmth, which significantly encourages root formation in Monodora. It’s like giving them a warm hug to get them going.
- Watch for That “Plumpness”: When you think your cuttings might have roots, give them the gentlest tug. If you feel any resistance, that’s a good sign of root development! Don’t ever pull them out to check too early; it damages any nascent roots.
Aftercare & Troubleshooting
Once you see new growth emerging from your cuttings – tiny leaves or shoots – it’s a fantastic sign! This means roots have likely formed. Gently remove the plastic bag or humidity dome for a few hours a day, gradually increasing the time over a week or two. This helps the new plant acclimate to drier air. Continue to keep the soil consistently moist but not waterlogged.
The most common issue you’ll encounter is rot. This usually happens when there’s too much moisture and not enough air circulation. If you notice a cutting turning black or mushy at the base, unfortunately, it’s probably best to discard it to prevent the problem from spreading. Overwatering is the usual culprit. If your cuttings simply fail to root and look shriveled, it might be a sign that they weren’t getting enough humidity or warmth, or perhaps the cutting wasn’t viable to begin with.
A Little Patience Goes a Long Way
Propagating Monodora tenuifolia is a journey, not a race. There will be times when some cuttings don’t make it, and that’s perfectly okay. The joy is in the process, in nurturing new life, and celebrating those tiny roots when they finally appear. So, grab your tools, get your hands dirty, and enjoy the rewarding experience of growing your own beautiful African Nutmegs. Happy propagating!
Resource:
https://identify.plantnet.org/k-world-flora/species/Monodora%20tenuifolia%20Benth./data