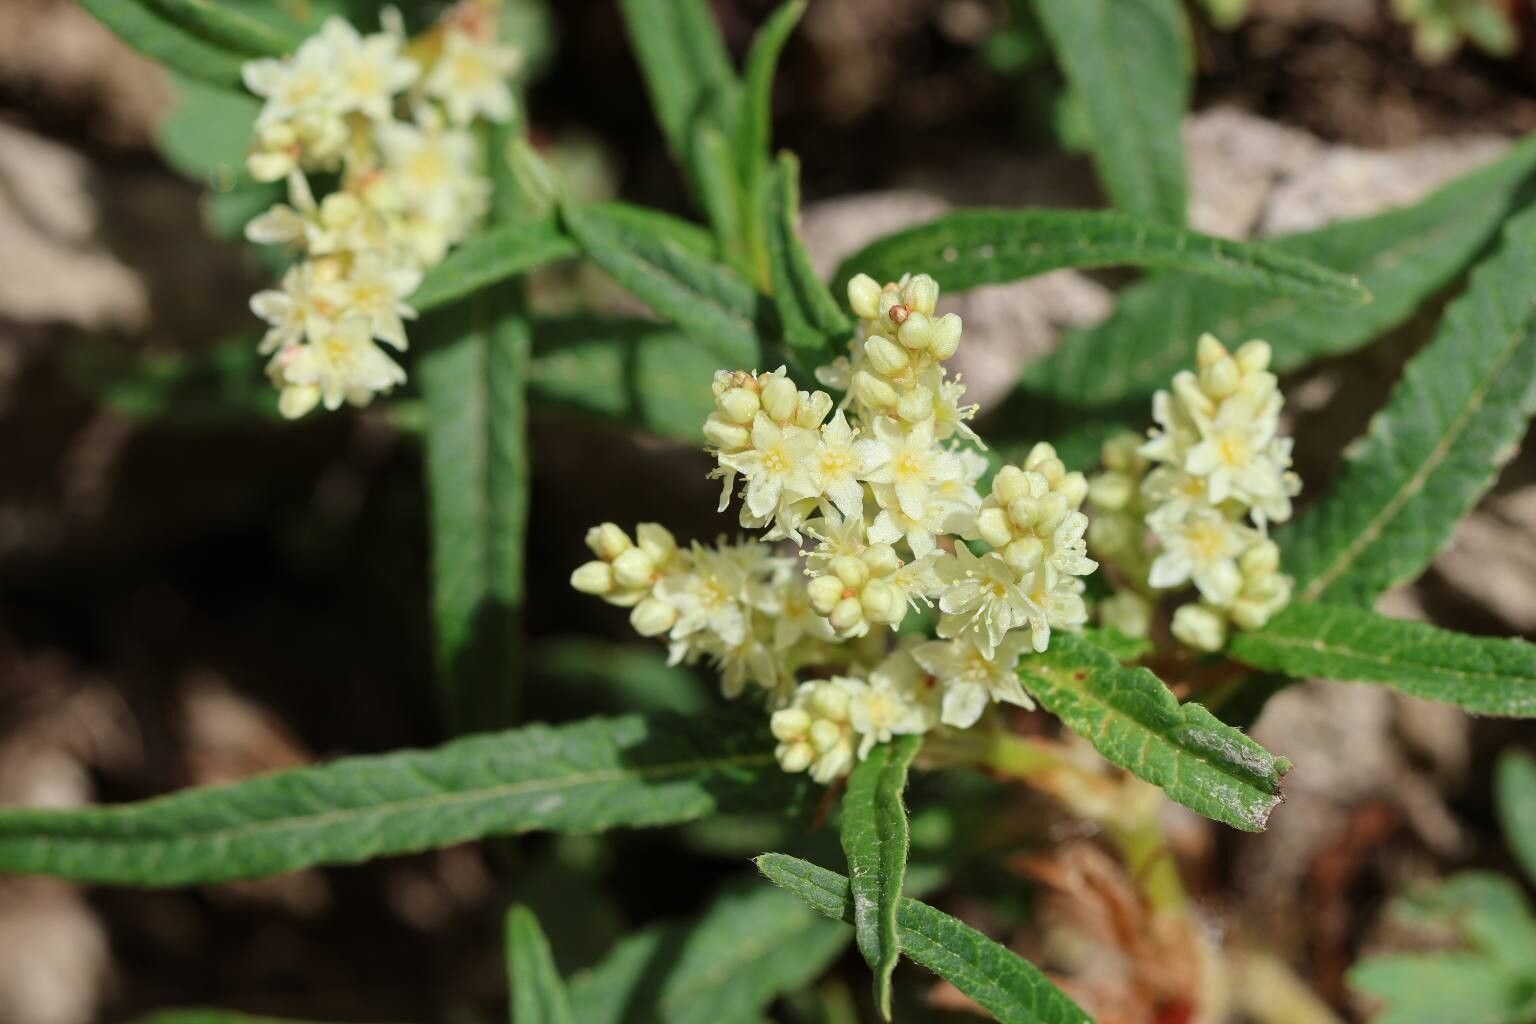
Oh, Polygonum ajanense! It’s one of those plants that just brings a smile to my face. Its delicate, arching stems and lovely foliage have a way of softening any garden space. And honestly, watching a tiny cutting transform into a thriving plant? That’s pure magic, and something truly special to share. If you’re new to propagation, I’d say this one is a moderately easy plant to start with. It’s forgiving, but a little care goes a long way.
The Best Time to Start
For the most success with Polygonum ajanense, I always aim to propagate in late spring or early summer. This is when the plant is actively growing, full of vigor, and ready to put its energy into making new roots. You’ll want to take cuttings from healthy, new growth that’s not yet woody.
Supplies You’ll Need
Here’s what I gather before I start:
- Sharp pruning shears or a clean knife
- A well-draining potting mix (I like a blend of equal parts peat moss, perlite, and a bit of compost)
- Small pots or trays with drainage holes
- Rooting hormone (optional, but it does give cuttings a helpful boost)
- A clear plastic bag or propagation dome
- A watering can with a fine rose or a spray bottle
- Labels to mark your cuttings!
Propagation Methods
I find that stem cuttings are absolutely the way to go for Polygonum ajanense. It’s simple and very effective.
- Take Your Cuttings: Look for healthy, non-flowering stems. Using your clean shears, snip off sections that are about 4-6 inches long. Make your cut just below a leaf node (where a leaf meets the stem) – this is where the magic happens for root development.
- Prepare the Cuttings: Gently remove the lower leaves from your cuttings, leaving just 2-3 leaves at the top. If the remaining leaves are quite large, I sometimes trim them in half to reduce water loss.
- Apply Rooting Hormone (Optional): If you’re using rooting hormone, dip the cut end of each stem into the powder, tapping off any excess.
- Plant Your Cuttings: Moisten your well-draining potting mix slightly. Make a small hole in the soil with your finger or a pencil, and insert the cut end of the stem. Gently firm the soil around it.
- Create a Humid Environment: Water the soil lightly. Then, cover the pot or tray with a clear plastic bag or a propagation dome. This traps humidity around your cuttings, which is crucial for encouraging root growth.
The “Secret Sauce” (Pro Tips)
Now, for a couple of little tricks that I’ve learned over the years:
- Don’t let the leaves touch the water: If you happen to be experimenting with water propagation (though I find soil best for this one), make sure those leaves are above the waterline. Any submerged leaves will just rot and can infect the whole cutting.
- Warmth is key: Polygonum ajanense really benefits from a little warmth to get those roots going. Placing your pots on a heat mat set to a low temperature (around 70-75°F or 21-24°C) can significantly speed up rooting.
Aftercare & Troubleshooting
Once you’ve potted up your cuttings, place them in a bright spot that gets indirect light. Keep the soil consistently moist but not waterlogged. You’ll know your cuttings have taken root when you see new leaf growth and resist the urge to tug them – if there’s resistance, they’re establishing!
The main thing to watch out for is rot. If your cuttings turn mushy or dark and fall apart, they’ve likely rotted due to too much moisture or poor drainage. Ensure your pots have good drainage and try to avoid overwatering. If you see any signs of mold on the surface, gently remove it.
A Encouraging Closing
Propagating plants is a journey, and there’s so much reward in it. Be patient with your Polygonum ajanense cuttings. Even if some don’t make it, learn from them and try again! Enjoy the process, and soon you’ll have a whole collection of these lovely plants to admire and share. Happy gardening!
Resource: