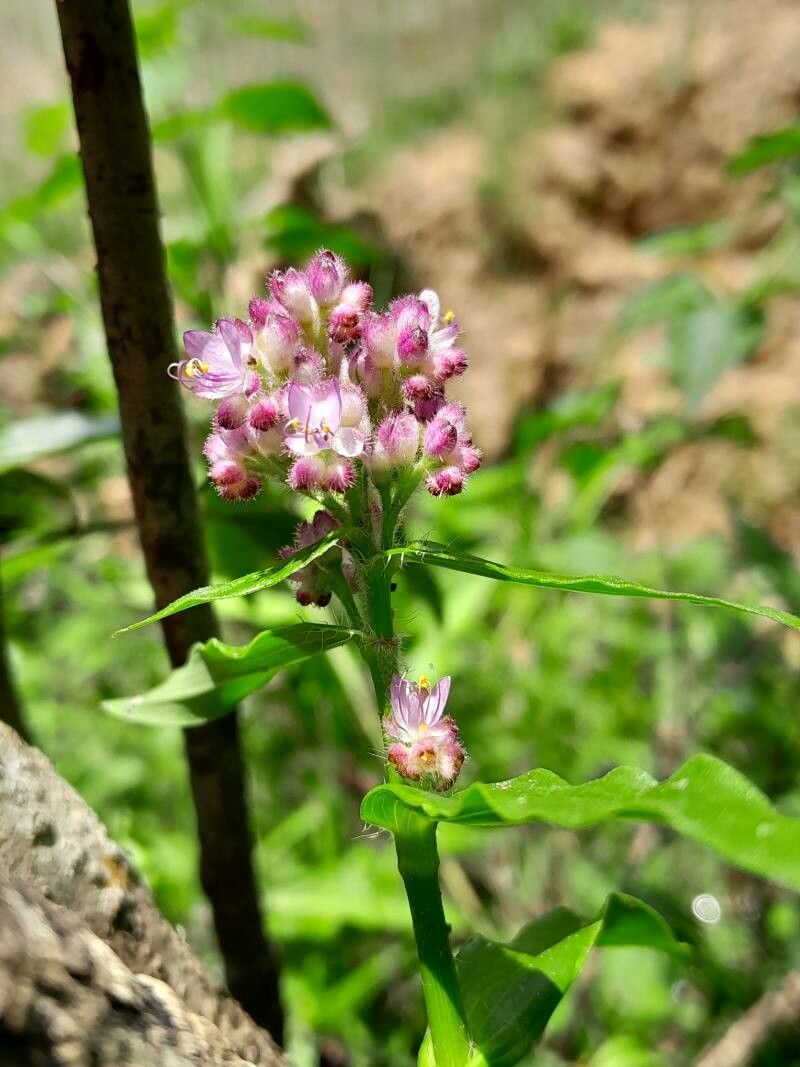
Hello, fellow plant lovers! Today, we’re diving into the wonderful world of Floscopa glomerata. If you’re looking for a pop of vibrant color and a bit of architectural interest in your garden or home, this plant is a real charmer. Its delicate, clustered flowers are like little jewels, and I find propagating them incredibly satisfying. It’s a process that rewards patience, and I’m happy to report, it’s generally quite forgiving, even for those just starting their plant-parent journey.
The Best Time to Start
For Floscopa glomerata, the spring and early summer months are your golden ticket. This is when the plant is in its most vigorous growth phase, meaning it has more energy to put into developing new roots. You’ll want to take cuttings from healthy, actively growing stems. Avoid anything that looks tired or has just finished flowering.
Supplies You’ll Need
Gathering your supplies beforehand makes the whole process so much smoother. Here’s what I always have on hand:
- Sharp, clean pruning shears or a sharp knife: Crucial for clean cuts that heal well.
- Rooting hormone (optional but recommended): Helps speed things up and improve success rates. I like to use a powder or gel.
- Well-draining potting mix: A good blend of peat moss, perlite, and a bit of compost works wonders. You can also buy specific succulent or cactus mixes.
- Small pots or seed trays: Whatever you have that’s clean and has drainage holes.
- A spray bottle: For light misting.
- Clear plastic bags or a propagator: To create a humid environment.
- Water: For the water propagation method.
Propagation Methods
Floscopa glomerata is wonderfully adaptable, and I’ve found success with a couple of key methods:
1. Stem Cuttings: This is my go-to.
- Select a healthy stem: Look for a part of the plant that’s about 4-6 inches long and has at least a couple of leaf nodes (where leaves attach to the stem).
- Make a clean cut: Just below a leaf node, use your sharp shears or knife to make a clean cut.
- Remove lower leaves: Gently strip off the leaves from the bottom half of the cutting. This prevents them from rotting in the soil and encourages root growth from the nodes.
- Apply rooting hormone (optional): Dip the cut end into your rooting hormone, tapping off any excess.
- Plant the cutting: Insert the cut end into your prepared potting mix. Make a small hole with your finger or a pencil first to avoid scraping off the hormone. Gently firm the soil around the cutting.
- Water lightly: Give it a gentle watering.
2. Water Propagation: This method is so satisfying to watch!
- Prepare your cutting: Follow the same steps as above for selecting and preparing your stem cutting, removing the lower leaves.
- Place in water: Put the cutting into a clean glass or jar filled with fresh water. Crucially, ensure no leaves are submerged in the water. They’ll just rot and spoil the water.
- Change water regularly: Refresh the water every few days to keep it clean and oxygenated.
- Place in bright, indirect light: Find a spot that gets plenty of light but no direct sun, which can scorch the delicate new growth.
The “Secret Sauce” (Pro Tips)
Over the years, I’ve picked up a few tricks that seem to make all the difference:
- Don’t crowd your cuttings: Give them a little breathing room in their pots or trays. This allows for better air circulation, which is key to preventing fungal issues.
- Bottom heat is your friend: If you can, place your pots on a heat mat. This gentle warmth encourages root development much faster than ambient room temperature alone. It really speeds up the process.
- Mist with care: While humidity is good, over-misting can lead to fungal problems. A light misting once a day or every other day is usually sufficient. You really want to create a humid environment around the cuttings, not drench them.
Aftercare & Troubleshooting
Once you see roots developing, either peeking out the drainage holes of your pot or forming a good little network in the water, it’s time to treat them like a baby plant.
- For rooted cuttings in pots: Continue to keep the soil lightly moist – not soggy. Gradually introduce them to more light, but still avoid harsh direct sun for the first few weeks.
- For water-rooted cuttings: Once they have a decent root system (an inch or two long), carefully transplant them into your well-draining potting mix. Be very gentle with those new roots! Water them in well.
Now, a word on what can go wrong. The most common issue is rot. This usually happens if the soil is too wet or there’s not enough air circulation. If you notice a cutting turning black and mushy, it’s likely rotted. Remove it immediately and check your watering habits. Yellowing leaves can sometimes mean too much water, or not enough light. Don’t be discouraged by a few failures; it’s all part of the learning process!
A Fond Farewell
Growing new plants from cuttings or division is one of the most rewarding aspects of gardening. It’s a reminder of nature’s incredible ability to regenerate and to share its beauty. Be patient with your Floscopa glomerata cuttings – some take longer than others. Enjoy the journey, and soon you’ll have a whole new collection of these delightful plants to share or admire! Happy propagating!
Resource: