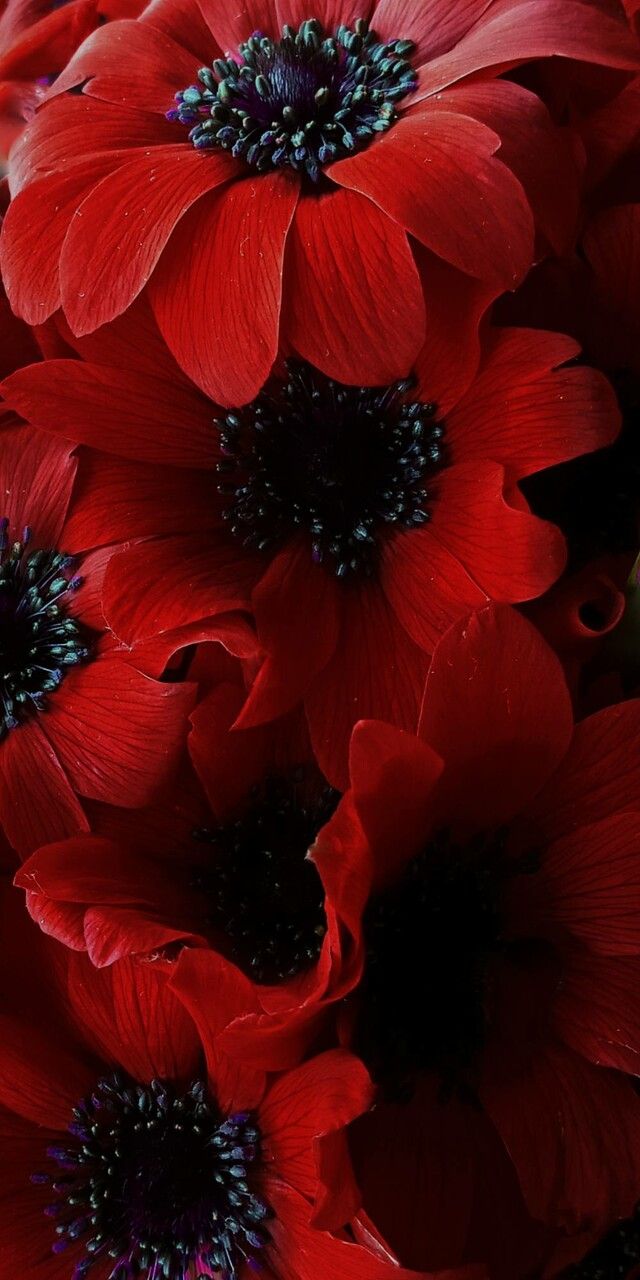
Oh, hello there, fellow garden lover! Pull up a chair and let’s chat about one of my absolute garden joys: the exquisite Anemone pavoniana. If you’ve ever seen those dazzling, jewel-toned blooms gracing a garden, you know what I mean. They have this magical way of bringing a pop of vibrant color, don’t they? And the best part? You can easily bring more of that magic into your own space by propagating them. It’s incredibly rewarding to watch a tiny piece of a plant grow into something beautiful. Now, is Anemone pavoniana a walk in the park for a complete beginner? I’d say it’s moderately challenging, but with a little guidance and patience, it’s absolutely achievable.
The Best Time to Start
For Anemone pavoniana, the sweet spot for propagation is usually late spring or early summer. This is when the plants are typically in their active growth phase, after they’ve finished their spectacular bloom. You’ll be looking for healthy, vigorous stems that haven’t yet started to fade or go to seed. This timing gives your new cuttings plenty of time and warmth to establish a good root system before the cooler weather arrives.
Supplies You’ll Need
Before we dive in, let’s gather our tools. Having everything ready makes the process so much smoother.
- Sharp Pruning Shears or a Clean Knife: For making precise cuts.
- Rooting Hormone: Available as a powder or gel – this is a real boost for cuttings.
- Small Pots or Seed Starting Trays: With drainage holes, of course!
- Well-Draining Potting Mix: A good blend for me is about 50% peat moss or coco coir and 50% perlite or coarse sand. This keeps things nice and airy for those developing roots.
- Small Watering Can or Spray Bottle: For gentle watering.
- Plastic Bags or a Propagator Lid: To create a humid environment.
- Labels and a Marker: So you don’t forget what you’ve planted!
Propagation Methods
While Anemone pavoniana can also be grown from seed, I find stem cuttings to be the most reliable and satisfying method for reliably creating new, identical plants.
Stem Cuttings: A Step-by-Step Guide
- Select Your Material: Look for healthy, non-flowering stems. You want to find a stem that’s about 3-5 inches long.
- Make the Cut: Using your clean shears or knife, make a clean cut just below a leaf node (that’s where a leaf attaches to the stem). This is where roots are most likely to form.
- Prepare the Cutting: Carefully remove the lower leaves, leaving just a couple of leaves at the top. This reduces water loss. If the remaining leaves are very large, I often snip them in half.
- Apply Rooting Hormone: Dip the cut end of the stem into your rooting hormone. Tap off any excess. This step is crucial for encouraging strong root development.
- Planting Time: Fill your small pots or trays with your moistened, well-draining potting mix. Make a small hole with a pencil or your finger.
- Insert the Cutting: Gently insert the hormone-coated end of your cutting into the hole, making sure the leaf nodes are below the soil surface.
- Water Gently: Water lightly to settle the soil around the cutting.
- Create Humidity: Cover the pot or tray with a clear plastic bag or a propagator lid. This traps moisture and creates that humid microclimate cuttings need. If using a bag, you might want to prop it up with a few small sticks so it doesn’t touch the leaves.
The “Secret Sauce” (Pro Tips)
Here are a couple of things I’ve learned over the years that make a real difference:
- Location, Location, Location: Place your potted cuttings in a bright spot, but out of direct, hot sunlight. Too much sun can scorch those tender new cuttings. A warm windowsill is often perfect.
- Bottom Heat is Your Friend: If you have one, using bottom heat from a propagation mat can significantly speed up root formation. It mimics the warmth of the soil and encourages root growth from below.
Aftercare & Troubleshooting
Once your cuttings are planted, the real waiting game begins!
- Keep it Humid: Monitor the moisture under the plastic. You want the soil to stay consistently moist but not waterlogged. Condensation on the inside of the bag or lid is a good sign.
- When Roots Appear: After a few weeks, you should start to see new leaf growth. This is a great indicator that roots have formed! You can also gently tug on the cutting; if there’s resistance, it’s rooted.
- Acclimatize: Once rooted, gradually remove the plastic cover over a few days to allow the new plants to adjust to the drier air.
- Troubleshooting: The most common issue you might encounter is rot. This usually happens if the soil is too wet and there isn’t enough air circulation. If you see any yellowing leaves or mushy stems, it’s usually a sign of rot. Unfortunately, these cuttings are often lost, but don’t get discouraged! It’s a learning curve. Ensure good drainage and don’t overwater.
A Encouraging Closing
Propagating Anemone pavoniana is a delightful way to expand your garden and deepen your connection with these stunning plants. Be patient with the process; sometimes it takes a little longer than you expect for those roots to develop. But the joy of seeing those first little leaves emerge, knowing you grew them yourself, is truly unmatched. Happy propagating!
Resource:
https://identify.plantnet.org/k-world-flora/species/Anemone%20pavoniana%20Boiss./data